Are you gearing up for Thanksgiving this week? I’m feeling significantly less stressed, since I’m not hosting this year, but I do secretly love the chaos that comes with being the Thanksgiving hostess. I’m an adrenaline junkie like that.
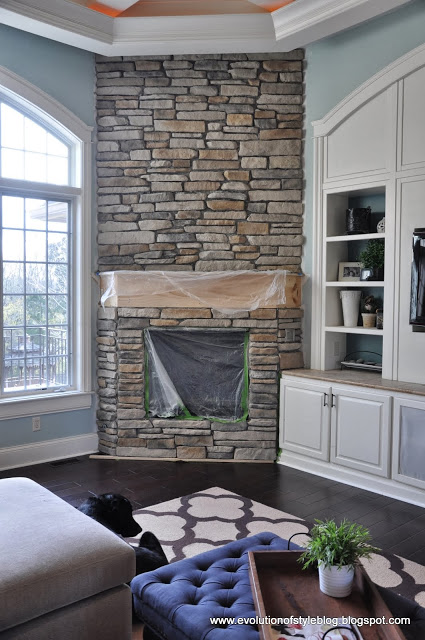
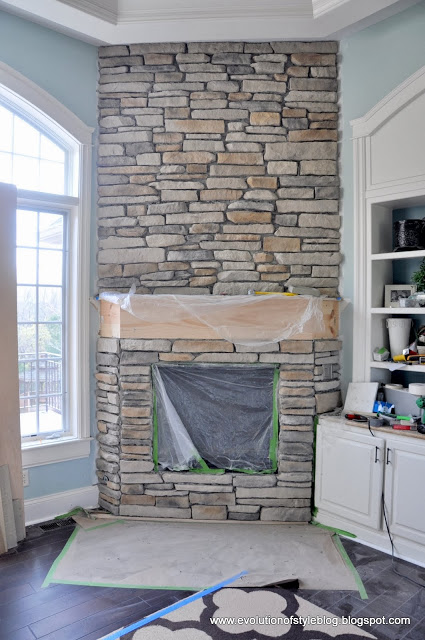
I’m beyond excited to share the serious progress that has been made with the fireplace. I’m sure you’re probably sick of hearing about it, but I promise the end is in sight! This was by far, the biggest DIY task I have ever tackled, and I told my husband the other night that I would rather paint our cabinets two or three times before I take on a masonry project again.
However – I am really proud at how it’s turning out, and I love being able to tell people, “Yes, I did that stone work myself!” 🙂 The satisfaction that comes with DIYing, is what keeps me coming back for more!
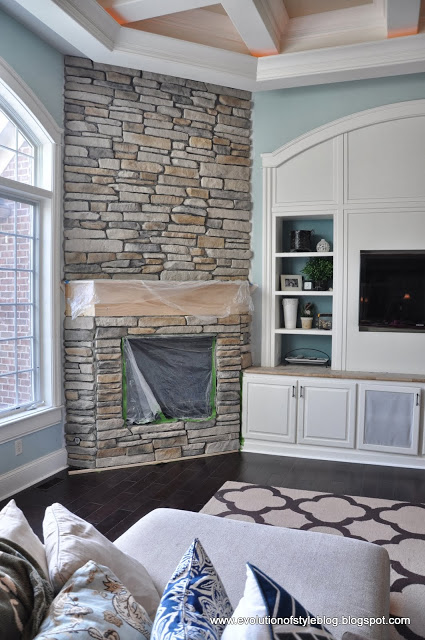
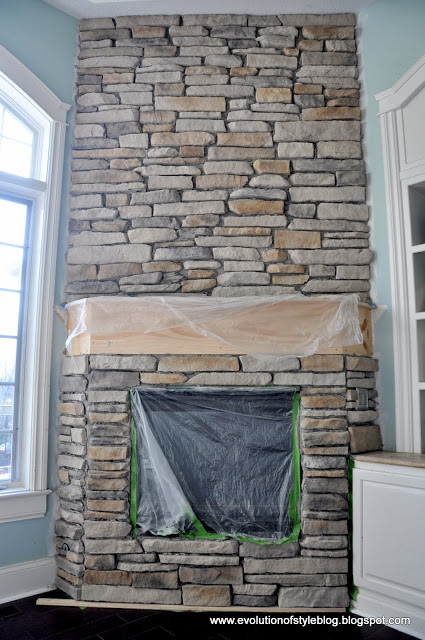
Again, it’s not done – I still have to grout and we need to finish the mantel – but this is the first time that I can really see my vision coming to life! I have found myself sitting down and just staring at it, even in its unfinished state.
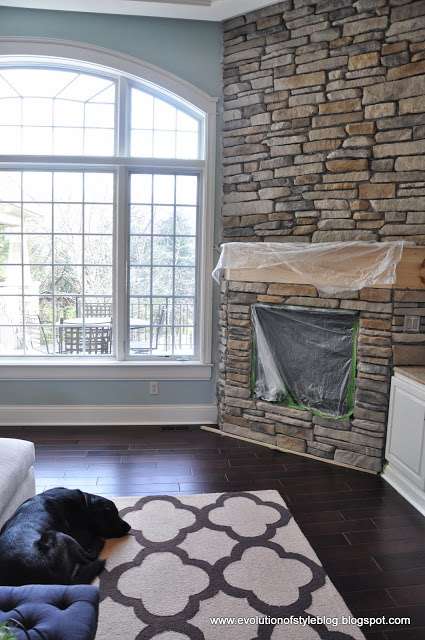
The dog in the house is anxiously awaiting its completion as well. It’s getting cold out, and I think he’s anticipating a fire in that fireplace. Soon.
I loooooove it! Seriously, love it.
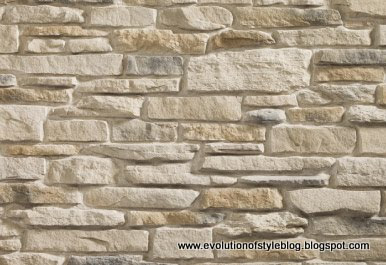
What do you think in terms of grout? We could grout it the same color as the mortar that I used to put up the stone (which you can kind of see in between the stone now). Or do I continue with my plan to grout it like what I saw (and loved) in the brochure?
I’m kind of torn, because I do like the color that I used to install the stone, which kind of surprised me. I’m leaning towards the grayish grout. I’m figuring it will be a wise choice since I have a lot of mortar overage that squeezed out from behind the stones when I installed them. It might get kind of tricky to cover it with the lighter grout.
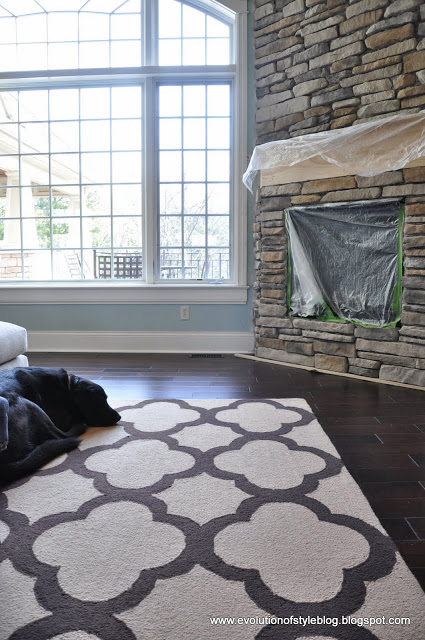
My floors are finally coming back to life again. Never underestimate the power of cement dust. It. was. everywhere.
And it doesn’t go quietly into that goodnight, either. I think I scrubbed the floors about seven times before I felt satisfied that the film on the floors was gone.
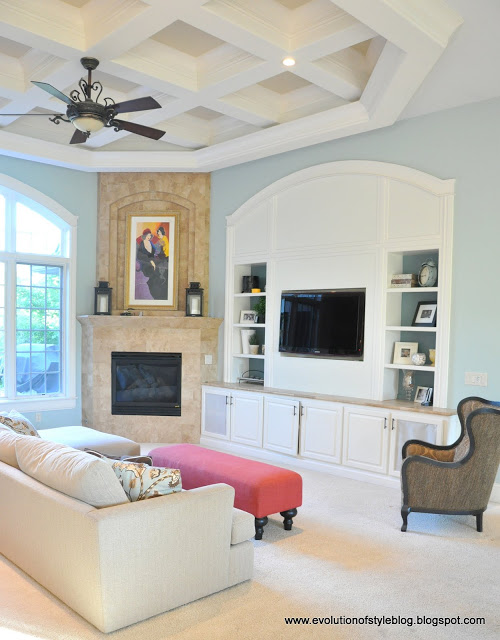
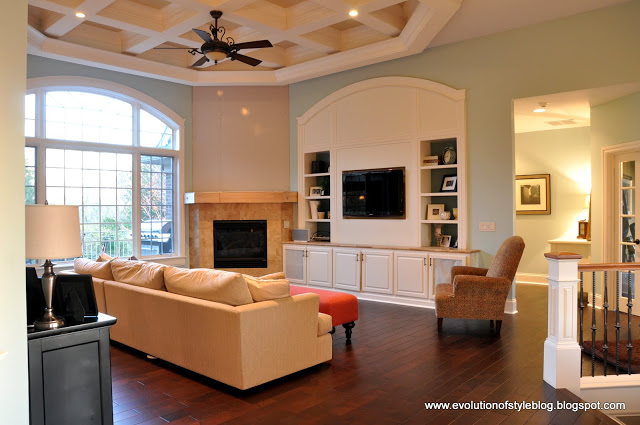
Let’s take a look at how this evolution has progressed over the past, um, year.
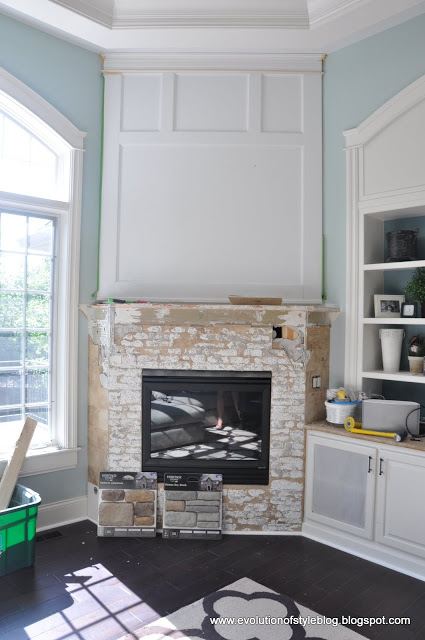
This photo was taken before our hardwood floors were installed, but you get an idea of where we began (and how arduous this process has been). The tile felt cold and just wasn’t our style, and the niche made decorating a challenge as well.
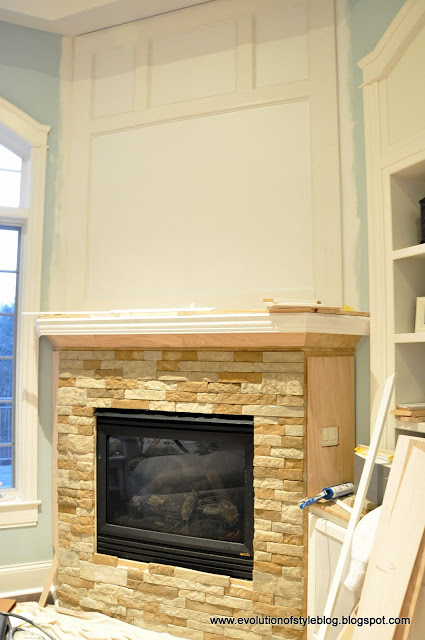
However, we didn’t fully commit to taking down the tile and thought we could keep it in tact, while still updating the look (in case we changed our minds about the tile feeling cold and uninviting). We drywalled the top and attempted to redo the mantel.
We added trim to the top portion of the mantel and used Airstone on the bottom. But I just wasn’t loving the way it was shaping up with stone on the front and our attempt to put wood on the sides.
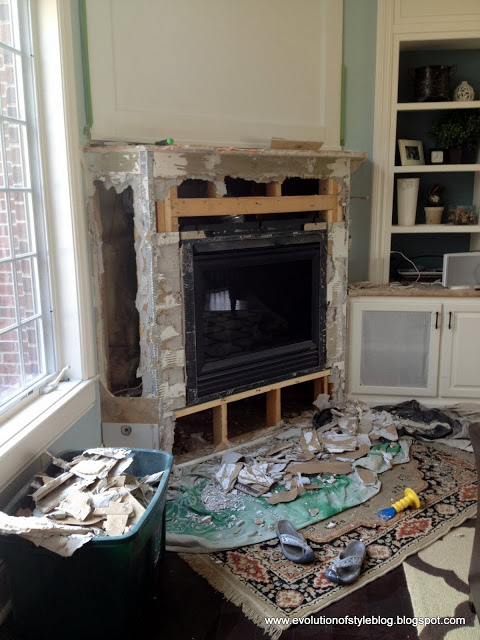
So, we decided to go all in, and start over.
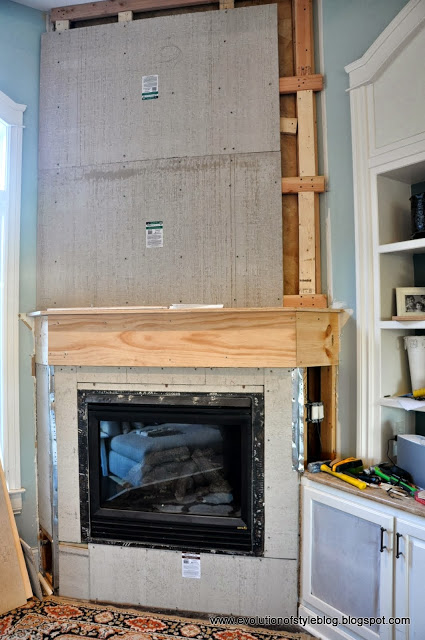
We did keep the tile in tact on top, just because it was easier to frame over it and eliminate the niche altogether.
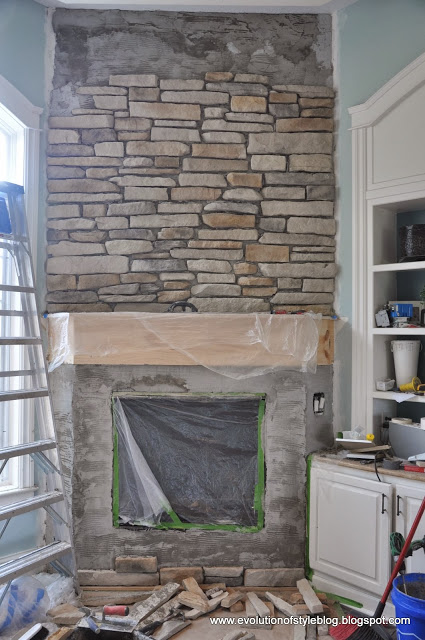
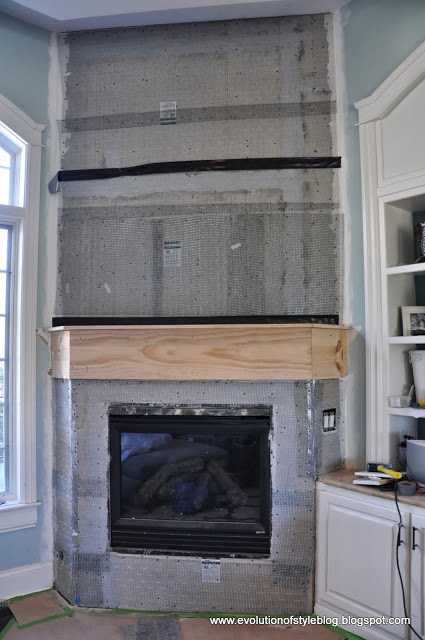
We installed a metal lath (rhymes with bath, not bathe).
After mudding this fireplace, I hope to never see mortar again. Ever.
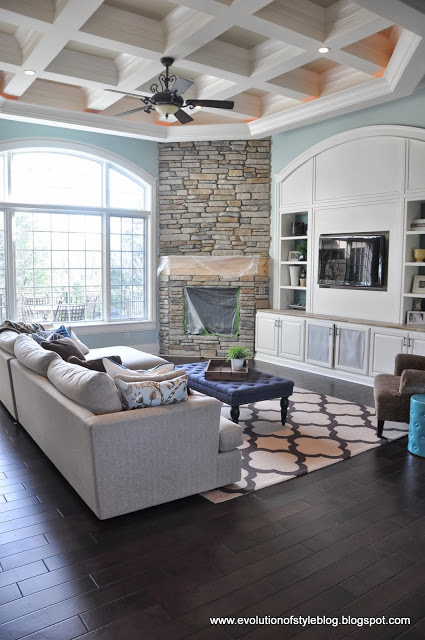
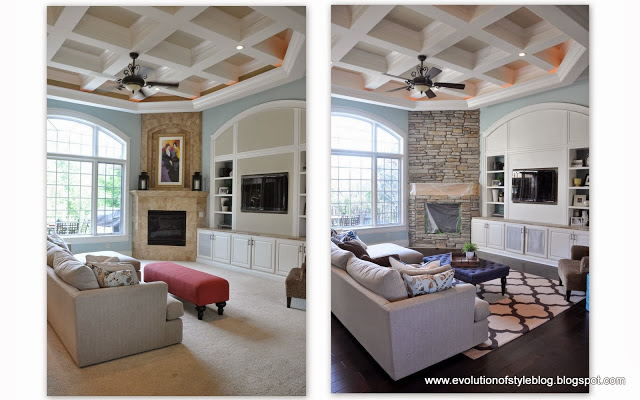
And how about a side by side before and after for where we are now? MUCH improved, I’d say!
I can’t wait to finish it up completely so I can share the true “Before” and “After” photos. But, it’s a process, right?
I’m already envisioning how I want to decorate it for the holidays (and in general for that matter!). Lots of options for this new look! A big wreath in the center, or maybe a beautiful mirror with a wreath hanging over top? And stockings and garland of course… Oh, I can’t wait!
Thanks for hanging in there with me on this one. It’s been a roller coaster for sure.
Linking up:
Between Naps on the Porch – Metamorphosis Monday




13 Comments
Andrea
November 25, 2013 at 1:08 pmWhat a transformation! You are one persistent DIYer! I love how it turned out and I love even more than you hung it there through the whole process. I must confess, I would have wimped out and called in the pros a long time ago. You did it!!!
Stacey
November 25, 2013 at 1:49 pmThe stone wall looks fantastic! And you know what? It looks like it should have been that way to begin with. Great move – although I'm sure that has taken a zillion hours!
Cassie @ Primitive & Proper
November 25, 2013 at 2:15 pmWOW! lots of work but TOTALLY worth it! such a beautiful focal point!
Sherry @ No Minimalist Here
November 25, 2013 at 2:43 pmJenny, I have been following along as you transformed the fireplace. I love the stone and you did an amazing job. Happy Thanksgiving!
Hugs,
Sherry
pam {simple details}
November 25, 2013 at 3:04 pmJenny, I'm in awe of your diy skillz and determination!! SO excited for you that you'll get to enjoy it for the holidays! I like the contrast of the gray grout, too. You're almost there…. 🙂
Patricia
November 25, 2013 at 5:38 pmWow ! AMAZING ! It is beautiful, and I am impressed !! True determination……..
Andrea
November 25, 2013 at 9:44 pmGorgeous! I can't believe this is a DIY!
Terry
November 26, 2013 at 2:39 amJust beautiful and I'm in awe that it's DIY! What is the wall color, please?
Jenny
November 26, 2013 at 4:09 amThank you! The wall color is Palladian Blue, by Benjamin Moore. 🙂
H Leigh Photography
January 20, 2014 at 6:02 amWhere did you get the stone? what type is it?
Jenny
January 21, 2014 at 1:30 pmI bought the stone through a local company that sells a variety of stone products and offered a lot of options. It's called Heritage Stone, and I chose the Brighton Ledgestone. Here is a link to their website: http://www.proviaproducts.com/stone
I couldn't be happier with the end result. 0
[email protected]
February 6, 2014 at 2:11 pmWe are looking at doing the same project! Found you via TDC. So, did you go with a real stone? Did you do the thin set stone? laura
Jenny
February 7, 2014 at 4:20 amWe went with a stone veneer – Heritage Stone in Brighton Ledgestone. Messy installation, using mortar, but a great end result!