Hello!
I get a lot of emails from readers who are transforming spaces in their homes, and I always ask to see before and after photos because 1) I’m a stalker like that and 2) who doesn’t love a great before and after that you did yourself? I think those are the most rewarding before and after photos, don’t you? When there is blood, sweat and tears involved, and you’re emotionally (and financially) invested in the process, the end result is even sweeter. Which is why I’m so excited to share this gorgeous reader kitchen redo I received from Jessica – such a great transformation that they pulled off themselves!
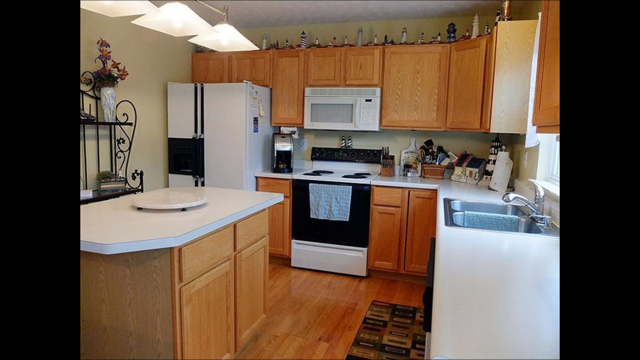
Let’s get right to it! They started off with your typical builder-grade kitchen when they bought their house. Kitchens like this are what keeps me busy, quite honestly. Lots and lots of orangey oak, and beige. Just on the boring side, right? If you’re a kitchen junkie like I am, you want something that isn’t like your next door neighbor’s house. And that’s just what they were able to do.
Let’s start with an original listing photo:
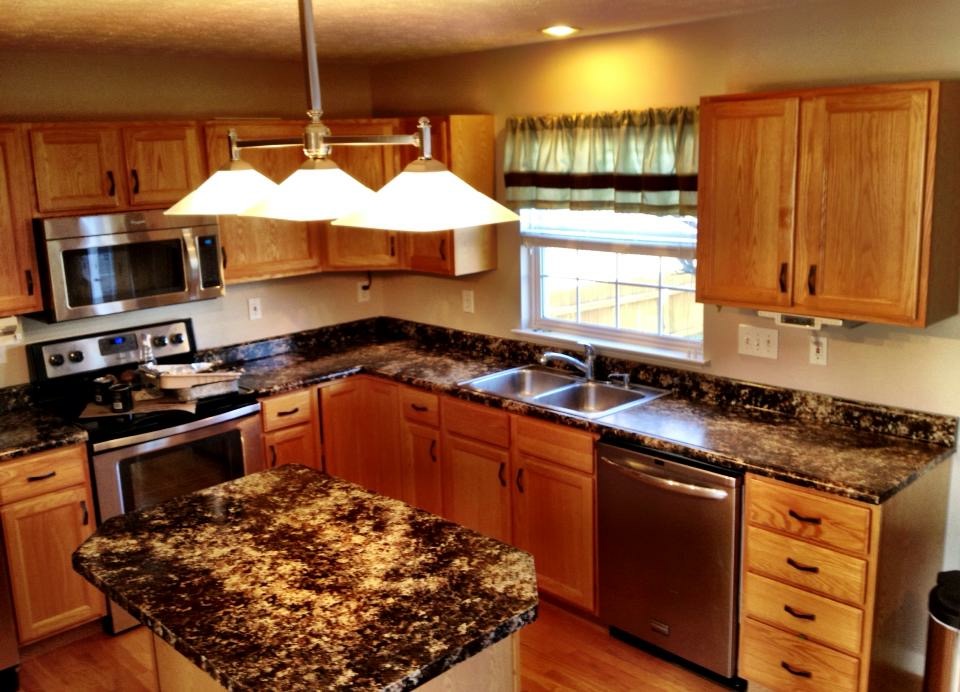
Then there is this photo, where they homeowners made a change to countertops before they tackled the bigger projects –
“This photo has painted “faux” counters that actually held up very well for the 3 years we had them like that. The counter paint kit was called Giani Granite. Black paint turned out to be much too dark for that kitchen though.”
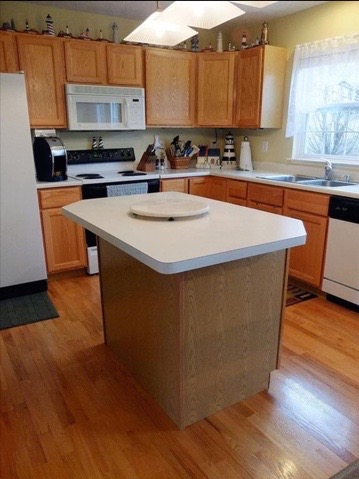
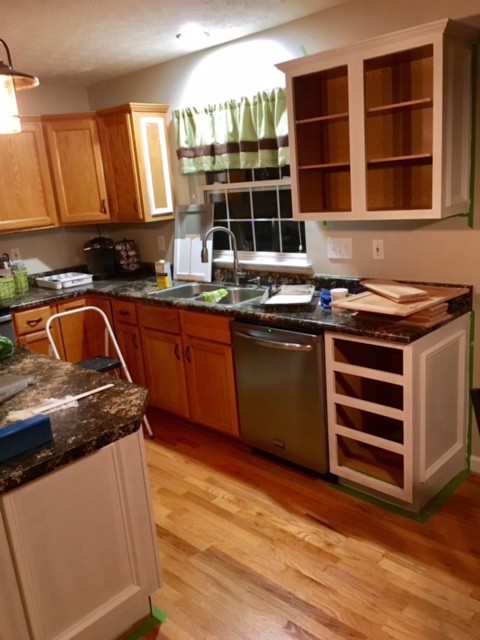
You can see in this photo that they added crown molding and detail to the end cabinets and island – I think molding really steps up the depth and custom factor in a kitchen. Especially when so many kitchens have the plain, plastic-y islands. Why? Adding molding detail is such an inexpensive and easy way to give a kitchen island a high end look.
Love the addition of this sign too –
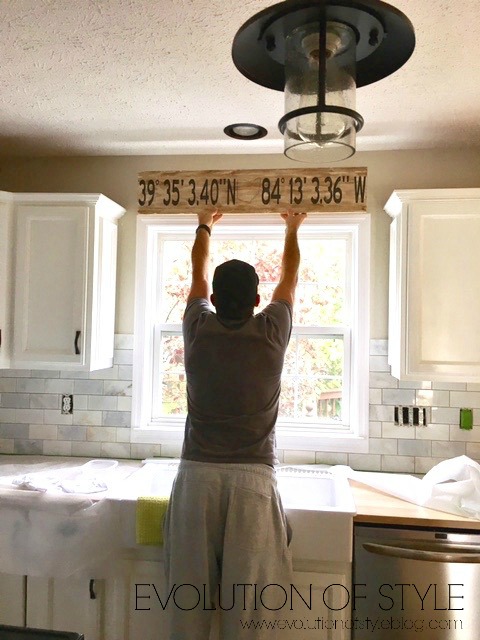
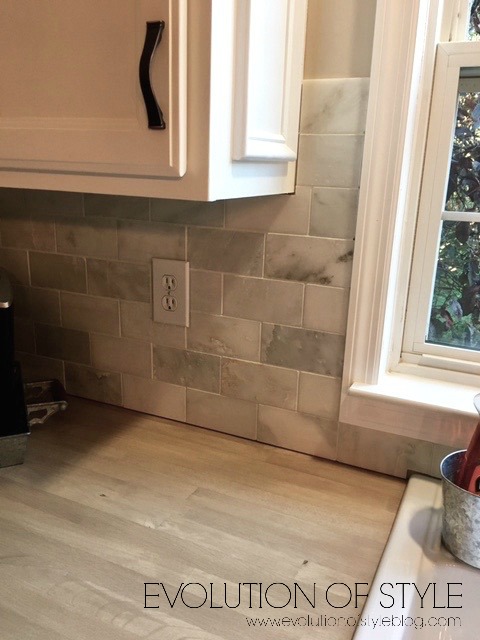
They also changed out the countertops and added a beautiful new backsplash. Butcher block on the perimeter counters and granite on the island.
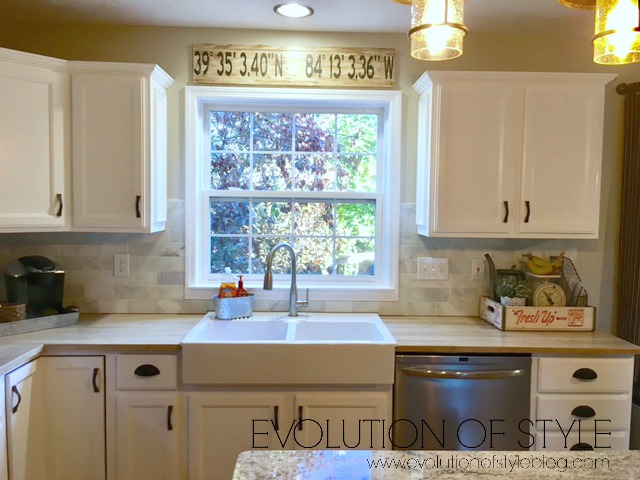
And here it is now. All I can say is WOW.
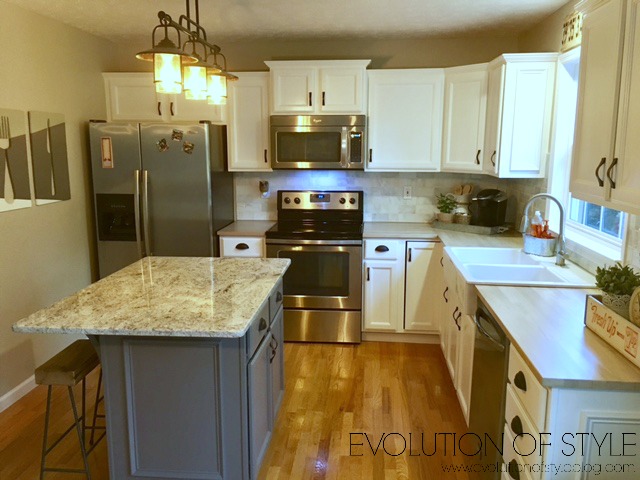
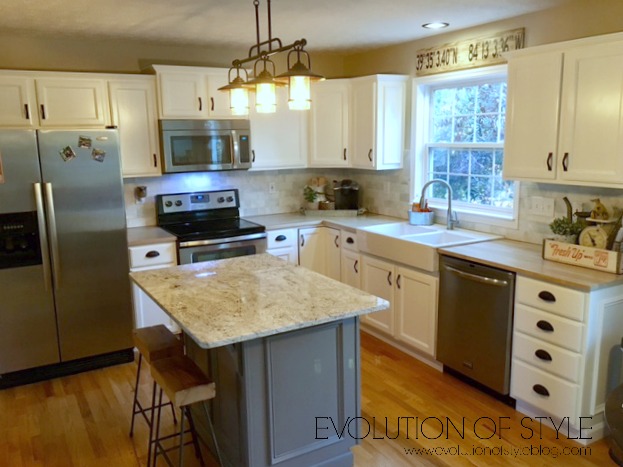
Do you need to see the before again? No problem.

Jessica was kind enough to share her sources, so here you go! Thanks again Jessica, for sharing your beautiful kitchen transformation!
- Ben Moore Advance, Chantilly Lace and Granite — Satin
- Behlen Wood Grain filler
- Granite island top was a remnant from Stone Center of Dayton (https://stonecenterofdayton.com/)
- Perimeter counters are Ikea Butcher Block in beech (not sold there anymore but here’s the same one in birch: with a custom mixed stain from PPG paints and General Finishes high performance Poly in flat.
- Apron sink also from Ikea. (https://www.ikea.com/us/en/catalog/products/S69158173/) We had to cut our existing cabinet to put this in. Scary.
- Island light is Patriot Lighting brand from Menards (https://www.menards.com/main/lighting-ceiling-fans/indoor-lighting/pendants/patriot-lighting-reg-elegant-home-miner-36-bronze-3-light-island-pendant-light/p-1444424535522-c-7245.htm)
- Backsplash is Grecian White 3×6 subway tile from Home Depot with white, pre-sealed grout from The Tile Shop
- Hardware is Oil Rubbed Bronze from Lowes
- Most of the accessories are from a local antique store, I made, or ordered custom on Etsy
I hope you enjoyed this reader kitchen redo as much as I did! If you have a DIY project that you’re proud of, please contact me and share – I love seeing all of them!
Jenny


3 Comments
Lauren@SimplyLKJ
October 26, 2016 at 4:45 pmWow…that is a great transformation.
Jenni
October 27, 2016 at 6:10 pmThinking of buying the same Ikea sink for my kitchen remodel. Can you give me some advice on how you cut your cabinet to fit the sink. THANKS!
Jessica
December 6, 2016 at 7:31 pmWell hello there! Sorry so delayed but, yes! I loved this tutorial http://www.atthepicketfence.com/2011/08/install-ikea-farmhouse-sink-existing.html, and it was pretty spot on for my cabinet, with the exception that the IKEA farm sinks they’re selling currently do NOT require you to cut into the back of your cabinet at all. The sink just rests on its sides on top of your countertops. A couple noteworthy things about this project: 1. For the double bowl version of this sink, you’ll need at minimum, a 36 inch wide cabinet, which is what mine is. You can see in the pictures that the sink is just about as wide as the cabinet itself. 2. Even though the sink is designed to simply rest on the counters, we did screw a piece of wood to the studs on the back wall for added support for the back of the sink as well. I’m still loving this sink and I think my favorite part is that it goes all the way back to the wall so I don’t get any water on my butcherblock when I’m using the faucet. Perfect. :). Let me know if you have other questions!