Hello!
I hope you had a marvelous Thanksgiving, and are ready to kick off the month of December. I can’t believe it’s December. Why do I already feel behind in my holiday planning, despite my pre-Thanksgiving decorating? Maybe it’s a tryptophan hangover.
I’m *this close* to sharing my finished fireplace with you all. I painted the mantel and have some other touch ups to do, and ran out of daylight for photos. I’m hoping tomorrow – can’t wait to share – it turned out beautifully!
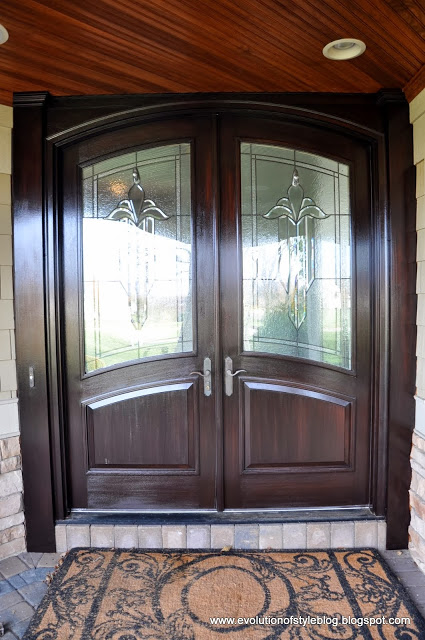
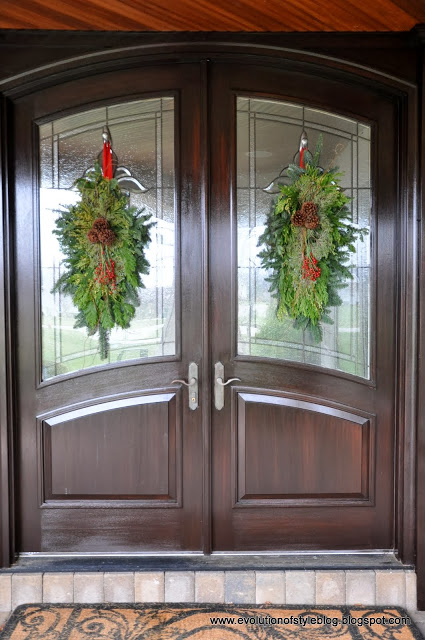
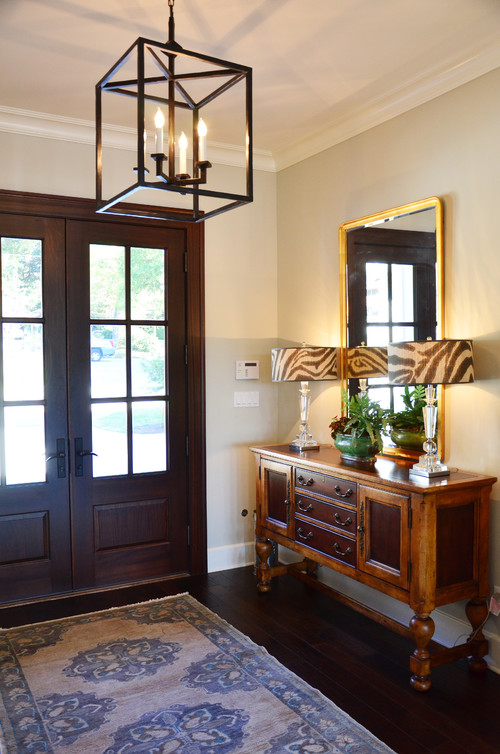
However, I do have another great finished project to share today! My “Stain Without Pain” front door makeover is complete – hooray! And yes, at some point, I will tackle the ceiling and trim on my front porch. I won’t be able to let it stay that way. All … unmatched. But, baby it’s cold outside!
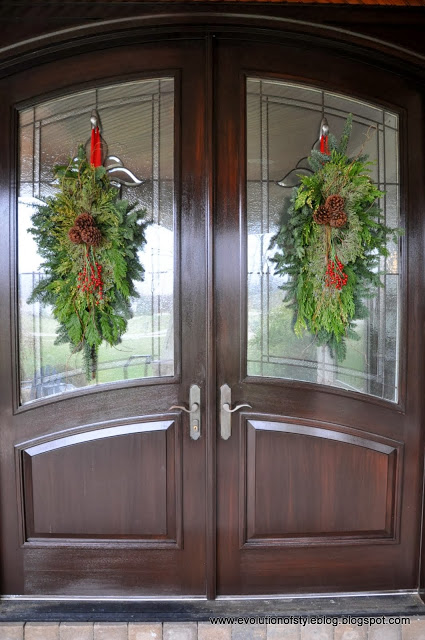
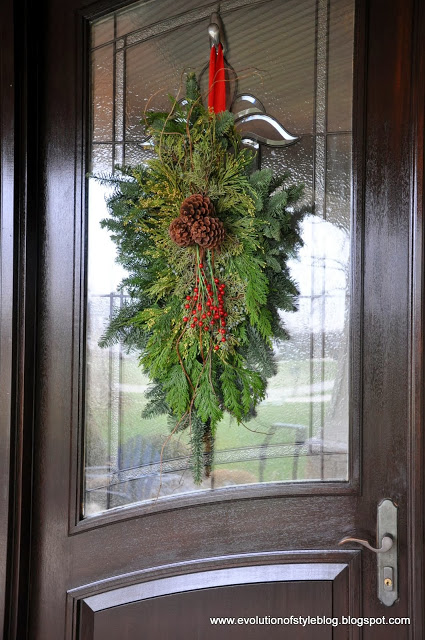
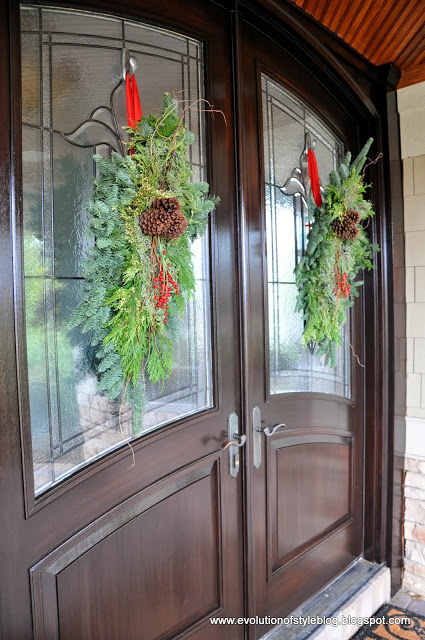
Since the doors got a facelift, I had to let them get their swag(ger) on. I picked these up at a local garden center and just love them – classic and sophisticated.
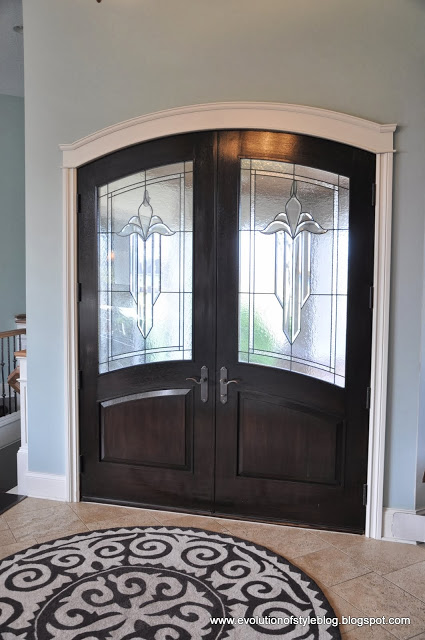
I couldn’t be happier with how the doors turned out, not to mention that the process was far less labor intensive than I could have hoped – a win-win, thanks to Monica’s amazing tutorial. It took time (I had to wait for the stain to fully cure before I applied the top coat of poly), but other than that, not bad at all. Especially for such a dramatic end result.
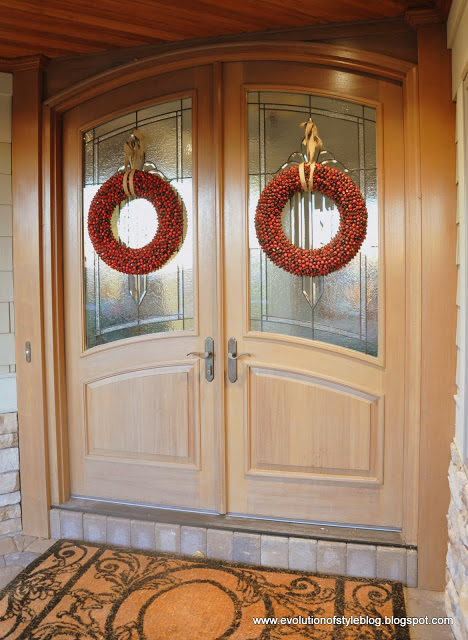
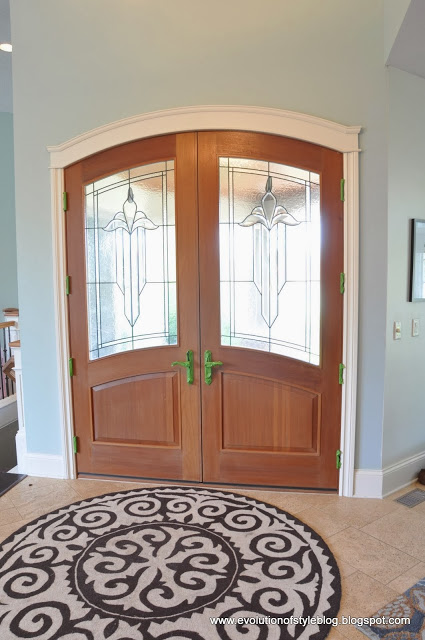
Let’s do a quick look back to last year’s front door, just so you can see the full effect.
And now:





17 Comments
Cassie @ Primitive & Proper
December 2, 2013 at 2:20 pmoooh aaaah! amazing!
pam {simple details}
December 2, 2013 at 2:42 pmWOW, Jenny!!! They are gorgeous, what a huge difference! It makes me wish I had doors to stain (almost)!! You have to be thrilled to see them from the street, too!
Dee @ A Lapin Life
December 2, 2013 at 3:37 pmYour front door looks wonderful. It’s a beautiful difference. I love the Christmas swags.
Lisa @ Shine Your Light
December 2, 2013 at 4:33 pmOh my gosh – what an amazing difference!! The doors came out GREAT Jenny!!!
khaki salmon
December 2, 2013 at 6:22 pmGorgeous! And no…..you made a wise decision to keep the casing on the interior white.
Jackie
December 2, 2013 at 7:03 pmThe doors are such an amazing improvement! Great idea! Have any of your neighbors said anything?
Patricia
December 2, 2013 at 9:08 pmWow – what a beautiful difference ! The stain is very rich, and looks just amazing…..
Kim @ Savvy Southern Style
December 3, 2013 at 2:17 amJenny, the door are simply gorgeous. I like the white trim inside.
Kris @ Driven by Décor
December 3, 2013 at 2:15 pmI have total door envy – it's beautiful! Your holiday door greenery looks wonderful too!
Andrea @ Decorating Cents
December 3, 2013 at 4:35 pmLove them so much. Uh oh, don't make me want to run out and get wood doors. I like the white trim on the inside but both are nice.
Katie
December 12, 2013 at 2:45 pmIt’s already striking, but, yeah, it would be even better if you would coat the casing with some stain too. Although the contrast isn’t bad, there’s just something that seems odd, which I frustratingly can’t pinpoint. Katie@Renewal by Andersen® of Los Angeles
Elizabeth
January 7, 2014 at 5:49 pmOOh I like it! Makes it look so much more dramatic! They are beautiful doors to begin with, but that really took it over the top. 🙂
Mrs. Limestone
March 17, 2014 at 5:13 pmThe darker color looks great!
Dawn Wynne
April 11, 2014 at 12:11 amWhat color stain/brand did you use? Thanks 🙂
Lynne Halloran
January 22, 2015 at 7:38 pmGoing from light to a sleekly dark shade, eh? That’s a bold move, but the effects are splendid. It did suit well with the rest of house’s interior. Cheers for nailing this makeover!
Lynne Hollaran @ Suburban Glass
Cheri Jones
November 24, 2020 at 2:32 pmCan you go lighter with your stain? I, too, have a re tint on my cabinets, but would like to go with a grayish gel. Have you tried that?
Jenny
December 2, 2020 at 8:39 pmI think it depends on how dark your stain is to begin with. If it’s too dark, you would have to sand down the old finish in order to lighten it up.