
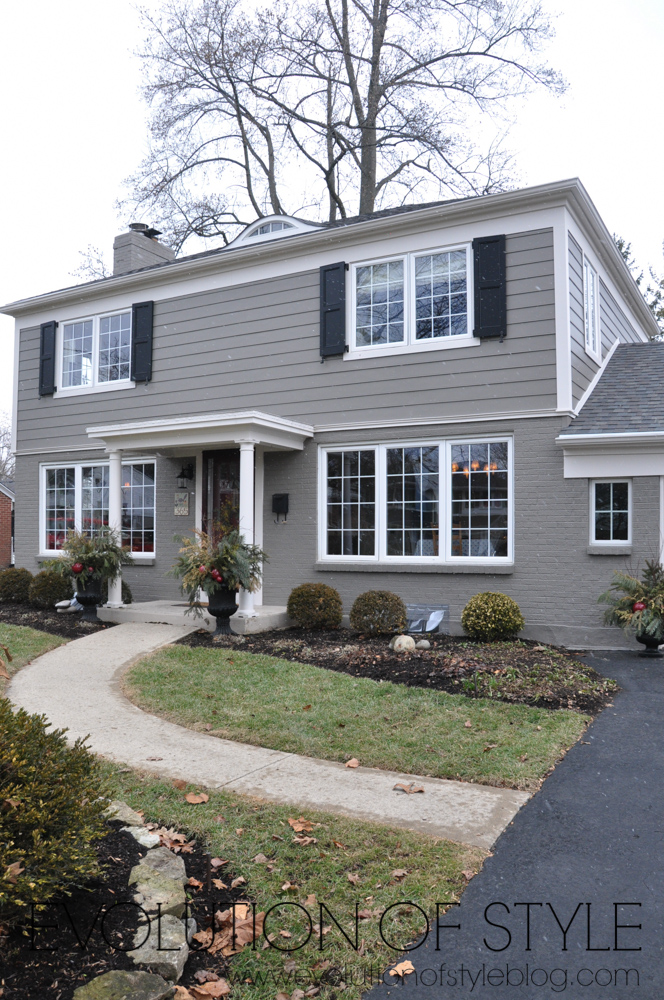
It’s been awhile since I’ve done a House Stalker post, and I know you all love a good remodel as much as I do. So, I’m really excited to share Part One of my friend Colleen’s home remodel – her main floor bathroom. The kitchen remodel will be next (and you don’t want to miss it, I promise). Colleen has great taste and an eye for classic style (not to mention a green thumb that you wouldn’t even believe). You can see what I mean about her classic style by looking at the exterior of her home – beautiful colors and details from the start (notice the rooftop eyebrow window). This post contains some affiliate links.
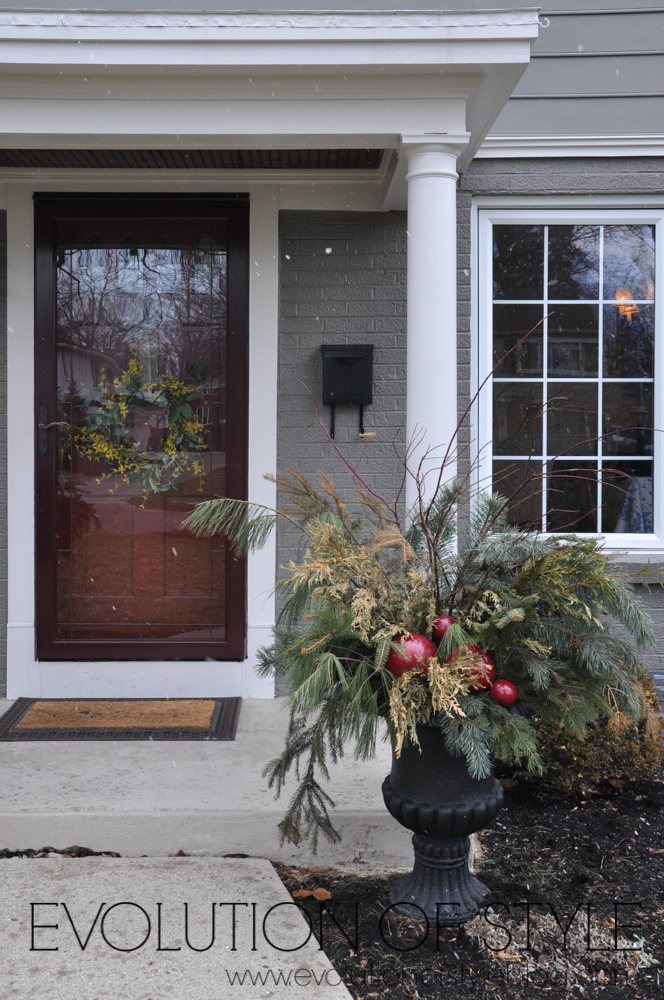
The green thumb I was mentioning – these winter urns only give a hint at Colleen’s gardening talents.
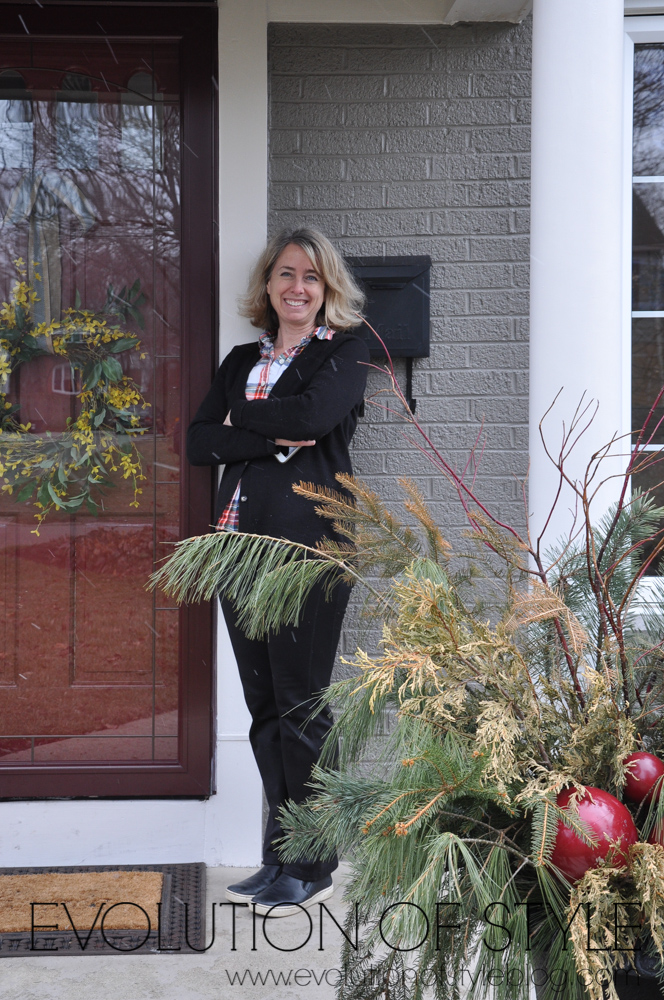
And Colleen is as cute as can be.
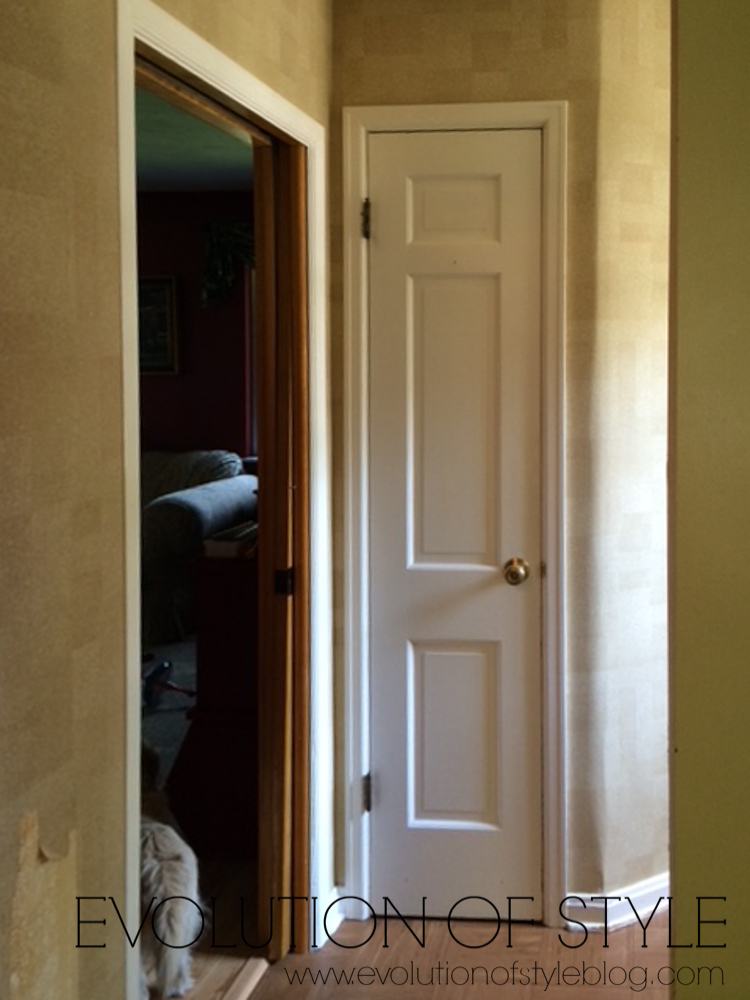
I’m saving the kitchen remodel for Part Two of this House Stalker installment, but let’s get going with the bathroom remodel, shall we? It was actually done AFTER the kitchen remodel, so you’ll get a little sneak peek at what’s to come, since the bathroom is not far from the kitchen. Let’s start out with where it all began. As we head from the kitchen to the bathroom, this is what you used to see, before the remodel.
Now, you see this gorgeous cabinetry is a warm, mushroom color.

And this lovely glass paned door to the outside, gives lots of natural light.

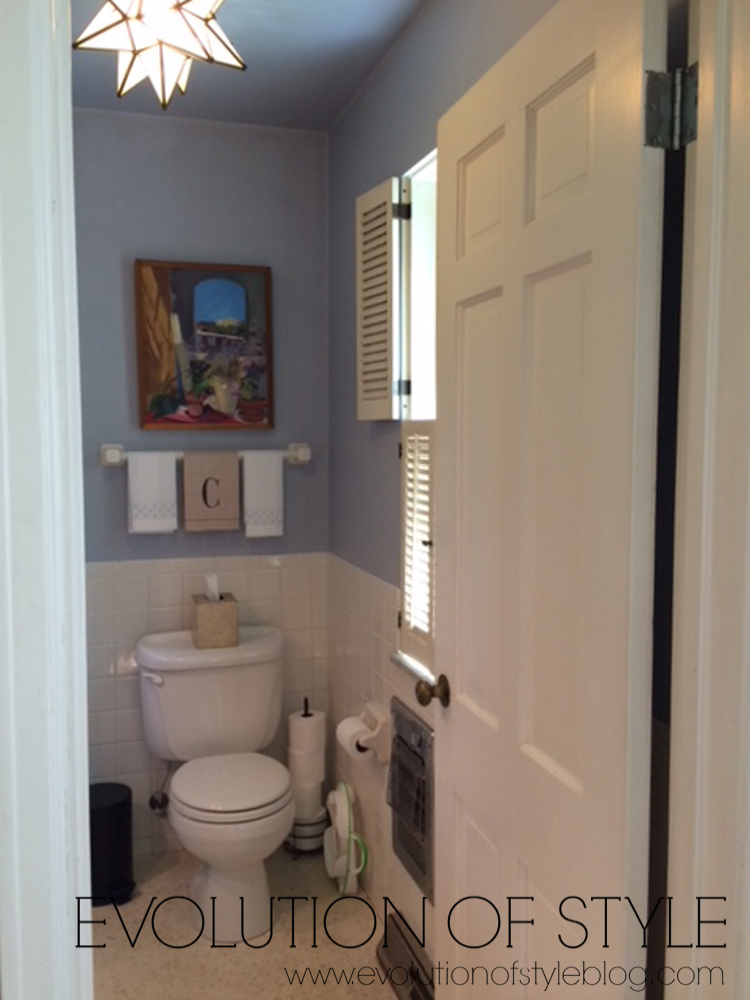
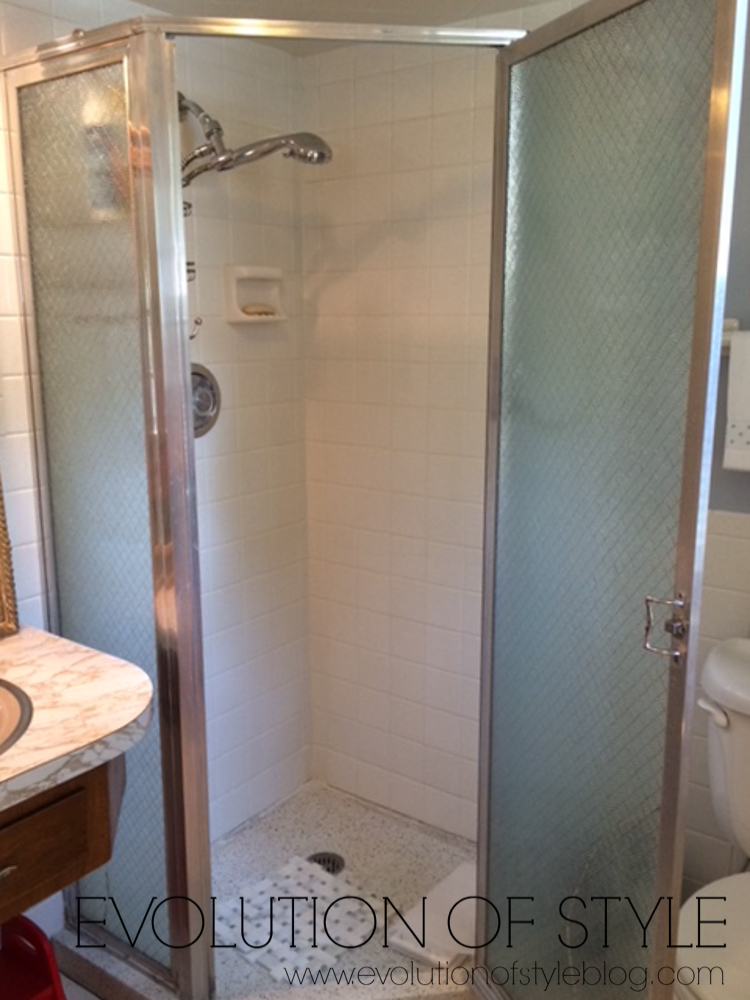
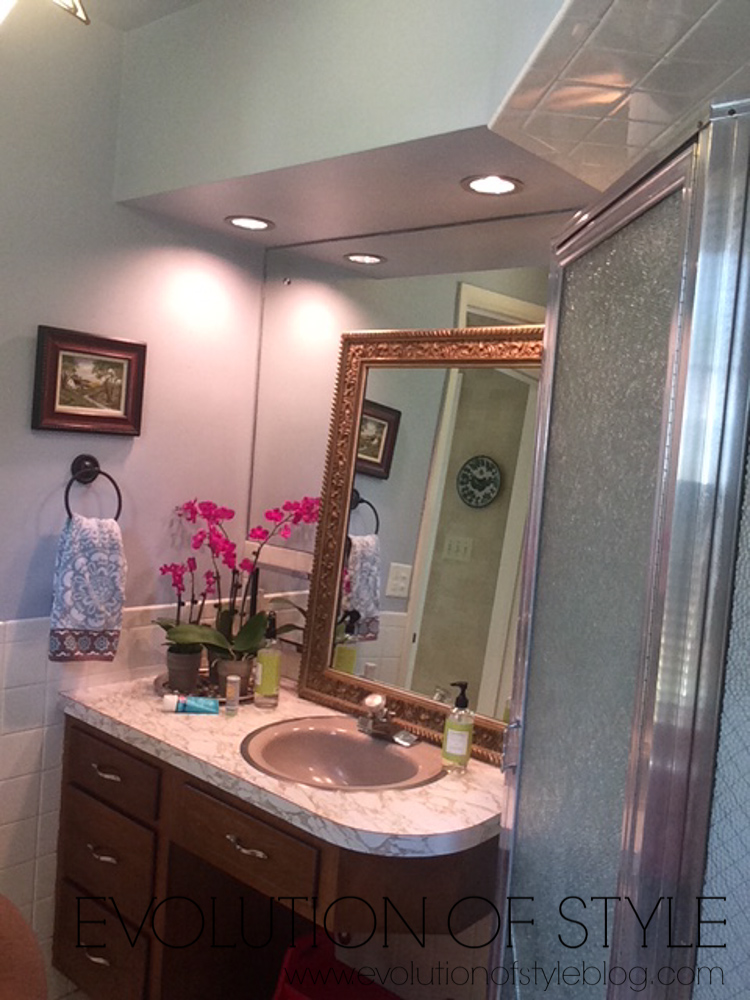
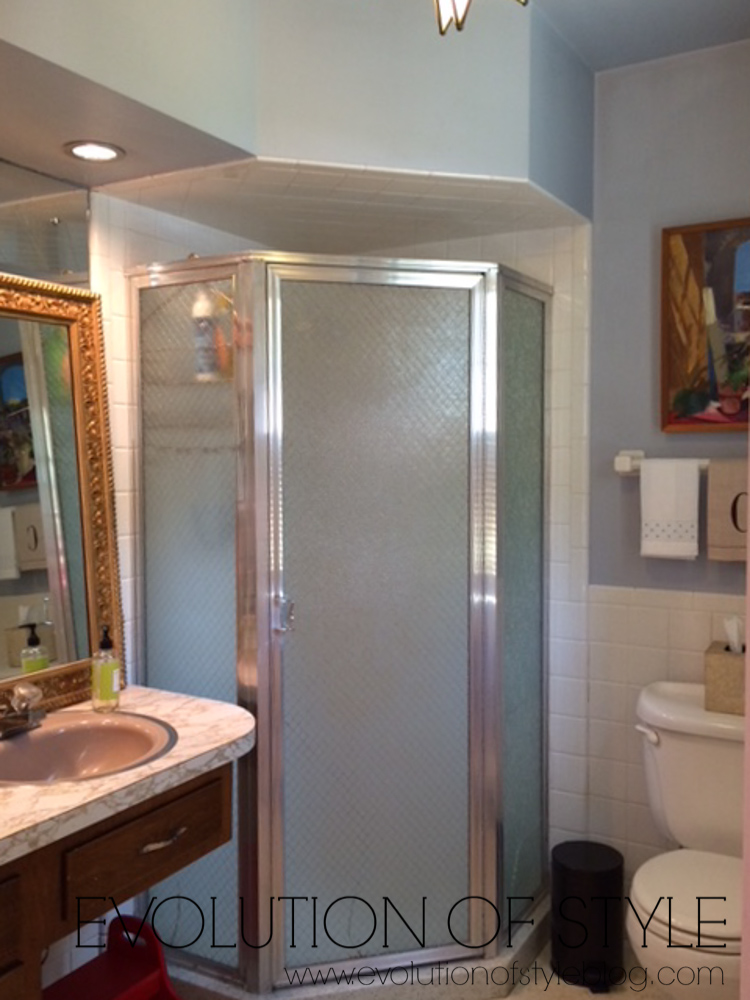
Here is the actual bathroom before the remodel – definitely some 50’s details showing up here (although I like the light fixture).
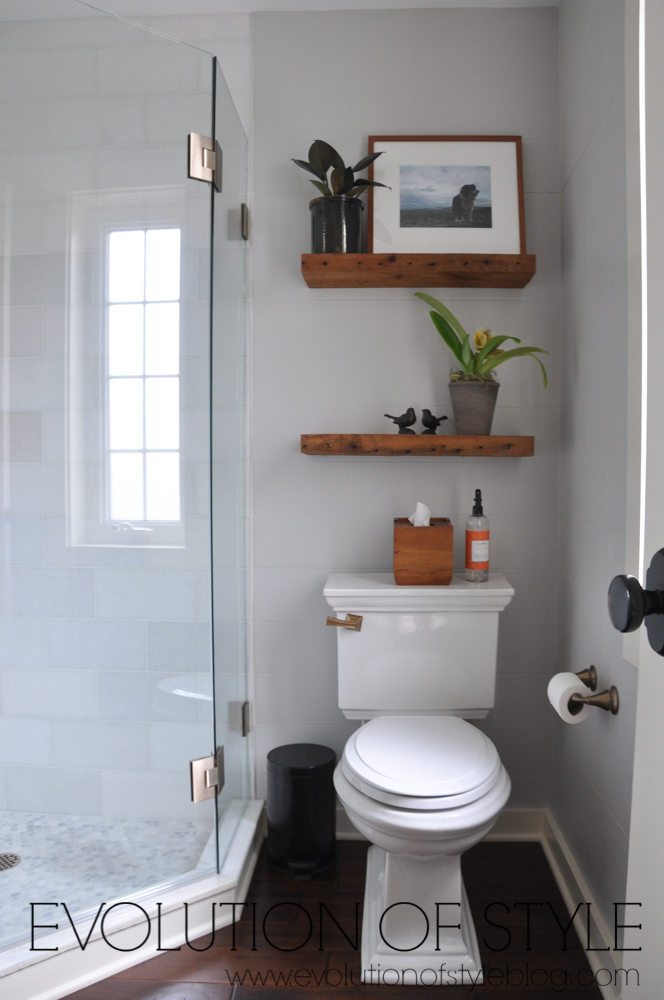
Now let’s take a look at it now. My photo is not doing this space justice. If you look closely, you can see the tile detail on the walls. The goal was to get a continuous shiplap look from the shower to the walls, and it was no small feat, considering that they had a frameless shower to figure in to the equation. The wood shelves were an Etsy purchase, and the little birds are from Colleen’s own Etsy shop, Canterbury Cottage.
By seeing a side by side comparison of the old shower vs. the new one, you can really appreciate how the frameless shower lightens up the whole space.
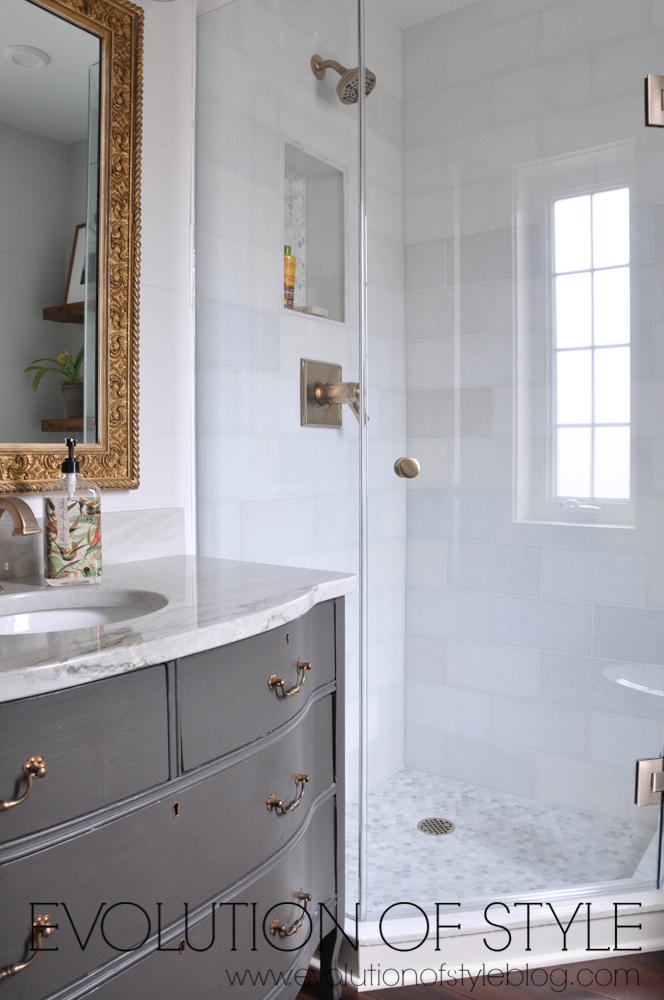
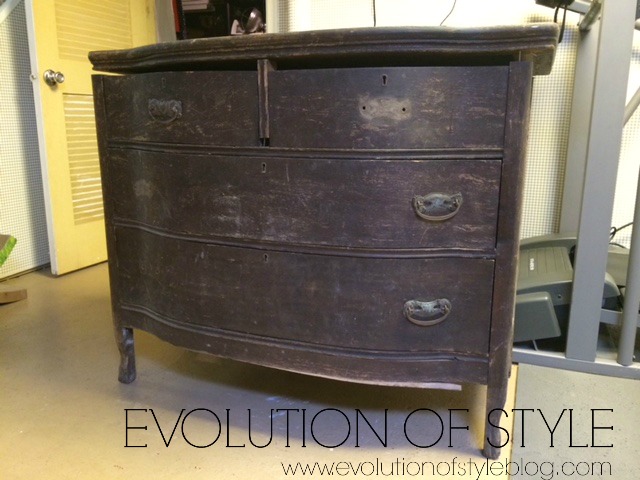
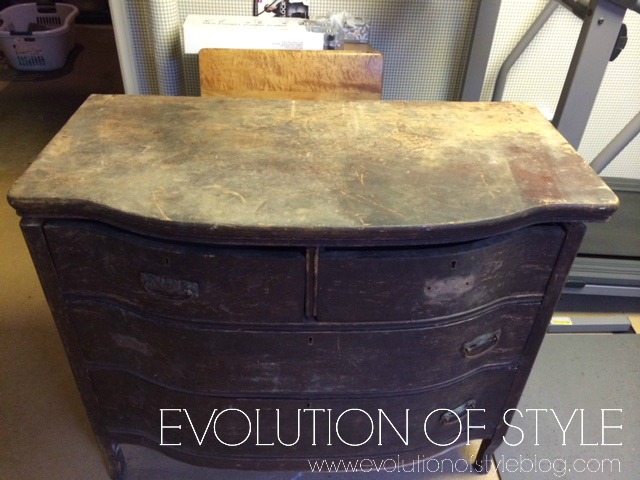
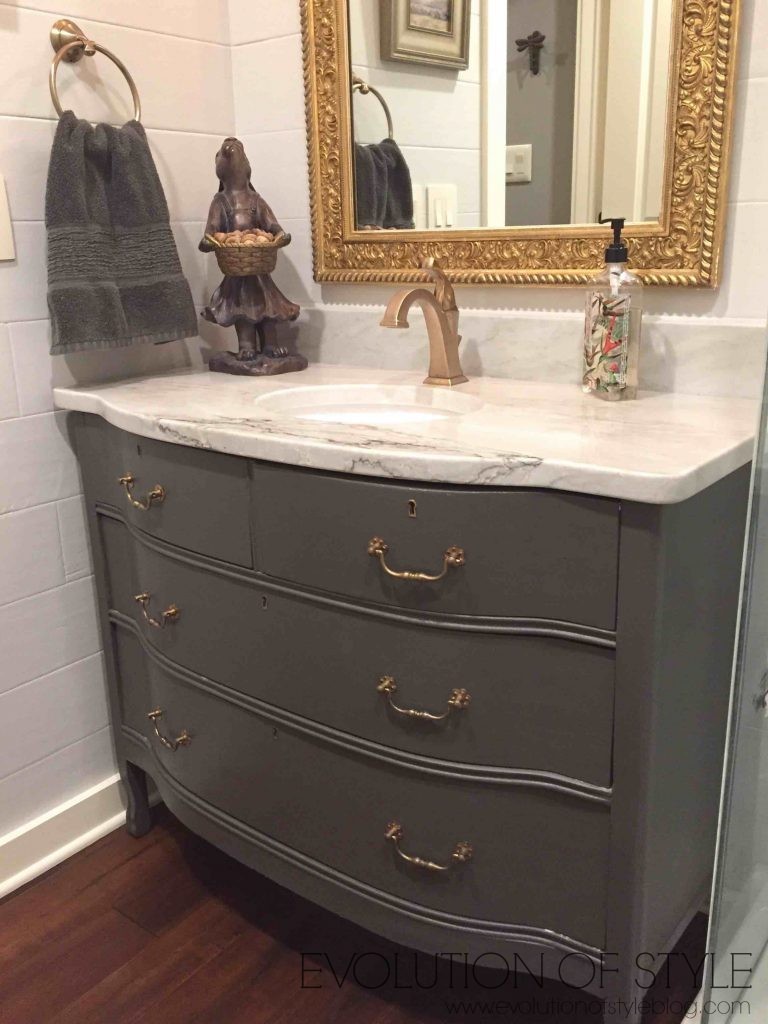
I know what you’re thinking – that vanity!!! Isn’t it gorgeous? You wouldn’t guess from the way it looks now, that it started from such humble beginnings.
Colleen had a remnant piece of granite finished to match the curves of the dresser, making it look even more custom and high end.
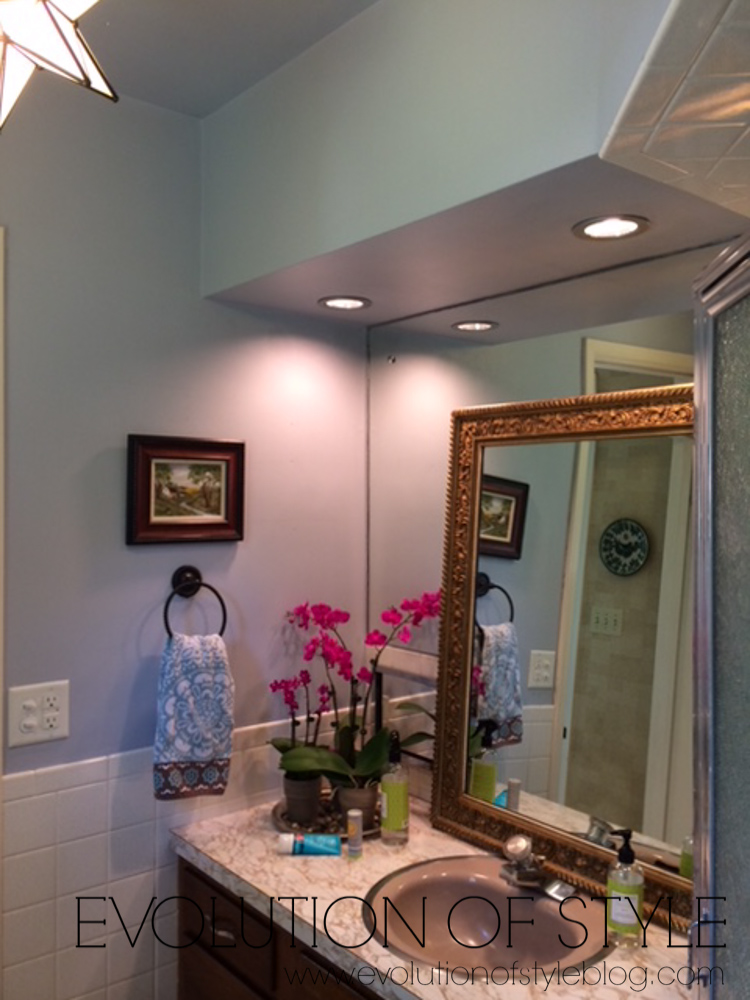
And this is how the bathroom vanity looked before the remodel began.
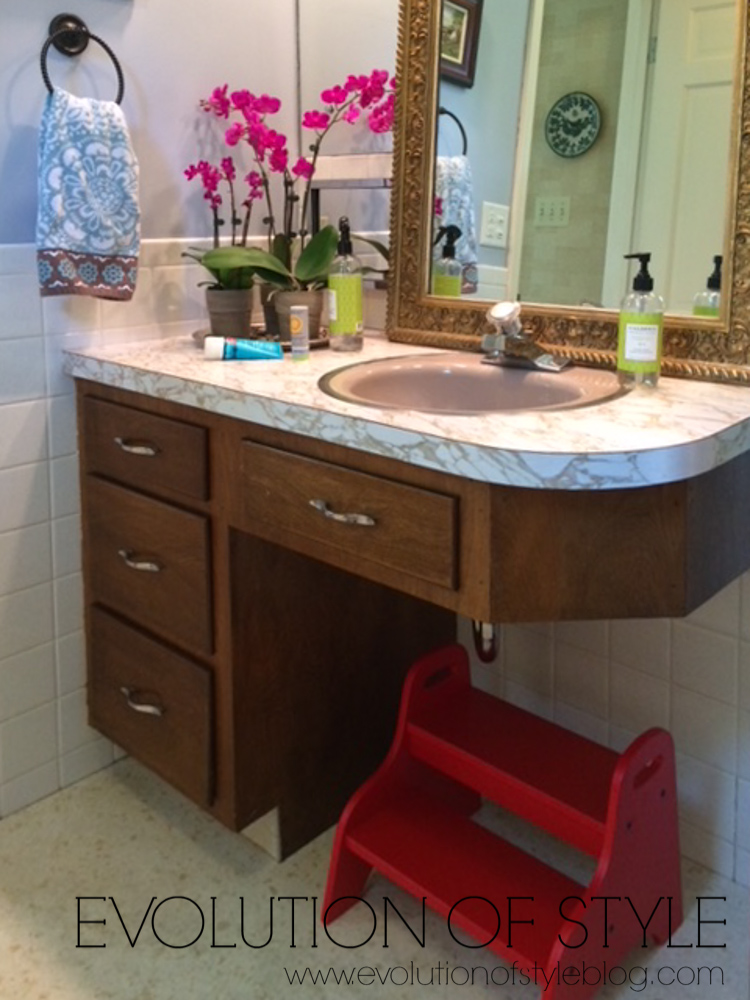
You can see that there was a large soffit in the original bathroom design. Removing that also gave the space a lighter look and feel.
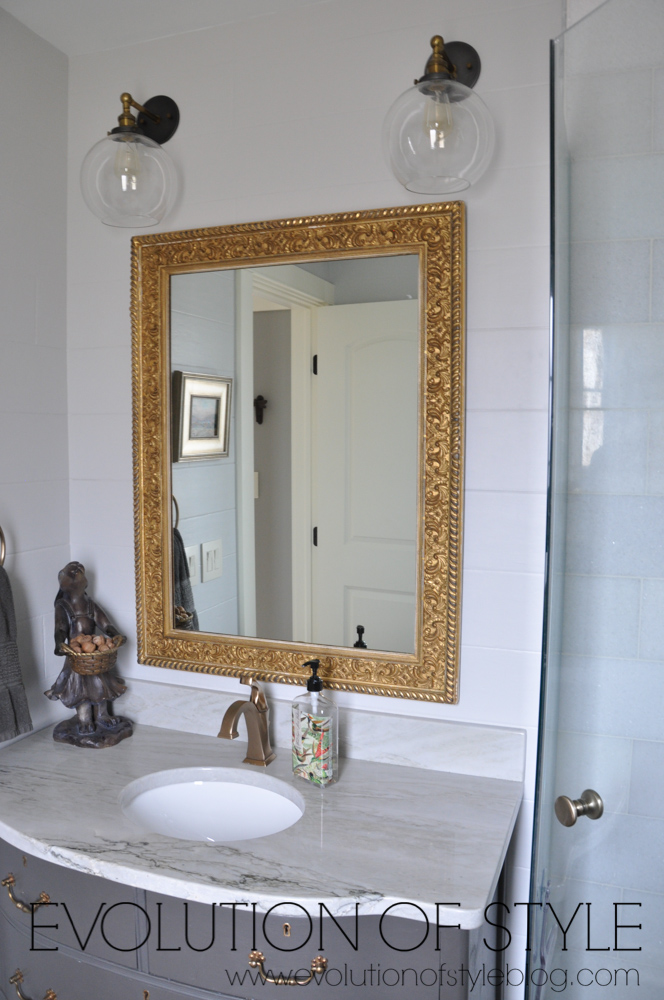
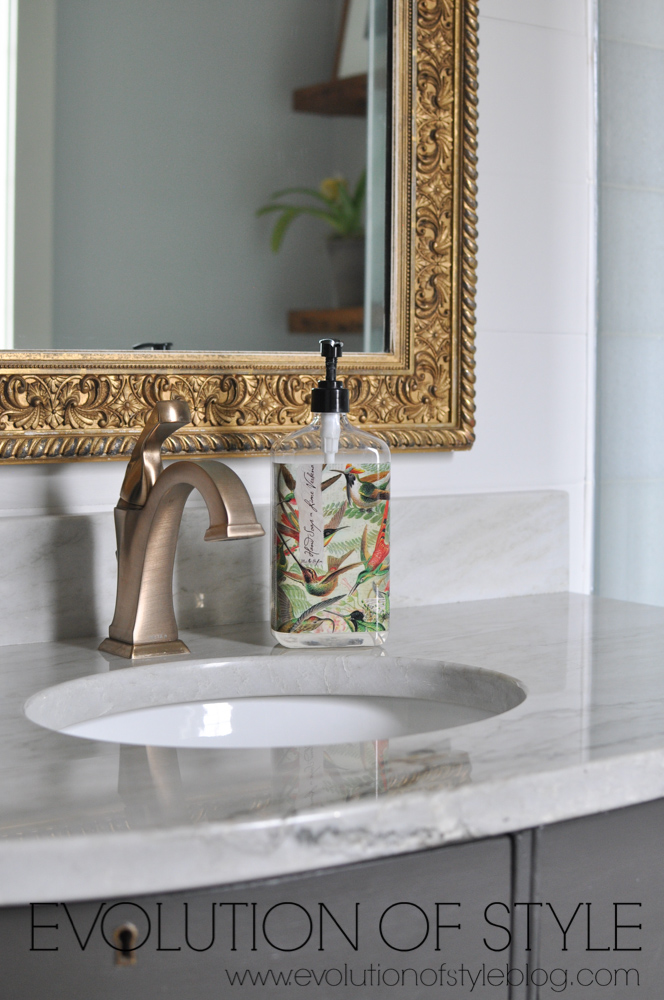
I love the brass finishes in here too. Subtle and striking. Lighting is from Restoration Hardware.
One last look at the before and after –
Suffice to say, that with a bathroom remodel this awesome, you’re going to love the kitchen remodel!
Do you have a House Stalker remodel or makeover to share? Contact me – you could be featured!
Jenny

11 Comments
Jackie
January 30, 2018 at 9:26 amWoot – way to go, sister!
Lauren@SimplyLKJ
January 30, 2018 at 12:15 pmWhat a transformation. Love the cabinet housing the sink.
Colleen
January 31, 2018 at 2:03 pmYou’re killing me with kindness Jenny. Your photography skills are what make this post!
CJ
January 31, 2018 at 8:02 pmWould Colleen be willing to share the paint brand and colors used on the exterior of her house? I also would like to know how the paint is holding up on the brick. We have a home with brick on the bottom and siding on the top and have been considering a similar look.
Colleen
February 1, 2018 at 12:26 pmHi CJ. We have textured brick and the paint color we had previously stuck on REALLY well for over 15 years. I’m sure brick texture plays a part in wear. A few touch-ups here and there, but we loved unifying the two floors. The field color is custom and I’ll attempt to explain the formula: Sherwin-Williams Exterior Satin Super Paint, W1/White (10 in 32 column, 1 in 128 column), B1/Black (2 in OZ column, 7 in 32 column, 1 in 64 column), R2/Maroon (8 in 32 column), Y3/Deep Gold (38 in 32 column). LMK if this doesn’t make sense.
jill
February 1, 2018 at 2:45 pmLove it! She is so talented, I’m jealous! Are you able to share the Etsy shop she used for the shelves? Thanks!
Colleen
February 2, 2018 at 8:18 amBarnwoodDesignsNY. Very easy to install!
Anne Maher
October 3, 2019 at 1:48 pmHi Jenny, Love this design! I’m actually going to try to re-create a similar look @ my beach house in Virginia Beach. Wondering what kind of floor you used? It looks like it is wood and may have already been in there before the renovation. Would like to have something waterproof if possible. Maybe even tile as that seems to be the most water proof material from my research. Also did you get the tile @ a local shop? I’ve been able to find fixtures @ Home Depot and would like to get everything @ one place as much as possible. One more thing do you know if the Kohler toilet is elongated or round? Thanks for any information you can share! Anne
Jenny
October 3, 2019 at 3:23 pmThere are hardwoods in this bathroom that carry through from the kitchen. The toilet appears to be elongated. It’s such a cute bathroom, I love it!
Anne Maher
November 4, 2019 at 10:50 amMy flooring is also going to go into my laundry room renovation as well. Love the flooring and color as well. Hope to start this project soon! Thanks for sharing!
David Powers
June 2, 2021 at 4:31 amIt’s been a long time I actually pulled out a piece of paper to take notes on a blog post. Thanks for this. You’ve earned yourself a new reader!