
Hello all!
First off, let me say that I have a whole new respect for anyone who has survived lived through a kitchen remodel. Having the contents of my kitchen strewn around my house is already stressing me out, and I suspect that any Trick or Treaters we had last night thought that we were hoarders if they caught a glimpse. It was definitely the scariest house on the street.
I’m very excited that this project is finally getting off the ground, as it is one that I have wanted to do since we bought the house almost a year ago. But man, do I loathe the prep work that is involved. Have you ever tried taping the inside of a cabinet? Unless you have a small child or a secret elf helper that can sit inside the cabinet and tape it off (and not request to come out), it’s pretty much an impossible task. Or at least impossible to do well.
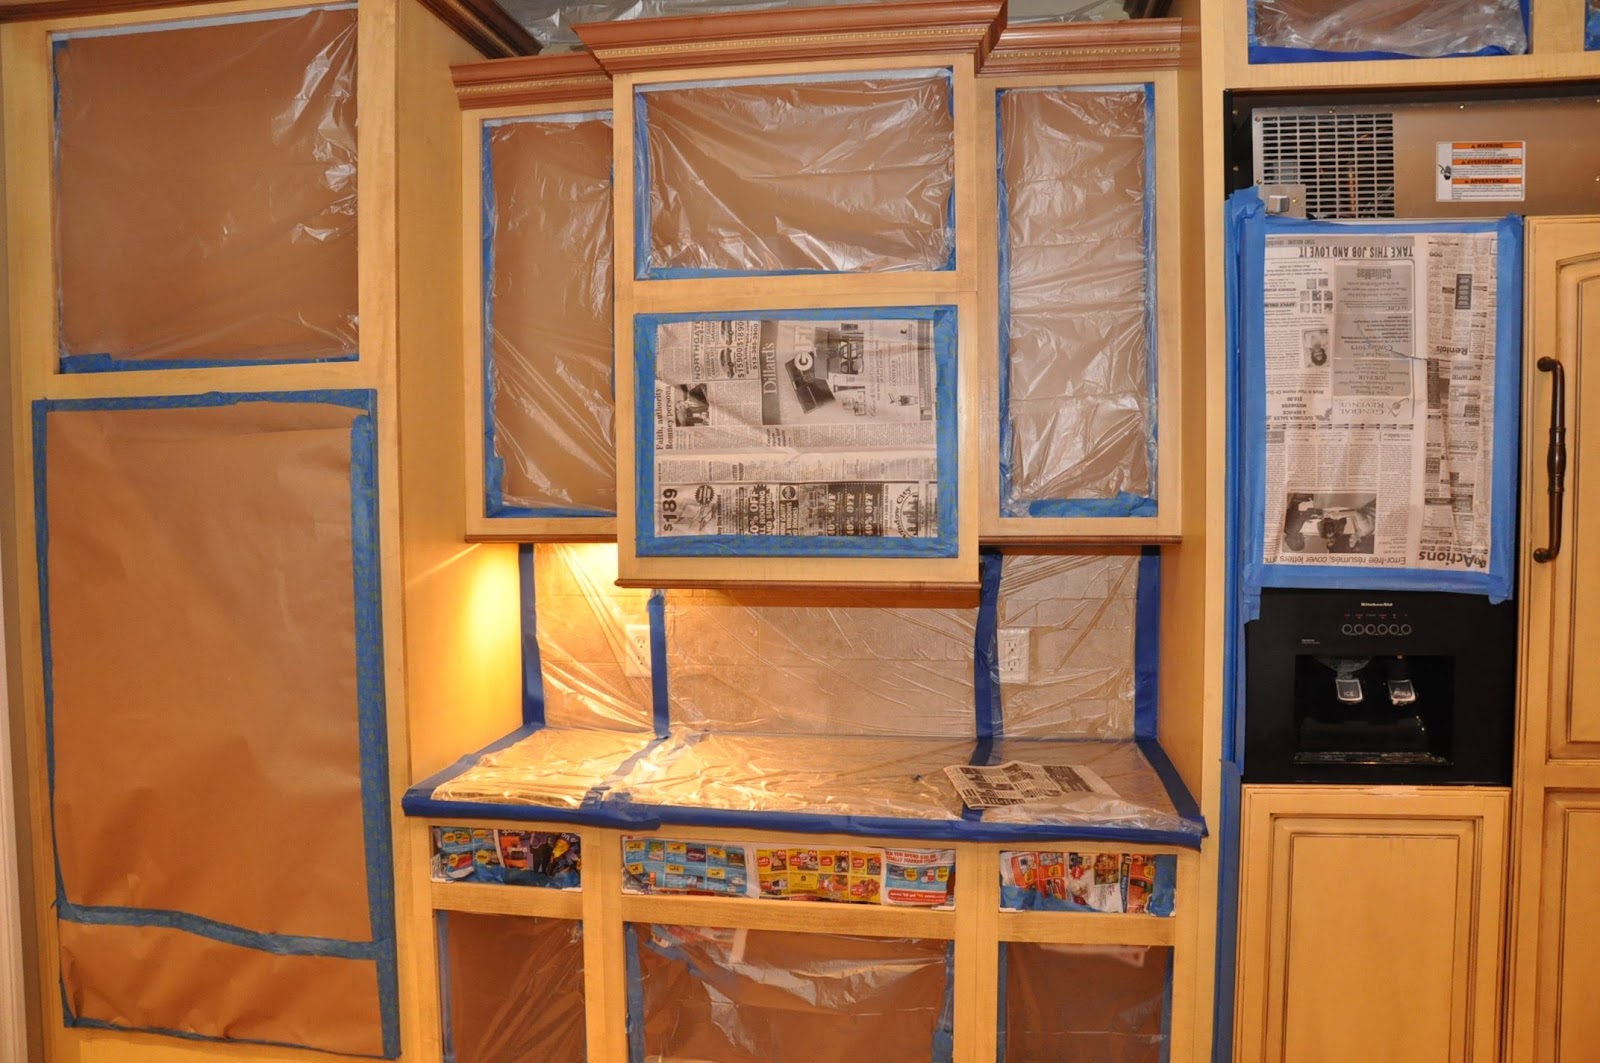

And no, the dog didn’t pee on the contractor paper – I think my daughter got a glass of water from the fridge dispenser and spilled it. At least I hope that’s what happened…
I have googled just about every combination of “taping off kitchen cabinets” that you can fathom, and have come up with zilch. I found some pictures of cabinets that are taped off, but no good instructions on how to do it (well). So, if you have any suggestions (or a small elf I could borrow), I’m all ears.
I did get to some of the fun stuff – painting – which was a much needed break from the tedios taping exercise. The cabinets are primed on both sides and I got the first coat of paint on the back of the cabinets. I was swooning over the color of the tinted primer and am even more thrilled with the paint. It’s a beautiful, creamy white that I had color matched to my cabinet sample piece.
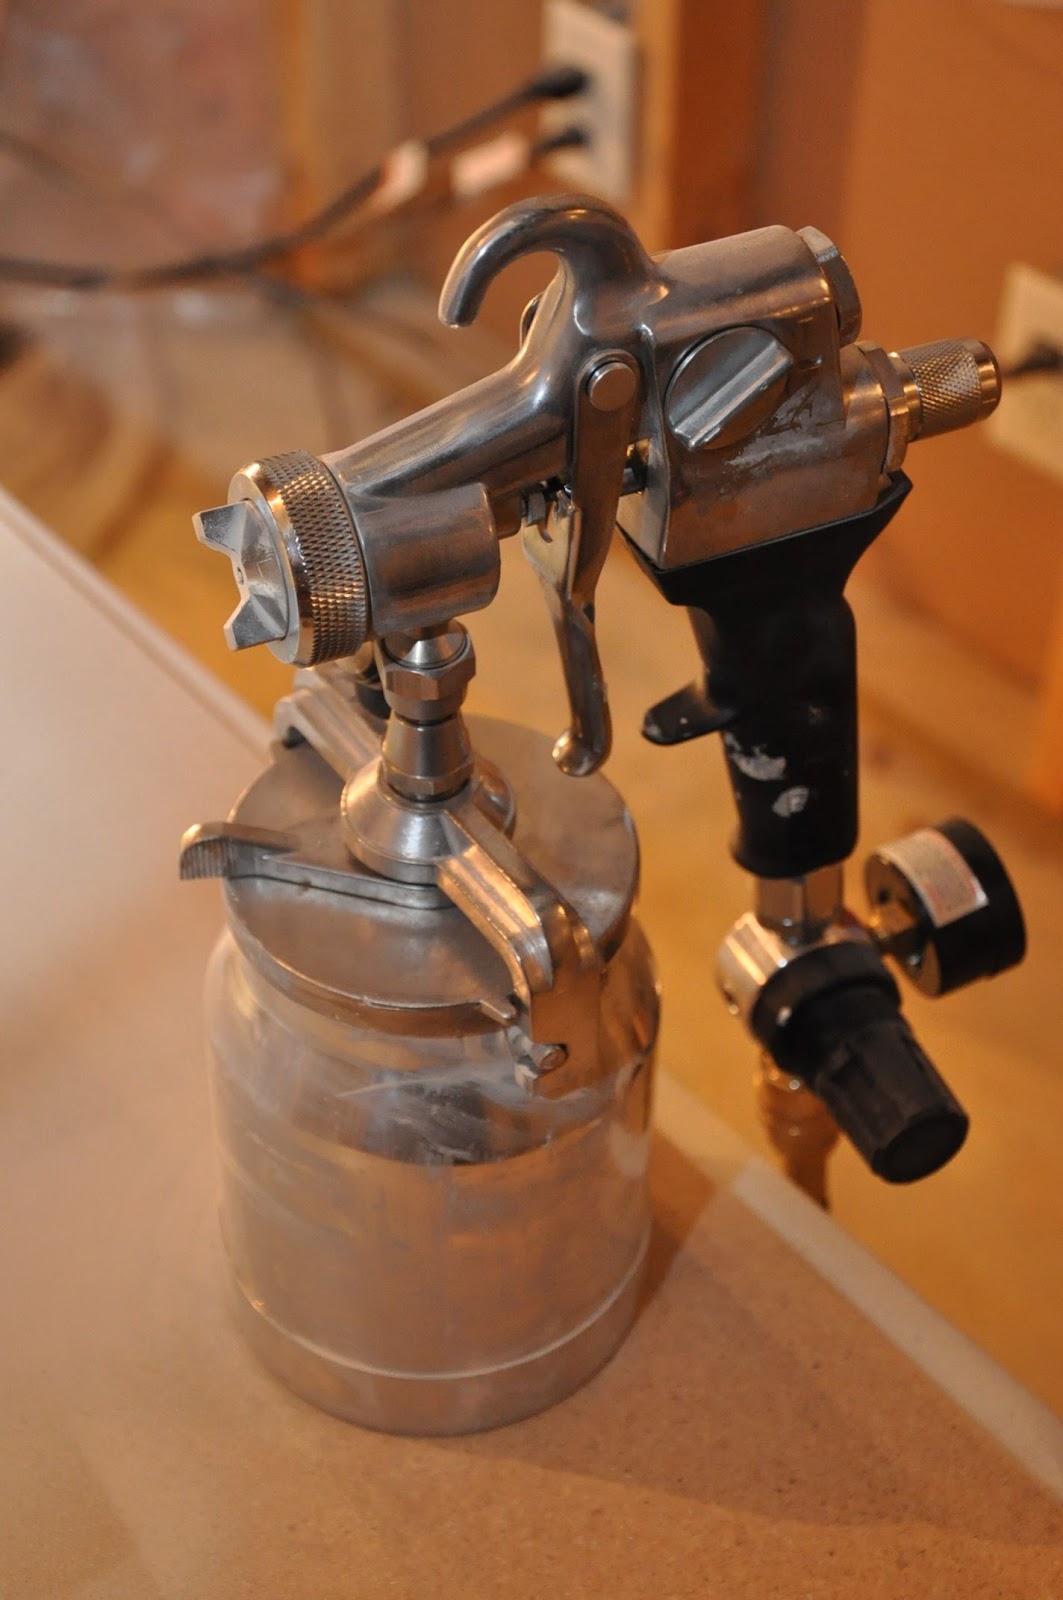
Let me just say that I’m in love with my new HVLP conversion spray gun. If you ever decide to do a project like this, I can’t say enough about this thing. You NEED one. It has made fast work out of my 50+ cabinets and drawers, and at least makes the prep work worthwhile. I kid you not. I can knock out a door in 1-2 minutes with this puppy.
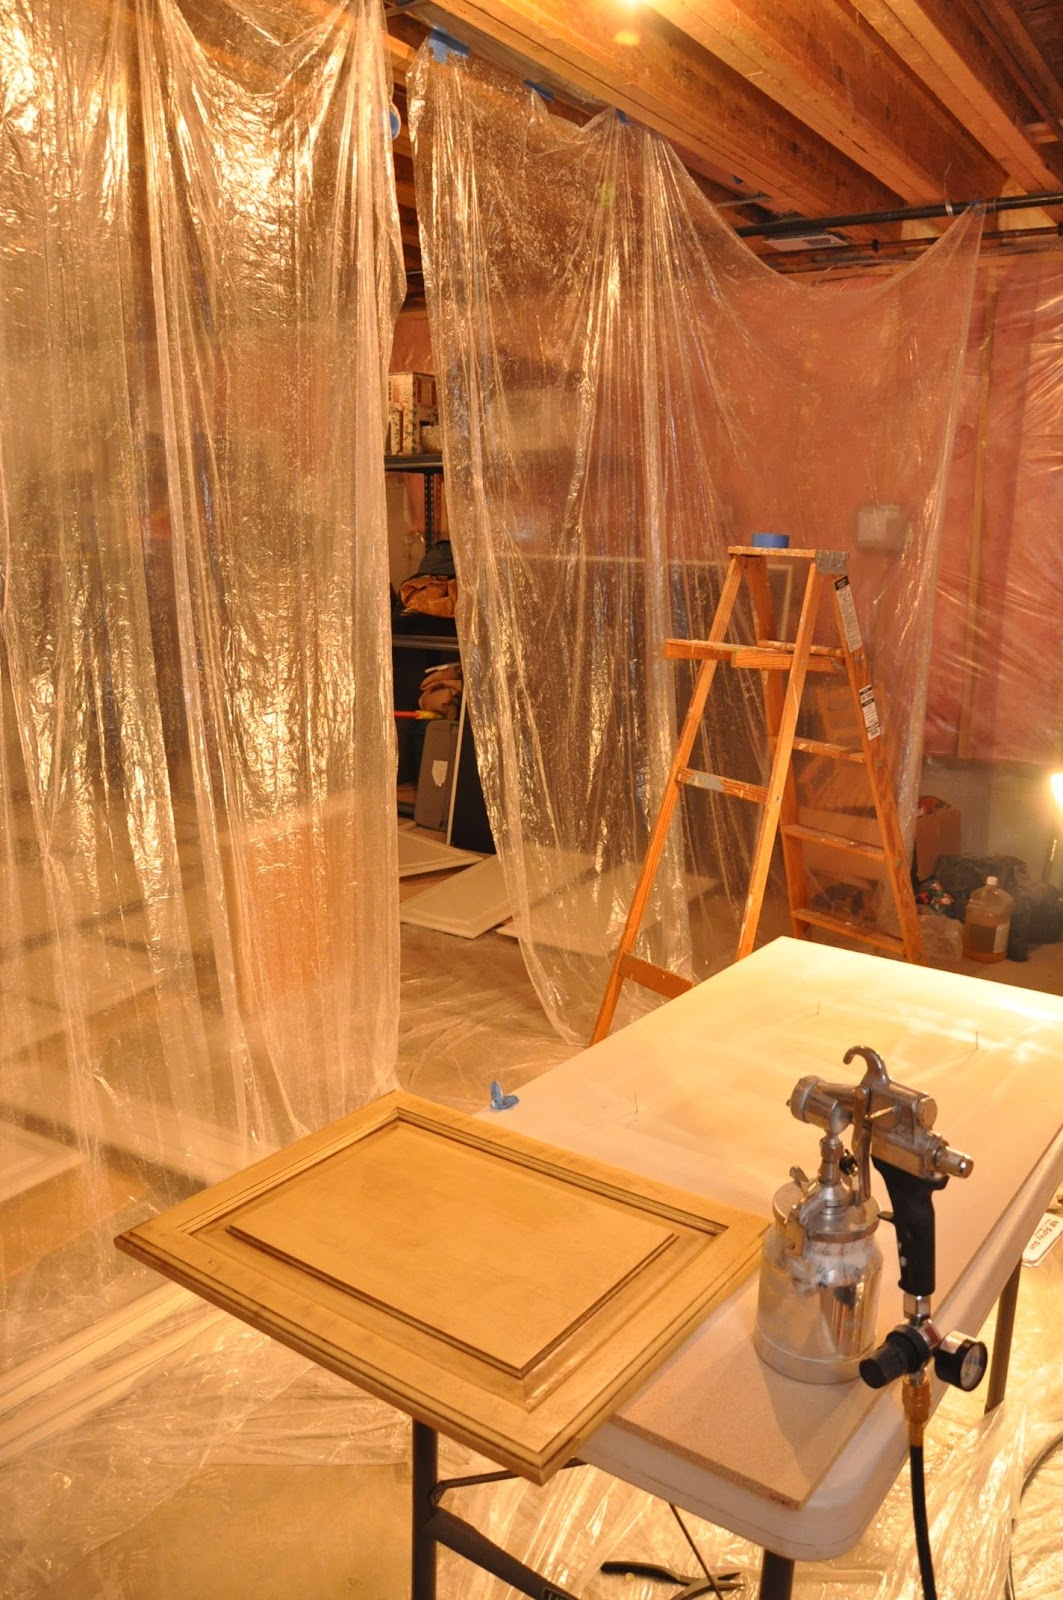
I set up a little “staging area” for spraying the doors. Although my husband asked if it was an “alien abduction area” and my son asked if I had ET back there. I used a folding table and put a piece of MDF on with with four nails to balance the door. This way it’s easier to pick up and put it back out in the “cabinet farm” to dry with the others.

See what I’m saying about how precise this thing is? I can dial it down to spray a really fine line around the sides of the cabinets.
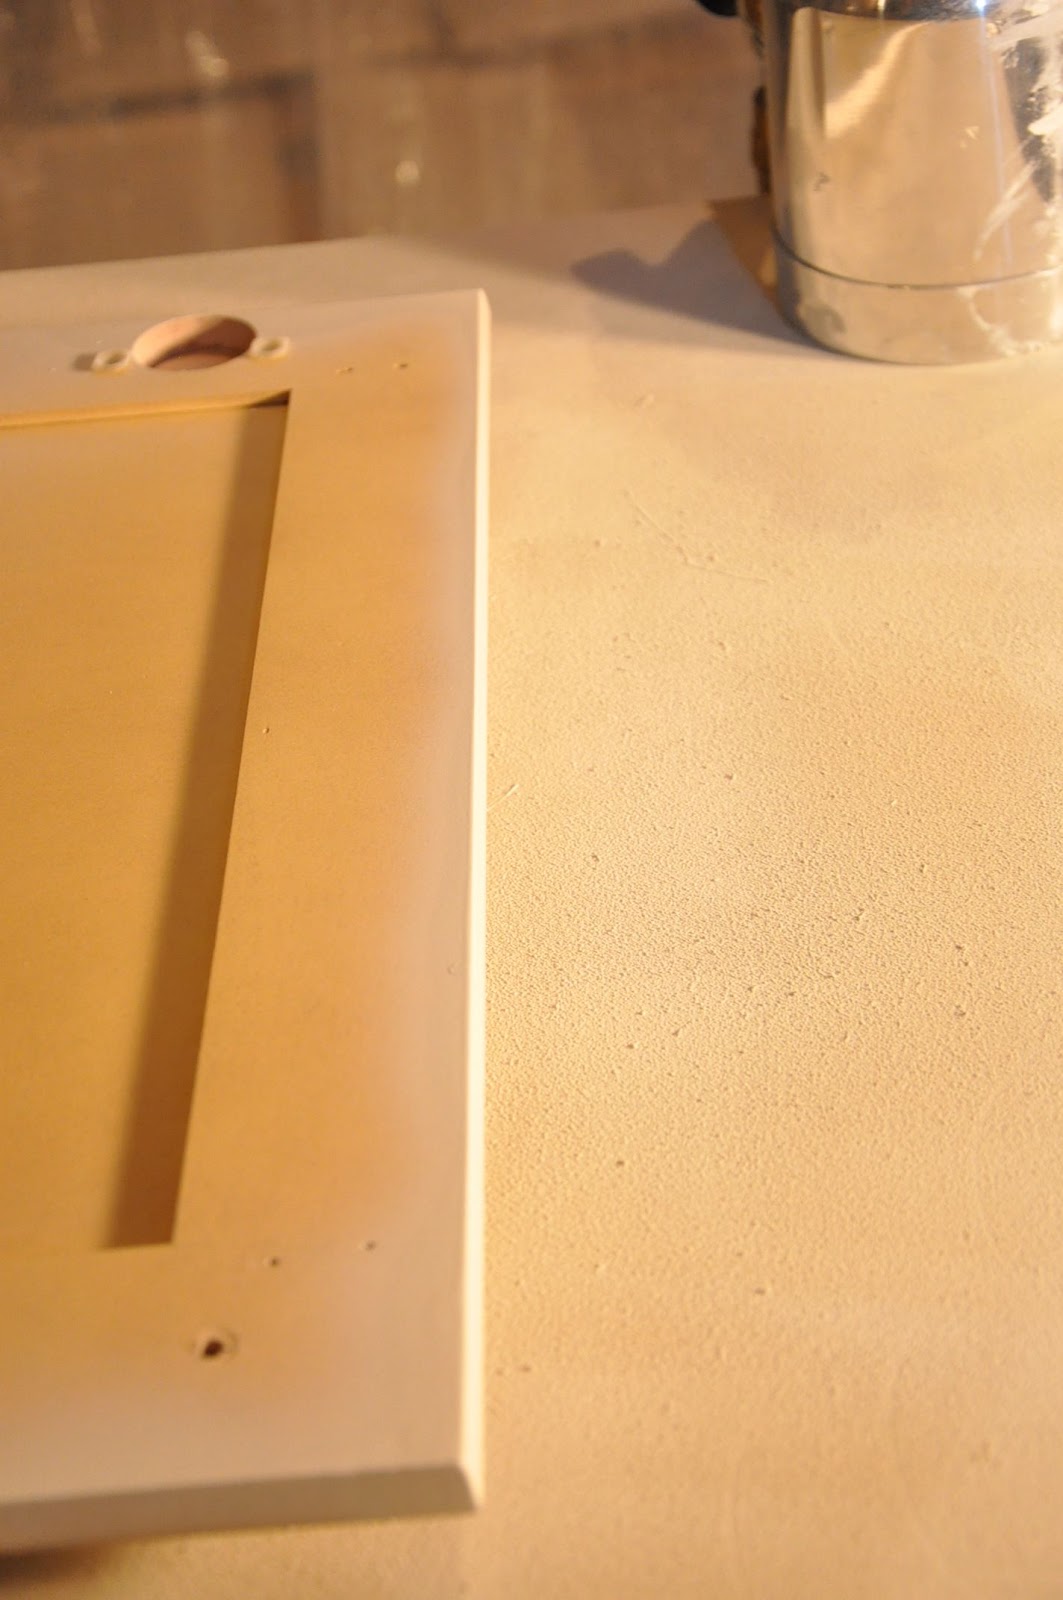
And then go on to spray the rest of the cabinet. The finish is like buttah.

I have to tell you, all of this work has made me feel like an old mare. My back – oh my aching back!

So, there you have it. Phase 1 of I-don’t-know-how-many phases in this project. 🙂

14 Comments
A Vintage Vine
November 1, 2011 at 2:06 pmJenny, it is going to be beautiful…."the old mare" picture still has me laughing!
Jen
November 1, 2011 at 3:41 pmI LOVE the MDF+nails idea! I've been using fiddly thumbtacks. DUH! Thanks for the tip! What kind of HVLP spray gun do you have? We have a Wagner power sprayer, but it too is kinda fiddly. Thanks!
Jan@southernjunkin'
November 1, 2011 at 4:02 pmIt will be fantastic when you finish! Have spray gun will travel…
Kathryn Ferguson Griffin
November 1, 2011 at 6:57 pmOh, I cannot wait to see what it will look like! I'm sure it will be beautiful! Have a grand evening and hope you get a back massage! Toodles, Kathryn @TheDedicatedHouse
Rachel @the house redeemed
November 2, 2011 at 6:16 amWe completely gutted our kitchen and replaced everything from floor to ceiling (I say we really just my husband!) We lived off of sandwiches and microwaveable meals for three months. I took pictures of every step of the process and I haven't blogged about it yet, because it still feels overwhelming! Good luck on your remodel!! You will have a huge sense of accomplishment when it's finished.
Carmel @ Our Fifth House
November 2, 2011 at 1:05 pmWow – what an undertaking! It'll be so great when you're done though – totally worth the aching back 😉
Sarah @ Thrifty Decor Chick
November 2, 2011 at 2:40 pmI'll be following your progress! I'm thinking of biting the bullet and doing the same. 🙂
Geezees Custom Canvas Art
November 2, 2011 at 3:11 pmI know what an ordeal it is redoing a room…but it's gonna be worth it and it's gonna look beautiful!
lauram1029
July 13, 2012 at 9:34 pmI must be totally out of date or something…because I liked the way your cabinets looked before too! Is that considered and out of date look? My cabinets are just "wood" colored…and I thought the distressed/pinstripe vintage look was still in?? I do like the brightness of the white cabinets more though.
Abby's Mom
March 25, 2013 at 2:30 amWhat paint color and finish did you use?
Brent Murray
April 14, 2016 at 2:49 pmWhat is the name of the sprayer you used during your kitchen remodel. Thanks
Jenny
April 14, 2016 at 4:04 pmIt’s the Wagner HVLP Conversion gun that I hooked up to my air compressor. I bought it at GleemPaint – http://www.gleempaint.com/hvcongunnew.html. Awesome tool to have in your arsenal!
Meganne
April 22, 2018 at 8:21 amDid you sand or strip your cabinets before doing them? Or sand in between coats? Also, did you use poly on them when you finished the painting? And what kind of paint? Thanks!
Jenny
April 24, 2018 at 7:39 pmYou can see a full tutorial with all of the steps involved here – https://evolutionofstyleblog.com/2012/01/how-to-paint-your-kitchen-cabinets-like.html