
I get lots of questions about paint sprayers – what do I use, how they work, how to troubleshoot them, etc… I know how intimidating paint sprayers can be – I’ve been there. I’ve felt that feeling. Not only do you want to be sure you’re using the sprayer correctly, but you also want to be sure that you don’t ruin the piece of furniture (or set of kitchen cabinets) that you’re updating. Today I’m here to show you a paint sprayer made simple for the DIYer – a sprayer that will get the job done, but is easy to use right out of the box. This post is sponsored by Wagner – but all opinions are my own and based upon my own experience.
Let me preface this post by saying that my first paint sprayer was a Wagner HVLP Conversion Gun, and it’s what I used to paint my kitchen cabinets. The very first time I ever painted kitchen cabinets. The paint sprayer I use now is a Titan Capspray 95 HVLP system (Titan is owned by Wagner), so suffice to say, I am a fan of Wagner, and use their products every week. So, sharing a DIY spray setup from Wagner isn’t a stretch for me. I know them, I love them, I trust them.
So I was tasked with painting a piece of furniture with their Flexio 4000 paint sprayer. Challenge accepted. Do I have a piece of furniture in mind for this project? Oooooh yes.
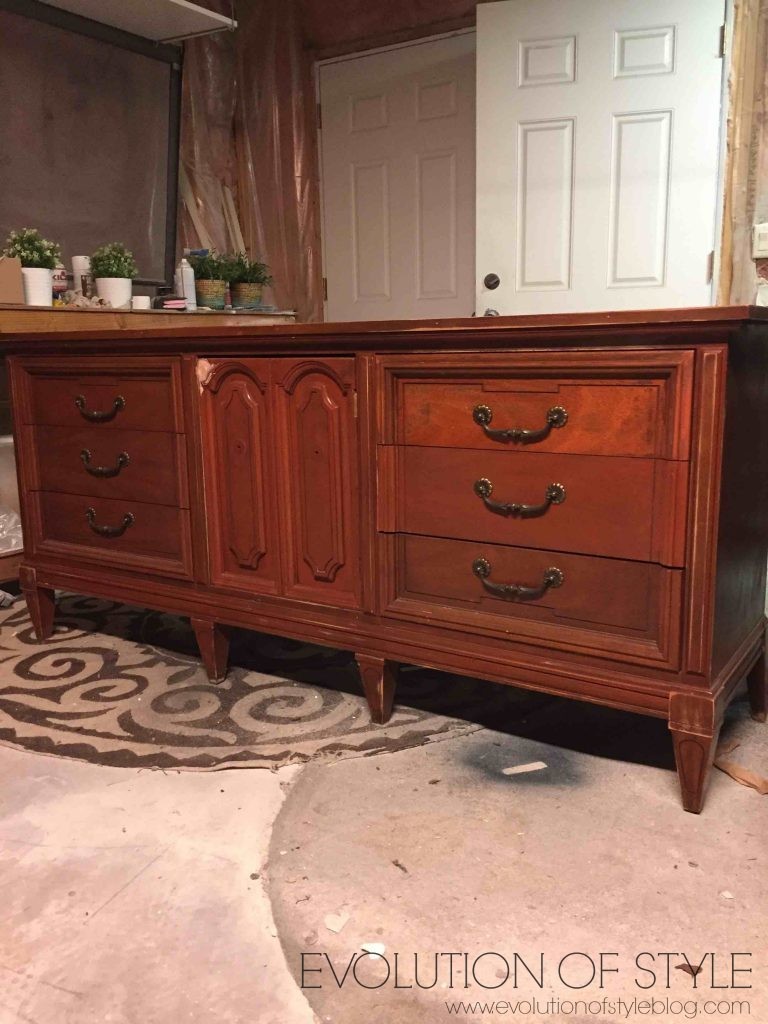
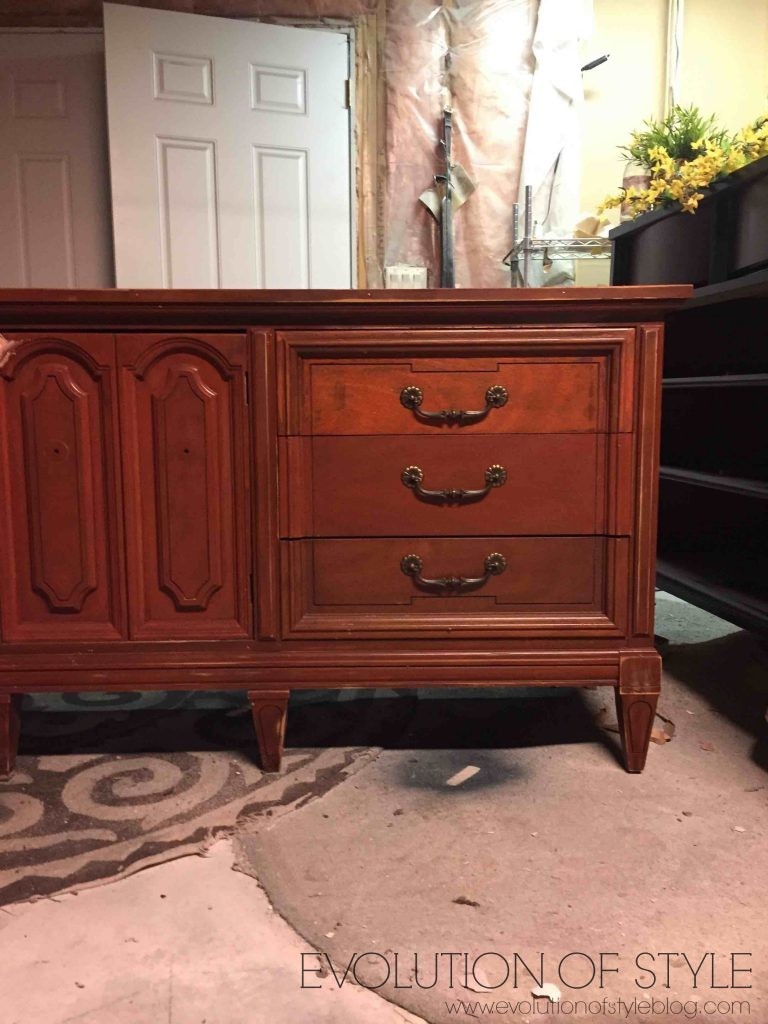
Remember this dresser? It was a hot mess with a lot of potential that I picked up at an estate sale, um, last year. It just needed some TLC and a purpose. Don’t we all? It appeared as though it had been re-stained in some sort of reddish color, and just wasn’t looking very good. But it’s solid, and the style is classic.
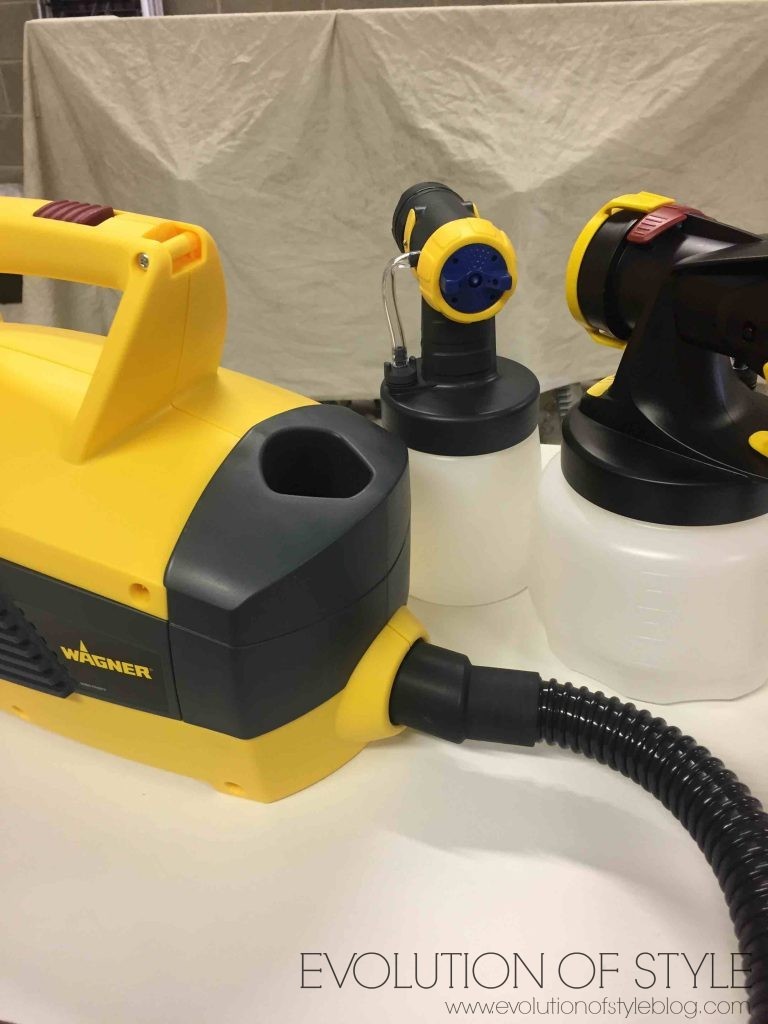
The Wagner Flexio 4000
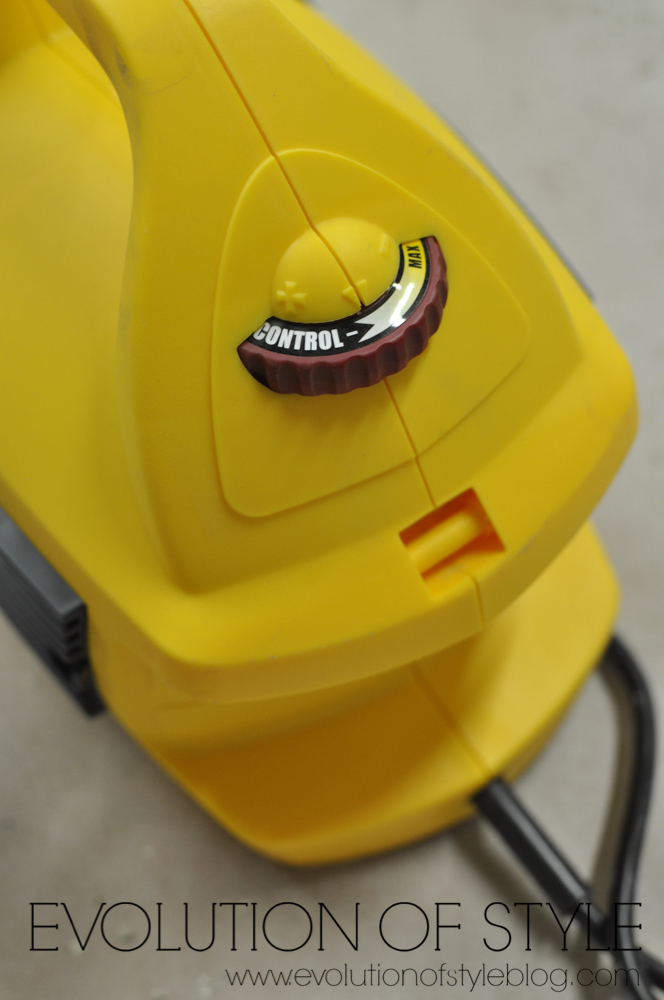
Let me just tell you how excited I am to share how easy this sprayer is to use. If there was a “Paint Sprayer for Dummies” this would be it, because it really is super simple. The Wagner Flexio 4000 is similar to my commercial HVLP setup in that it has a separate turbine that powers the sprayer. So, no need for an air compressor – it’s all contained into one unit. What does this mean to you? You don’t need to worry about the pressure settings on the spray gun and air compressor. The pressure setting is set on the turbine unit (with an easy dial that goes from Minimum to Maximum), and the material flow (i.e., the flow of your paint or primer) is controlled at the gun, as is your spray pattern and size. It comes with two different nozzles – one for larger projects, one for smaller projects and fine finishing.
Let me illustrate. Here is the dial for the material flow:
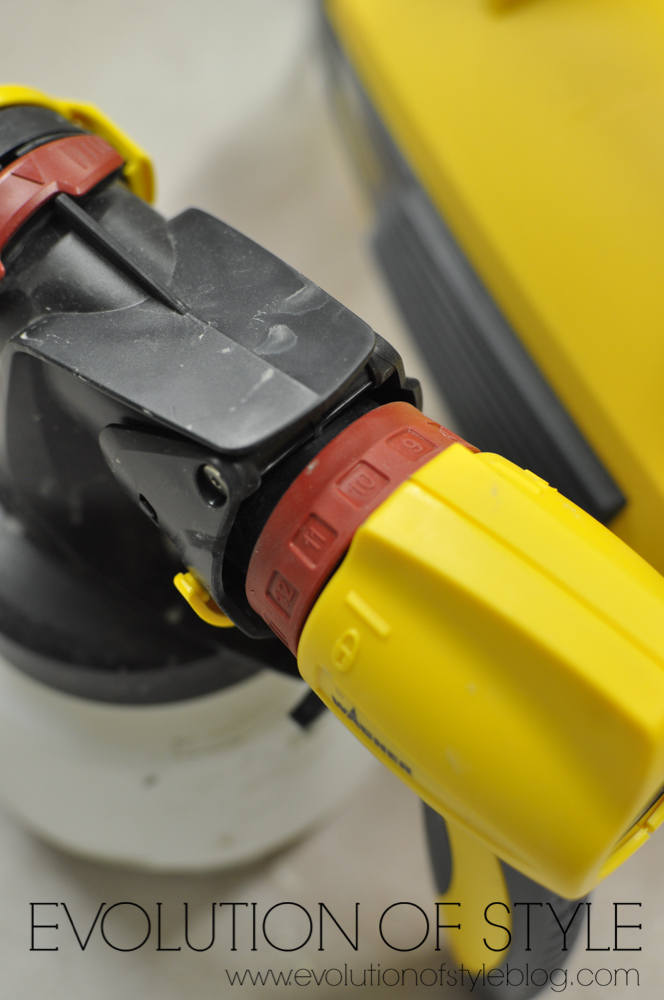
Here is the dial for the pressure level:
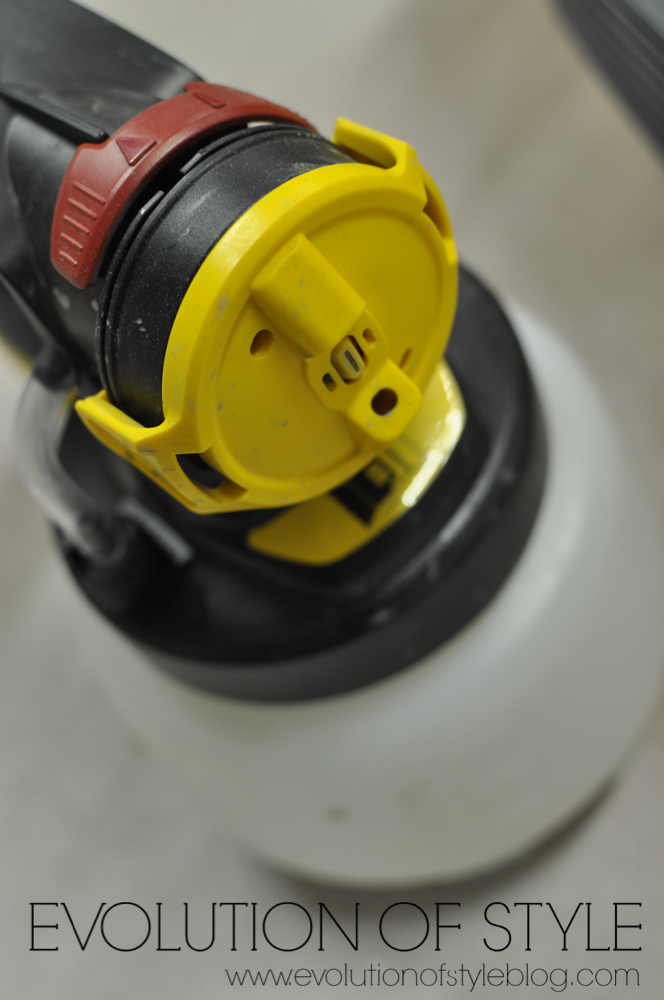
Here is the nozzle itself. You can change the direction of your spray pattern by turning this yellow piece.
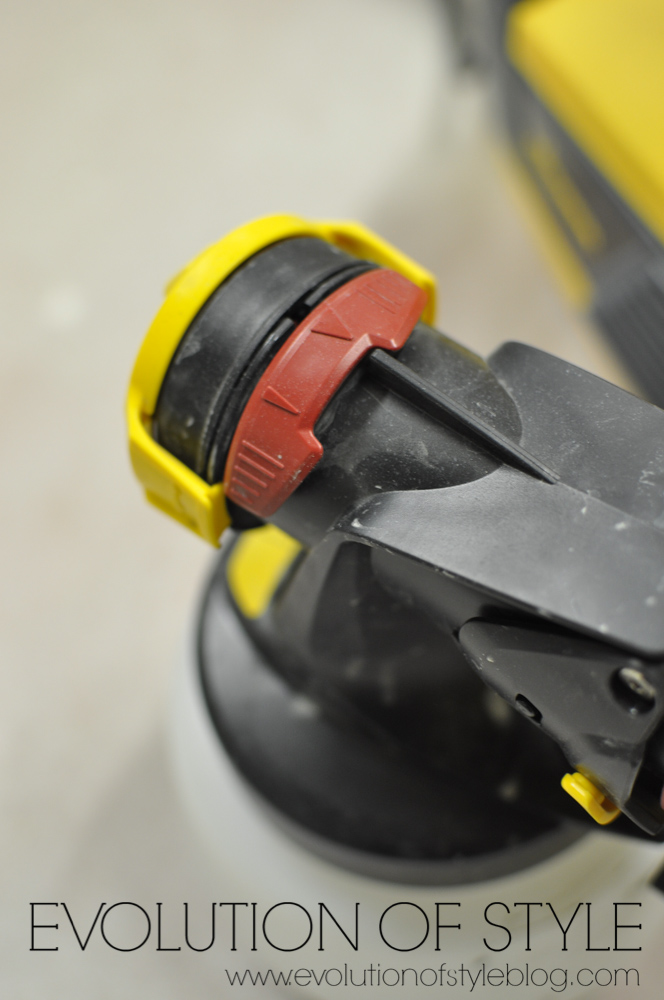
And this red dial adjusts the size of your spray pattern.
While I did read the directions (as we all should), I could have figured out how to use this sprayer right out of the box. It’s all very self-explanatory. And I like that. I need that.
I started out by just spraying water, just to get the feel for the settings, but after that, it was go time. Before you spray the paint on your furniture, do a test spray on a piece of cardboard so that you can make sure the settings are where you want them.
I did two coats of paint on this piece, and experimented a bit, thinning one coat, but not thinning the second coat, and this sprayer could handle both of them with ease. This sprayer is light, produced very little overspray and is easy to control and adjust to get the settings just right.
You can see a video of this sprayer in action here – Wagner Flexio Video Demo
Here it is after just one coat of paint.
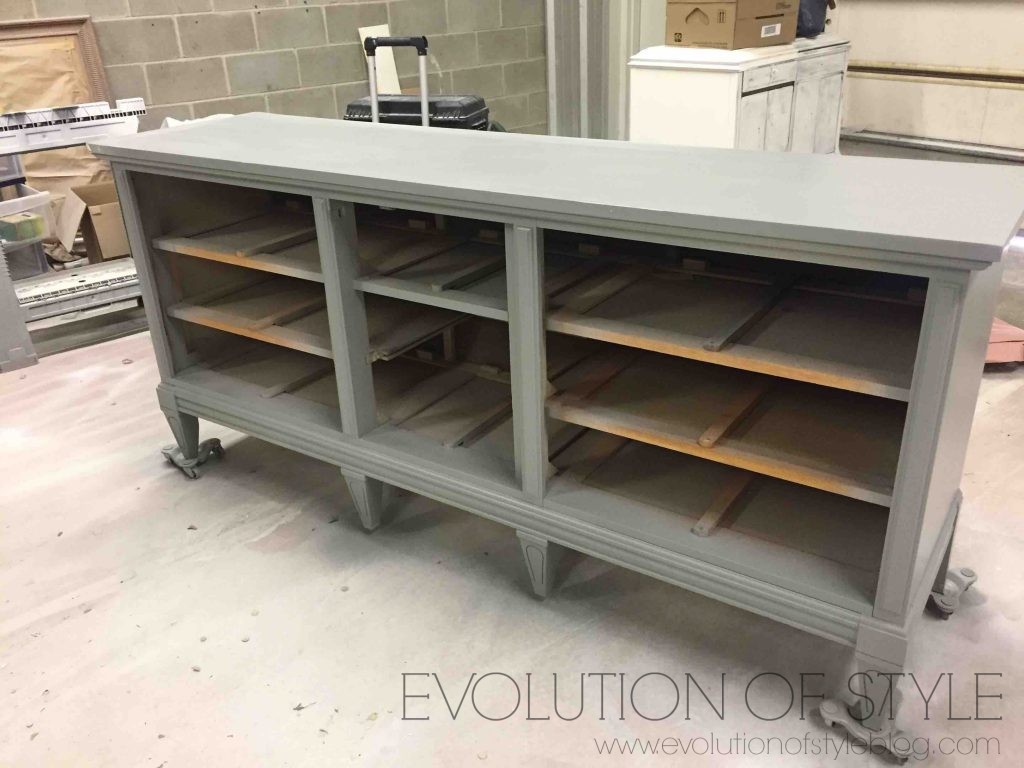
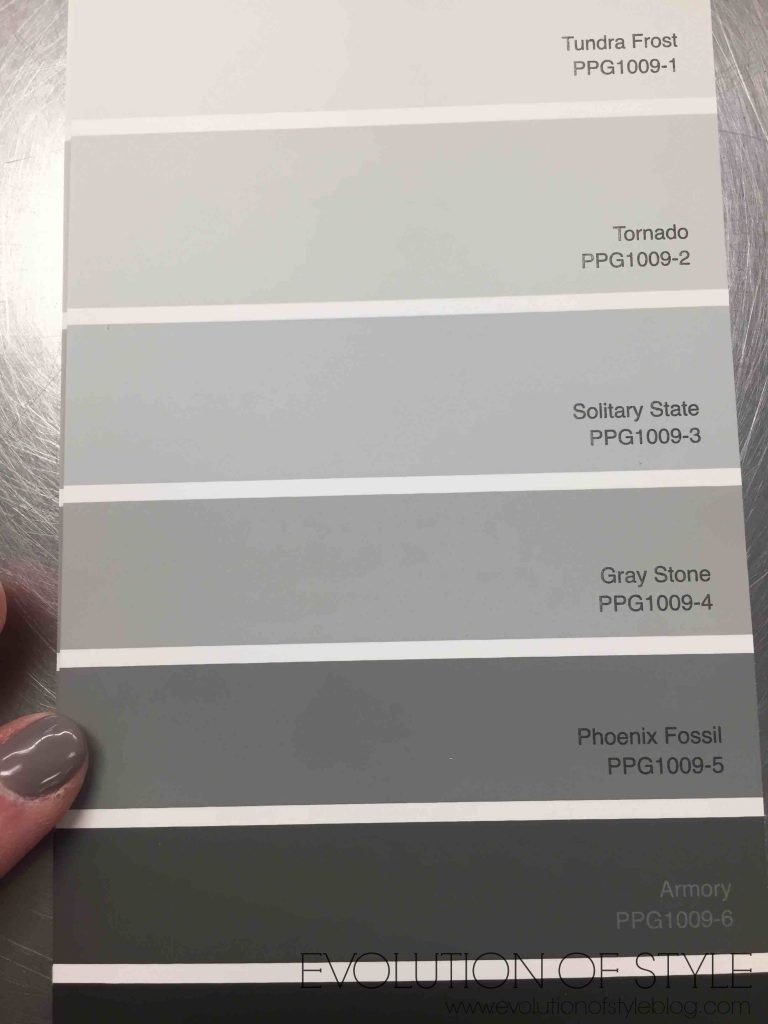
The paint color is called Phoenix Fossil, by PPG, and I used PPG Breakthrough on this piece of furniture.
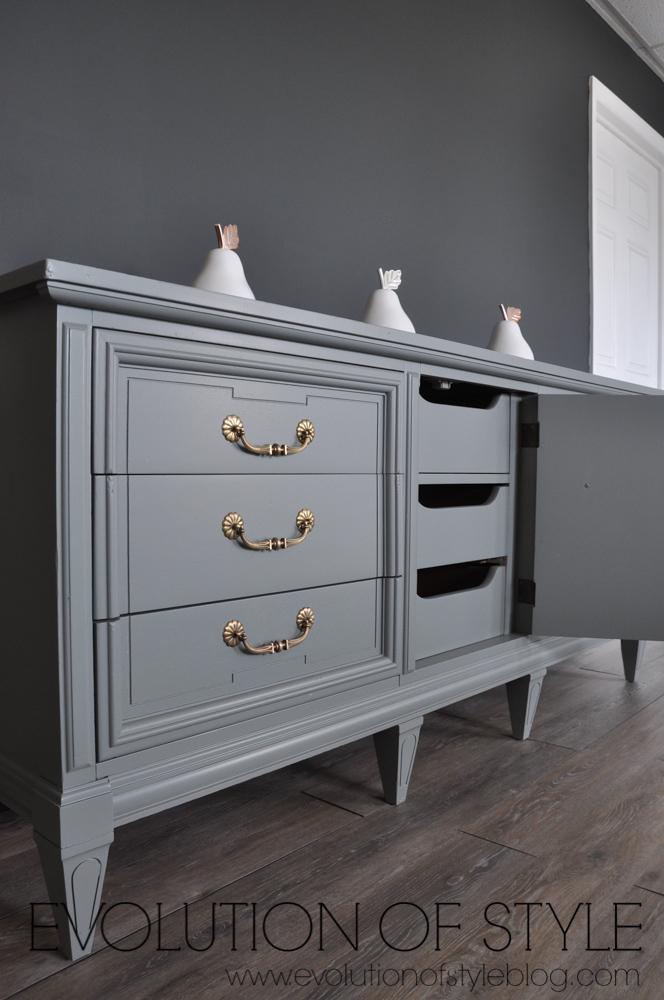
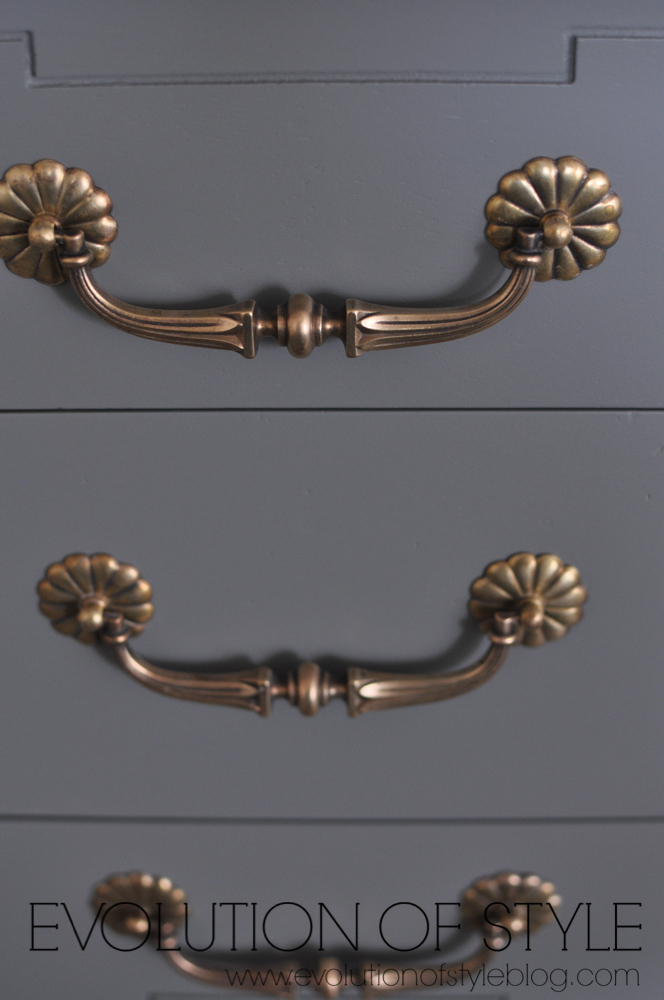
The hardware got a good cleaning, and I was able to bring it back to its former glory.

The Result
And here is the dresser now:
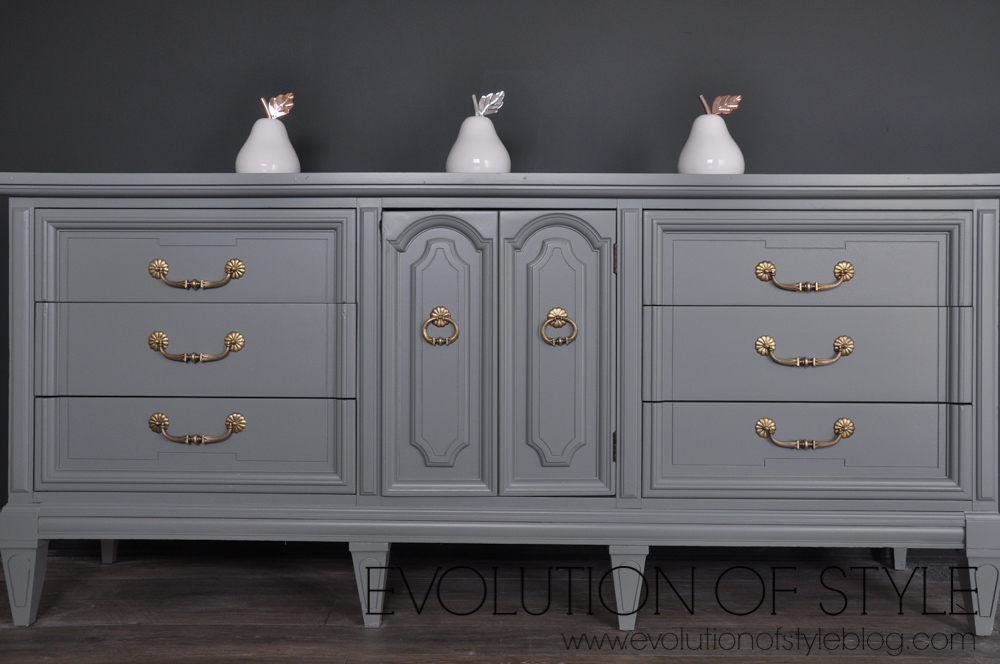
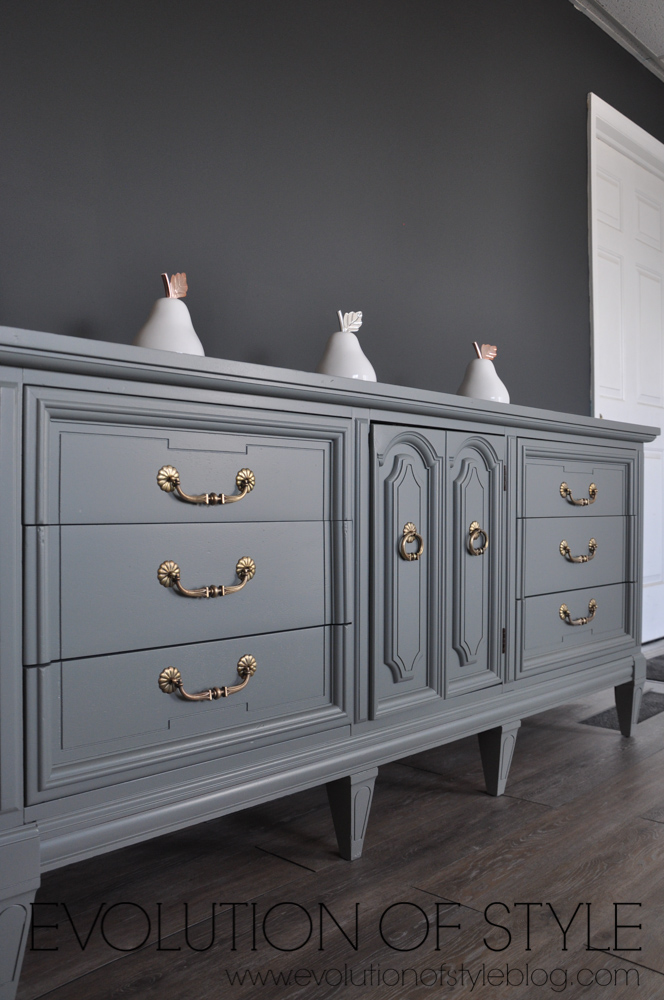
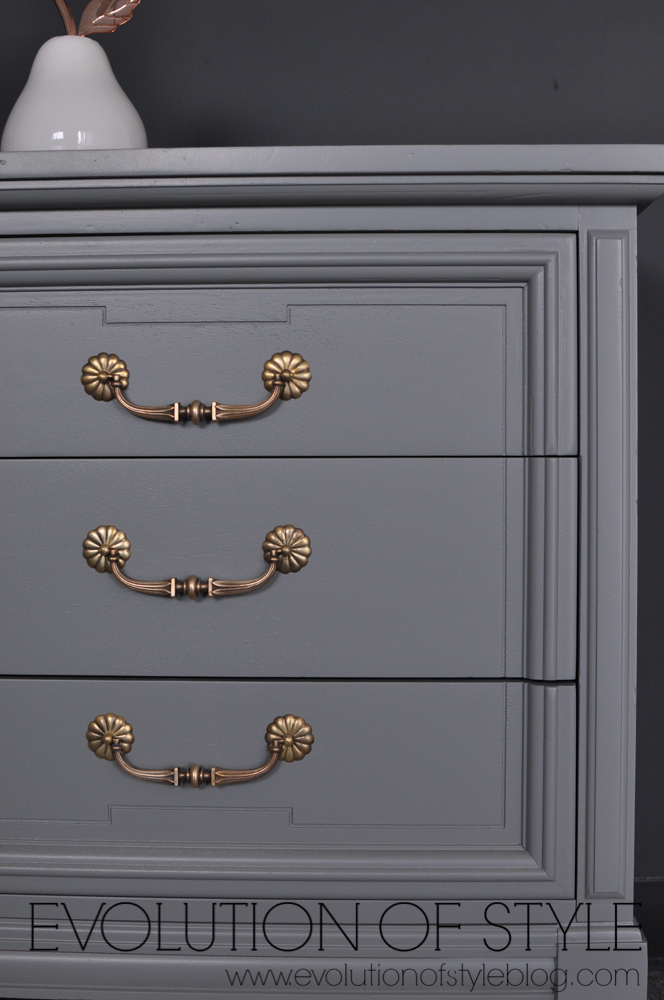
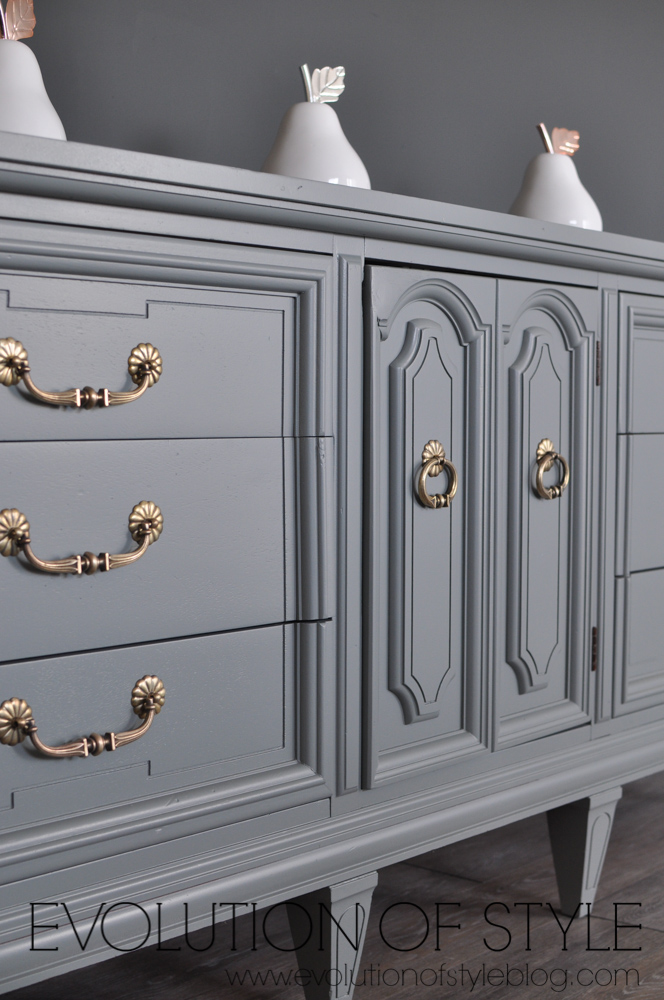
Looking at this piece, you would never know if I used my commercial sprayer or the Wagner Flexio sprayer, right? The finish is smooth and gorgeous. This dresser was completely transformed, and it’s proof positive that you don’t need to spend a fortune on a sprayer to get professional results.
I hope this helps to take some of the fear out of spraying. It doesn’t have to be scary, and I promise you if you start using a sprayer, you won’t want to paint any other way!
Jenny

55 Comments
Linda
February 28, 2018 at 2:06 pmBeautiful sideboard that turned out great! I’m impressed with the price, and I like that you like it. Since you think this is a good DIY option, what kind of set-up would I need to use this for all my DIy projects (new doors, trim, some furniture I’d like to paint too)?
Jenny
February 28, 2018 at 9:15 pmI would try to make sure that your spray area is enclosed in some way to avoid getting debris in your paint job. I think that’s the biggest thing. So, don’t work outside, where pollen, dust, dirt can fly into your pretty sprayed finish. If you’re in the garage, maybe section off the work area with some plastic to keep things as clean as possible. It’s a great starter sprayer!
Lois
February 28, 2018 at 3:22 pmTurned out beautiful. Great job. I have one question. I read somewhere in the past that paint should always be poured through a seive before putting in a sprayer. What are your thoughts on this advice?
Jenny
February 28, 2018 at 9:13 pmI have used a paint strainer if my paint looks particularly gunky. But I’ll admit, most of the time I just pour and go and haven’t had an issue.
Sam
February 28, 2018 at 5:25 pmVery enlightening.This will be my first paint sprayer I buy.
Liz
February 28, 2018 at 8:24 pmIt’s lovely. Thanks for sharing. Can you get high glass finishes with that system also?
Thanks for any comments.
Jenny
February 28, 2018 at 9:11 pmI don’t know that this would work for high gloss – from all that I’ve read about it, you need quite a bit of power to push that stuff through. But, I haven’t sprayed high gloss, so I can’t say for sure.
Ivory
February 28, 2018 at 8:32 pmI love THS beauty, it looks like it’s easy to work/spray. I got to check it out. This piece of furniture was pretty before you sprayed, now it’s fabulous afterward. I love, love, love the beautiful gray color as well
Jenny
February 28, 2018 at 9:12 pmThanks so much Ivory – I’m so happy with how it came together, and thrilled to share a beginner’s sprayer for people just getting started. It’s super easy, and is perfect for tackling projects at home.
Barbara
February 28, 2018 at 9:00 pmThank you for this, Jenny! I have several doors that I want to paint and I’ve been putting it off because I didn’t want to spend a fortune on a paint sprayer, but need one that will do a good job.
Jenny
February 28, 2018 at 9:12 pmThis is perfect for that kind of project Barbara!
Amy
February 28, 2018 at 9:37 pmWhat sheen did you use?
Jenny
March 1, 2018 at 7:22 amSatin!
Tara
February 28, 2018 at 10:04 pmHow was clean up? That’s always on of my gripes after using a paint sprayer–the clean up process. Ugh.
Jenny
March 1, 2018 at 7:22 amClean up was easy – I just ran water through the sprayer in the same way that I would spray the paint, and made sure the nozzle didn’t have any paint dried on it. Done!
Paula
March 1, 2018 at 9:38 amDo you need a top coat with the PPG paint? Also, can you spay a top coat with this sprayer?
Jenny
March 1, 2018 at 4:30 pmYou can topcoat the PPG Breakthrough (and I have a gallon of their clear coat in my shop that I’m looking to try). I usually top coat my furniture pieces (and still might top coat this one), but I don’t top coat my cabinets that I spray with Breakthrough. You could use the sprayer for the clear coat easily. I’ll have to give it a whirl and see for myself!
Deb
March 1, 2018 at 9:44 amBeautiful piece – thank you for sharing! I have been looking for a sprayer to use and yes, I am intimidated by sprayers! One question, did you use this sprayer to prime it? I have such a hard time getting primer to look smooth using a brush or roller even after sanding it.
Jenny
March 1, 2018 at 4:28 pmI actually primed this piece when I was priming other pieces in my shop, using my regular sprayer, but you most certainly could use this to prime as well. I use a shellac primer, so you’d just want to be sure to clean it well before changing to a water based product. I have switched from one to another with my regular sprayer without issue, so it’s definitely doable.
Cathey
March 1, 2018 at 1:55 pmWow! This turned out perfect. Great tutorial and pictures.
Can you give me advice on something for small projects…eg. planters and even mini things?
I have trouble sometimes, keeping the flow of paint steady and I get ripples on my project.
Jenny
March 1, 2018 at 4:25 pmI think the smaller paint cup/fine finish nozzle with this sprayer would be perfect for small projects like you’re talking about. The key here is to keep the material flow low – meaning, light coats of paint, but multiple coats. Less is more!
Karin
March 2, 2018 at 6:13 amWhat a very timely post for me! I’ve been wanting to treat myself to a paint sprayer, but was unsure which one! And next month is my birthday… Your dresser looks like the sister to one I redid last year! It is now the crown jewel of my bedroom. Sure wish I could have sprayed it, though instead of going through all the tedious steps of rolling and brushing.
Heather
March 2, 2018 at 10:08 amWhat settings did you use when you were spraying this piece? I always have a hard time knowing what to set it at to get the right flow for projects.
Jenny
March 2, 2018 at 5:00 pmI tend to lean higher on the pressure and go lower on the material flow. My goal is to get light coats – better to do several thinner coats than one HEAVY coat. Less is more in this case!
Mary Jane
March 3, 2018 at 12:06 amOh, my!! It’s just gorgeous! You’ve made me consider trying this sprayer! Thank you for the tips!
Christina
March 3, 2018 at 10:44 amdid you sand the dresser first or use a primer?
Jenny
March 3, 2018 at 1:07 pmYes – I always clean, sand and prime before painting just about anything. 🙂
KAREN
March 6, 2018 at 3:08 pmI just posted asking what color that cabinet is painted and then scrolled through some more posts and found this – thank you in advance. Now can you tell me what color the wall paint is? I love them both!
Jenny
March 19, 2018 at 1:46 pmThe wall color is Nightfall by Benjamin Moore. So pretty, I love it!
Monique
March 7, 2018 at 6:38 amBeautiful
Esther
March 7, 2018 at 7:05 amCouldn’t be more timely! This will be my very 1st project priming a toddler desk. When i received a quite for $450 and the desk was not even $100 i knew it was time for diy. Can you give me details on type of sanding and brand of primer and cleaning?
I’m truly brand new to this! But plan to paint a trash can and mirror once I purchase the sprayer.
Amelia Patterson
March 17, 2018 at 6:17 amwhat caught my eye was the dresser I have one just like it. This dresser is close real close to 50 years old. It is not a sideboard but that’s what I use it for. it is a dresser for the bedroom
Nancy Asbery
March 19, 2018 at 12:23 pmWow love it. Will buy to paint my kitchen table and chairs,also the hutch. Now to pick colors. Any advise? Thanks lovely piece.
Candy Weixel
March 21, 2018 at 2:17 pmWhat did you use to clean the hardware? I have a beautiful Thomasville dresser I am thinking of doing this to.
Jenny
March 23, 2018 at 10:01 pmI used Bar Keeper’s Friend – a miracle worker on brass!
Foylene Spain
March 26, 2018 at 9:24 pmWhen you sprayed your cabinets, did you take the doors off or leave them on. Also, since the rest of the cabinet could not be sprayed, could you tell the difference between the sprayed on paint and the brushed or rolled on? This is on my to do list
I am going to buy the sprayer and practice on some other projects.
Jenny
March 26, 2018 at 11:31 pmI always take the doors off when I spray them. It’s easier to spray them flat that it is to have them vertical. If you use the right tools and products, frames that are brushed and rolled can look spectacular!
Sharon
March 29, 2018 at 6:35 amYou have given me courage to paint my cabinets with this sprayer! I have several attached raised end panels that I think will need to be hand painted since I can not remove these to my garage. Do you think it will be noticeable if I spray the doors and hand paint the end panels?
Jenny
March 30, 2018 at 10:21 pmIs there any way you can tarp off the area where the raised panels? Depending on the detail, I would consider spraying them (even though I know it’s a hassle). If they’re not super detailed, you could probably get away with hand painting them.
Jenn
March 31, 2018 at 5:30 pmWhat about using this sprayer for painting cabinets with an oil based paint? Any suggestions?
Jenny
April 2, 2018 at 10:07 pmI haven’t tried it for oil based paints, but it is advertised to work with them!
Jamie Bosley
November 11, 2018 at 11:15 amHey Jenny! So glad I have a super talented cousin to consult with before starting projects!! Would you recommend to use this to paint your walls and ceilings too?
Jenny
November 11, 2018 at 8:48 pmI would probably stick with a brush and roller for walls and ceilings. I just find it easier. But for other things – YES!
Kit
March 26, 2019 at 9:32 pmWhen spraying furniture, do you take the drawers out and spray?
Jenny
March 28, 2019 at 9:26 pmYes, I take the doors and drawer fronts off and spray them in my workshop.
Amanda
July 23, 2019 at 2:54 pmDid you ever have any trouble with this sprayer coming out speckled?! Currently painting some bedroom furniture and that’s my issue. It’s like some “dots” that come out are thicker than others. Maybe I need to thin the paint?! Even though you said yours worked fine without lol I’m using Behr Marquee latex.
Jenny
July 24, 2019 at 5:25 pmI know what you’re talking about Amanda – I would try to thin it a bit. And maybe clean your gun too – that always seems to solve a world of problems.
Kristin
August 2, 2019 at 10:28 amI checked the website, but can you use this to paint walls as well? We’re closing on a house next month and this seems like the perfect solution for painting our kitchen cabinets and well as tackling the HUGE amount of painting that needs to be done!
Jenny
August 5, 2019 at 2:27 pmI believe you can, yes!
Dricka
December 27, 2019 at 1:08 pmBeautiful !! Did you mix the 2 colors “Phoenix F and Breakthrough”?
Jenny
January 7, 2020 at 7:22 pmBreakthrough is the brand of the paint – Phoenix is the color.
Veronica
August 24, 2020 at 10:31 pmDid you prime the dresser before painting?
Jenny
August 25, 2020 at 7:03 pmYes – I always prime.
Laarry
December 14, 2023 at 6:55 pmWill this sprayer work to paint my fireplace mantel black? Is there a really dark black by Break-Through?
Jenny
January 22, 2024 at 11:15 amI wouldn’t use a sprayer for a mantel – too much work when it can be hand painted.