
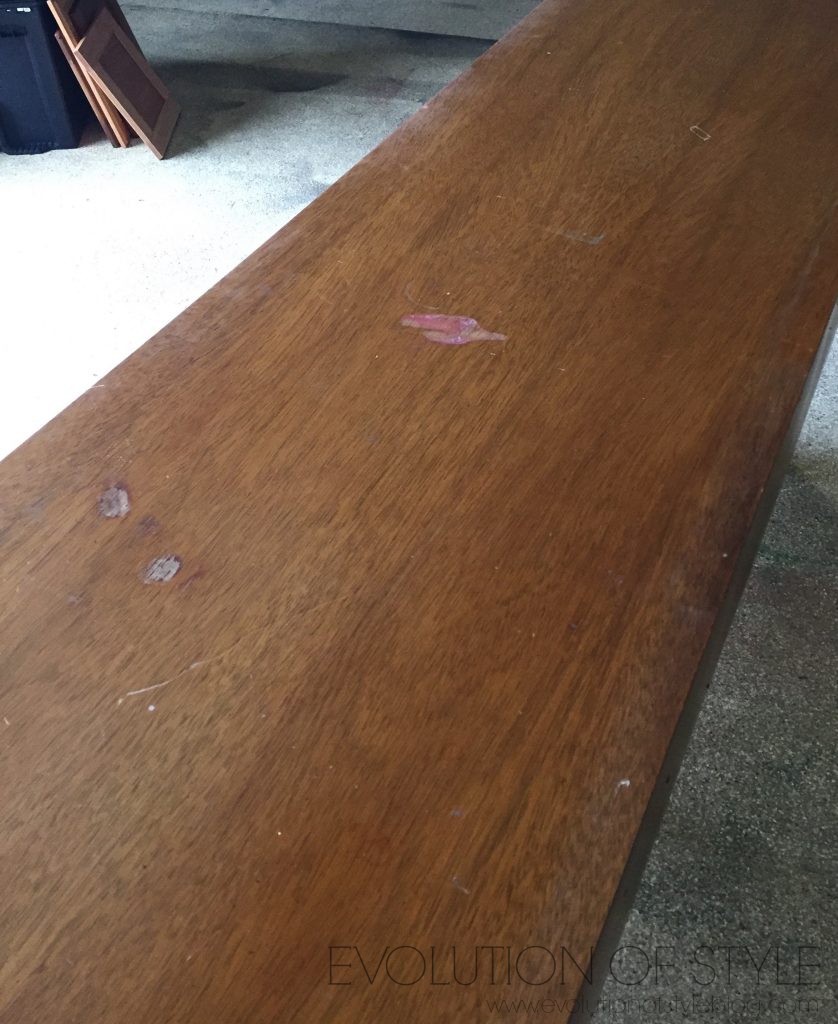
I really love scoring a solid piece of furniture that just needs a little bit of love and attention. The bones and details are gorgeous, but it’s just suffered from a bit of wear and tear (and perhaps some spilled nail polish on the the top). These diamonds in the rough are my favorite. I’m always drawn towards dressers, because these vintage ones can be multi-purpose. This could be used for its original purpose, but I could see it in an entryway, a dining room, or even an office. There is no telling where a thrifty dresser makeover will end up, but there are lots of possibilities.
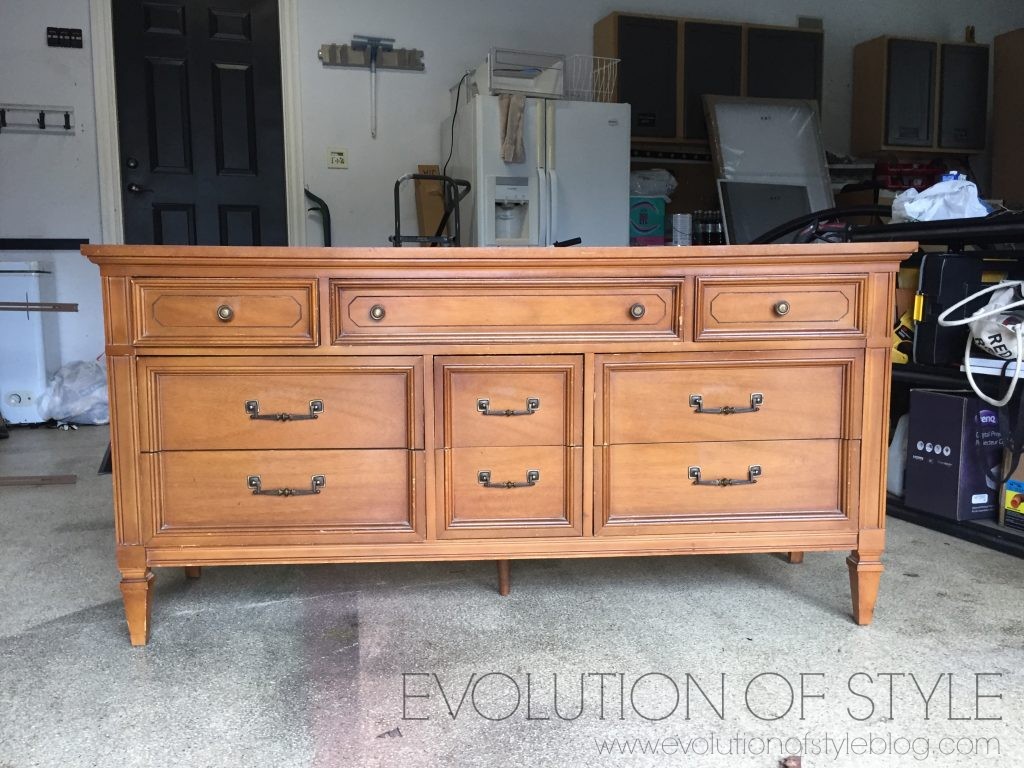
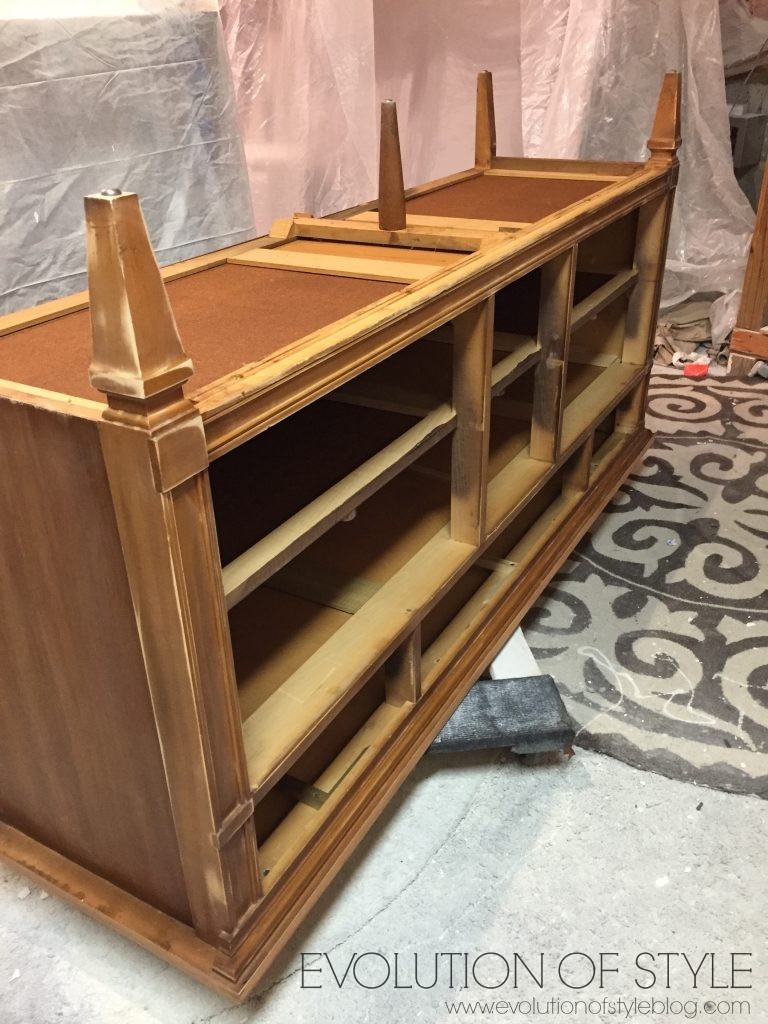
I find a lot of great pieces at my local Salvation Army (remember this beauty?) – I love that they price their furniture reasonably, and don’t try to pretend that they’re some sort of antique store. But this piece was actually purchased via Craigslist. I saw it and had to have it, and made a special trip to pick it up, so no one could snatch it out from under me. Let’s take a look at where this beauty began. This post contains some affiliate links.
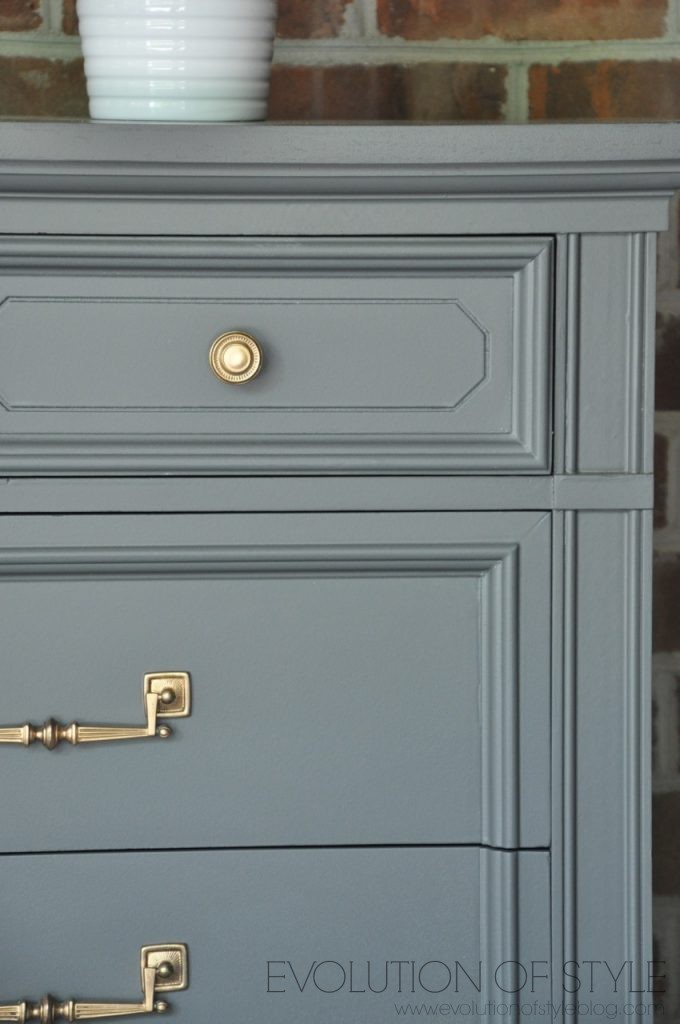
See what I mean by good bones? And that hardware? Swoon worthy.
The Prep
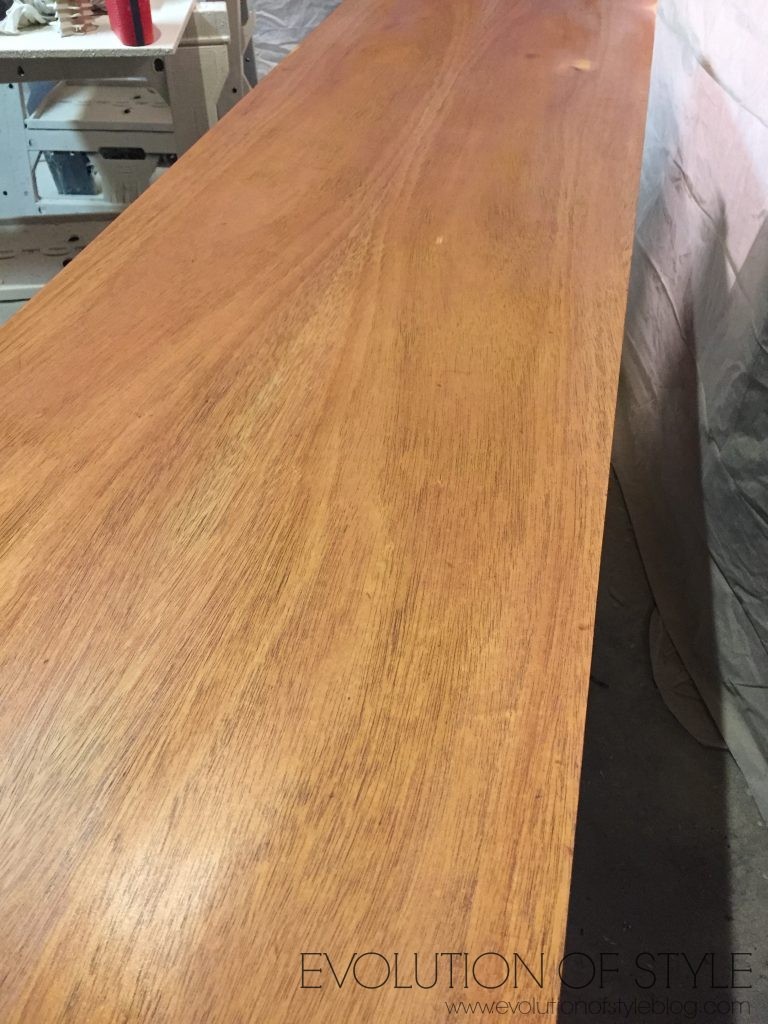
The top was a bit of a mess – nail polish, and some other blemishes, so I figured I would have to take it down to the raw wood and start over again.
Remember when I talked about my Festool Rotex 90 sander? These are the projects where it earns its worth. I was able to get the dresser top down to bare wood without using any paint strippers or solvents.
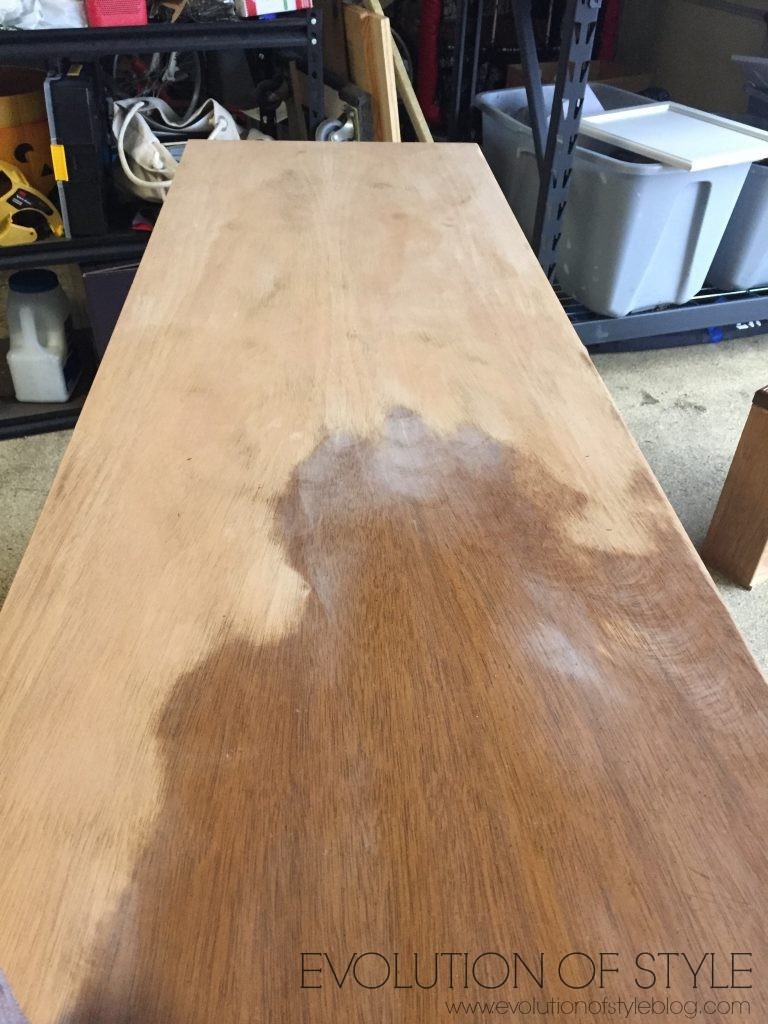
Oh, that gorgeous wood!
The Paint
After a thorough cleaning and sanding of the rest of the dresser, I got to work. The best way to paint pieces like this is to flip them over – that way you make sure that you get full coverage.
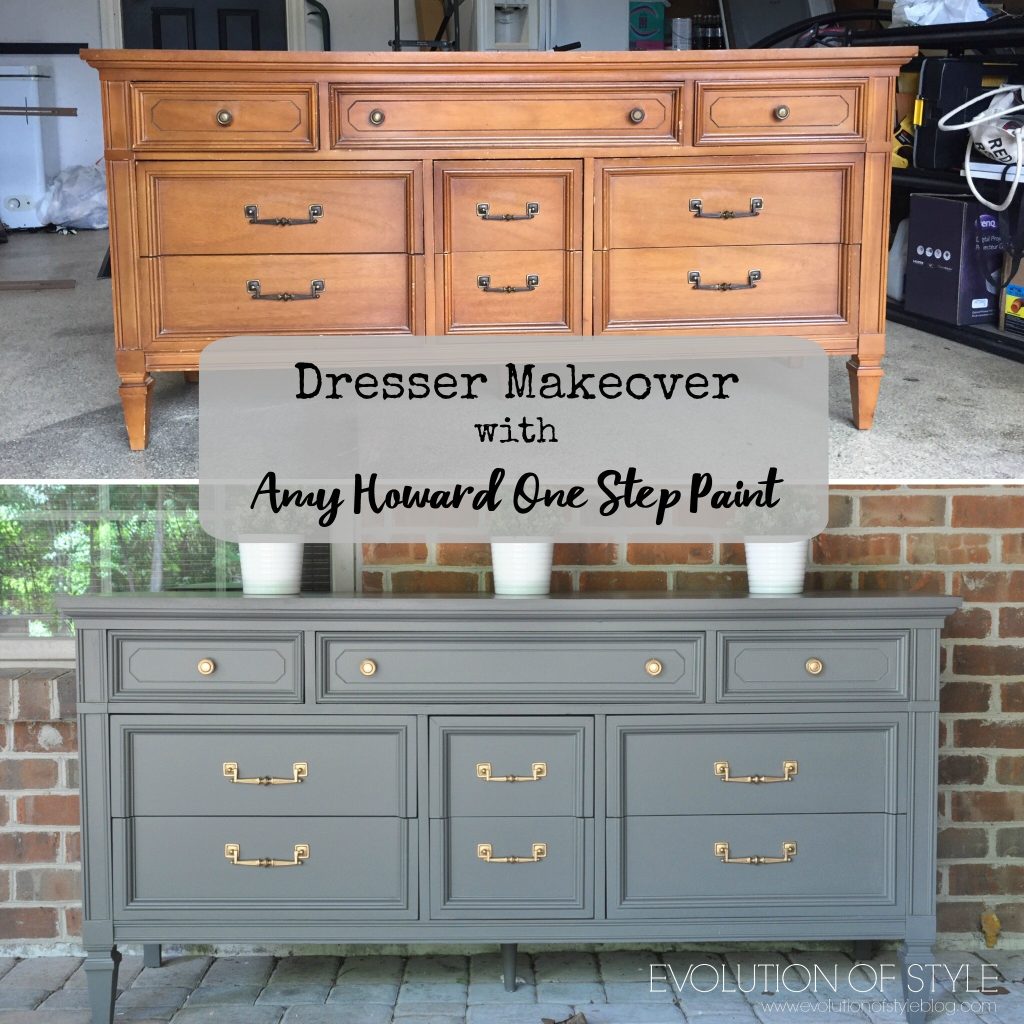
For this dresser, I used One Step Paint from Amy Howard Home in Kendall Charcoal. Yes, you can get the Amy Howard One Step Paint tinted in just about any color you can imagine – just another perk of this paint that appeals to me. And yes, I know it says “one step”, but I’m the paranoid sort, so I primed my dresser before painting it. I used my trusty paint sprayer to get a smooth, finished look. I know some prefer other techniques, but I’m a fan of a clean finished look (and it’s in my comfort zone), that’s just me.
The Polish
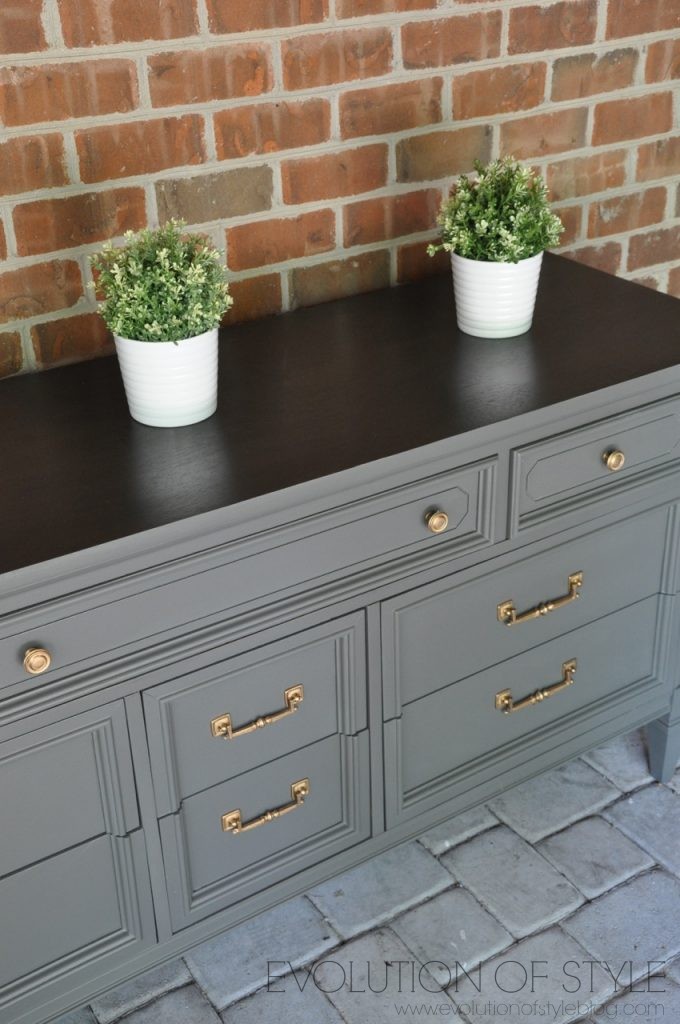
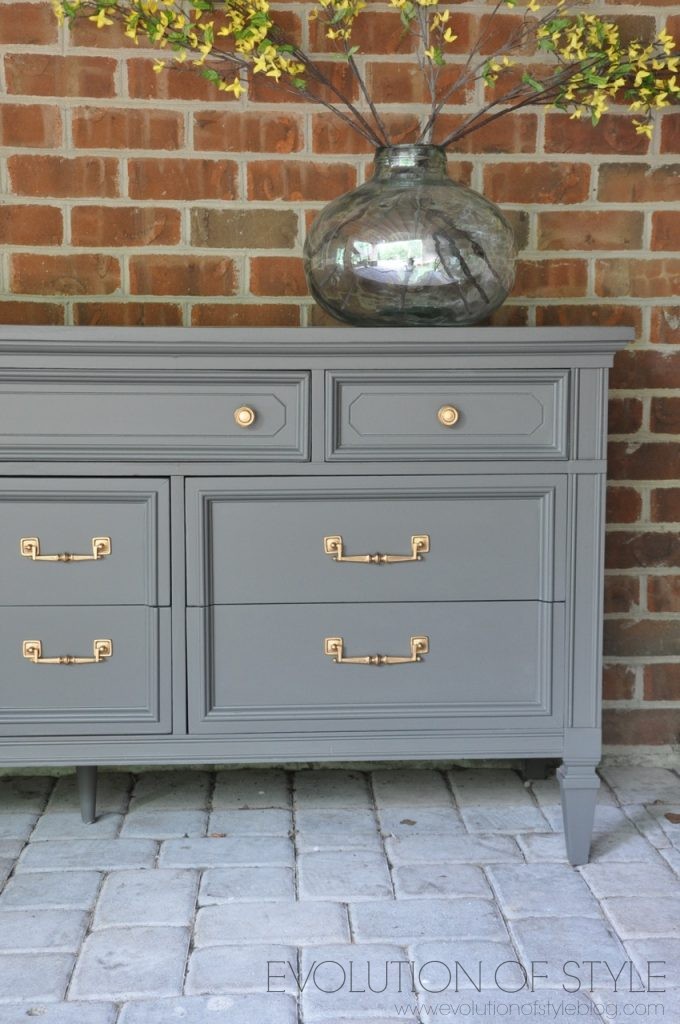
Sometimes I replace the hardware on furniture, but for a vintage piece like this one, the hardware is too pretty to replace, so I opted for Rub ‘n Buff instead. It really gives old hardware a new lease on life.
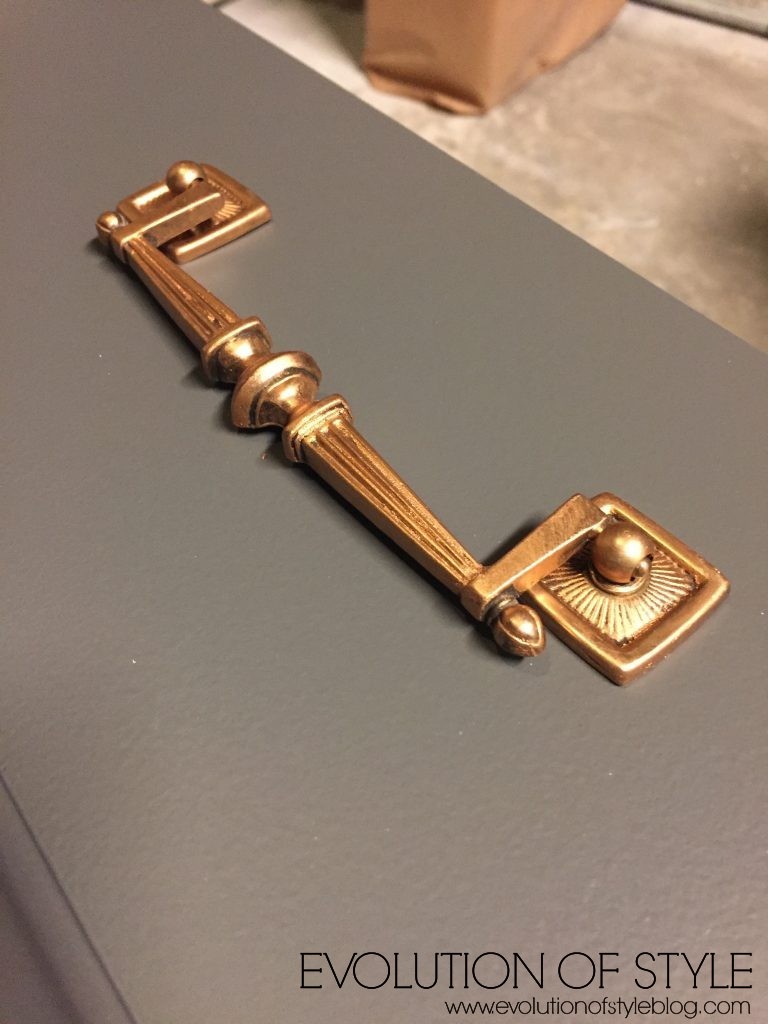
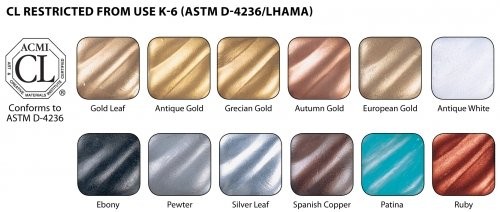
If you’ve never used it before, the name says it all – you simply apply it with a clean cloth and buff it out to a gorgeous finish. I find myself drawn to the look of gold with the furniture that I’ve restored, but there are lots of Rub ‘n Buff options out there if you’re looking for something different.
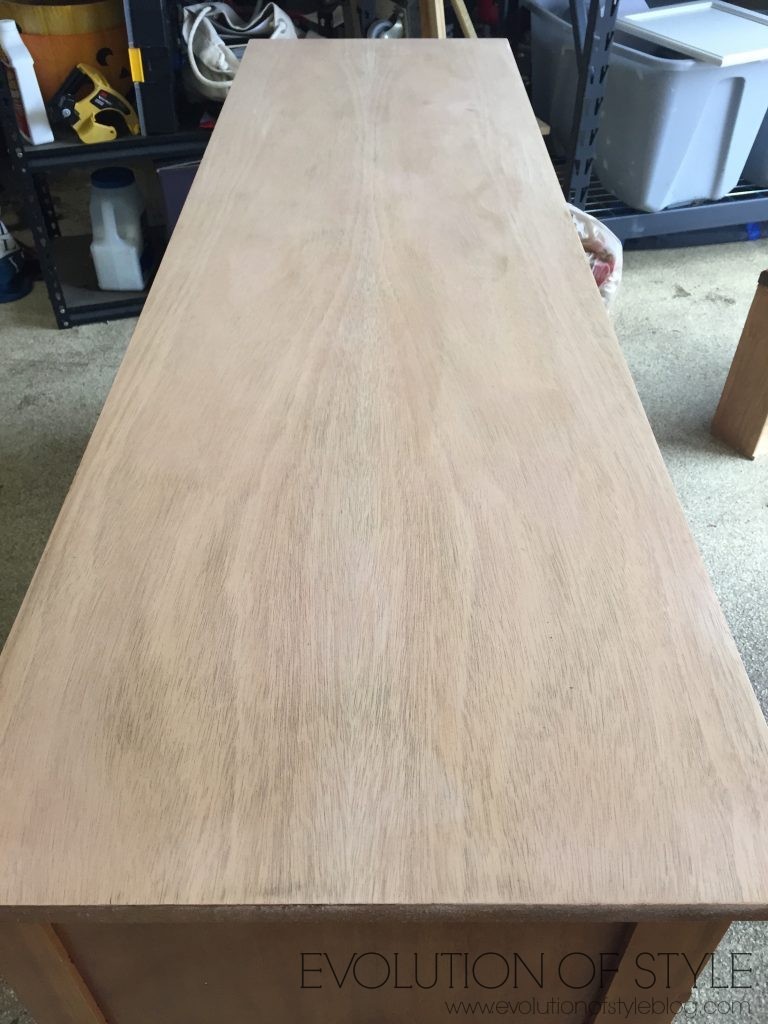
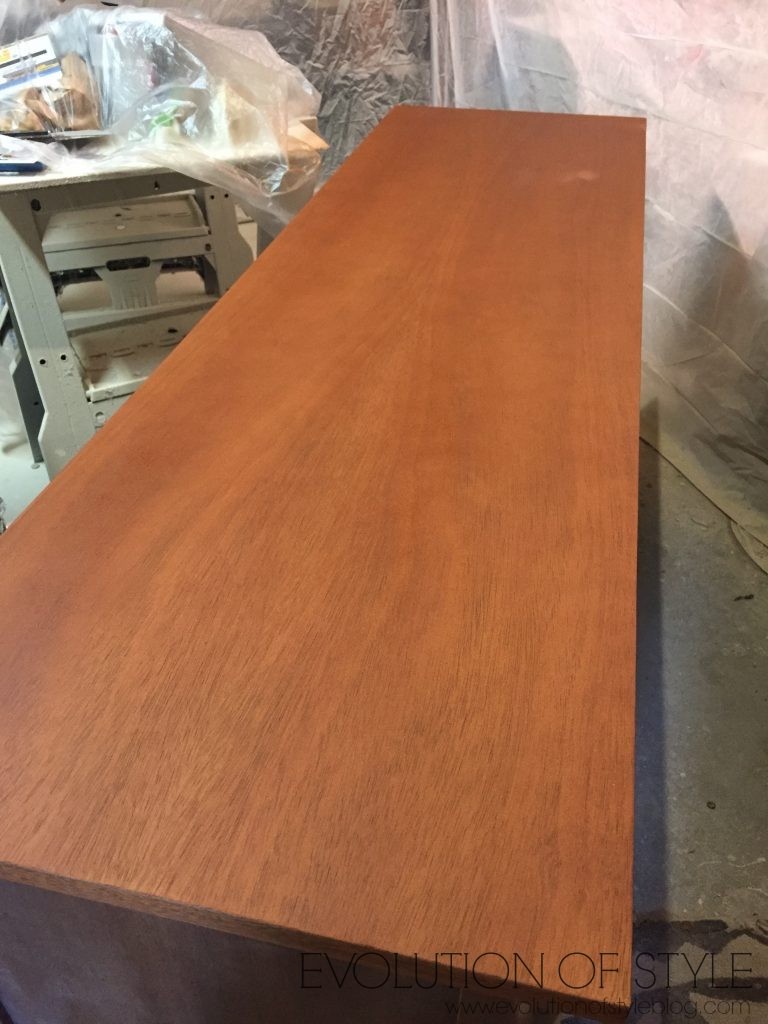
As for the top of the dresser, since I opted to stain it, I needed to pay special attention to the process, and that includes using Minwax pre-stain wood conditioner before applying a stain. Again, I’m paranoid, and I know if I use a wood conditioner, the final finish won’t be splotchy or uneven. Since I’m using a water-based stain, I’m using a water-based pre-stain wood conditioner.
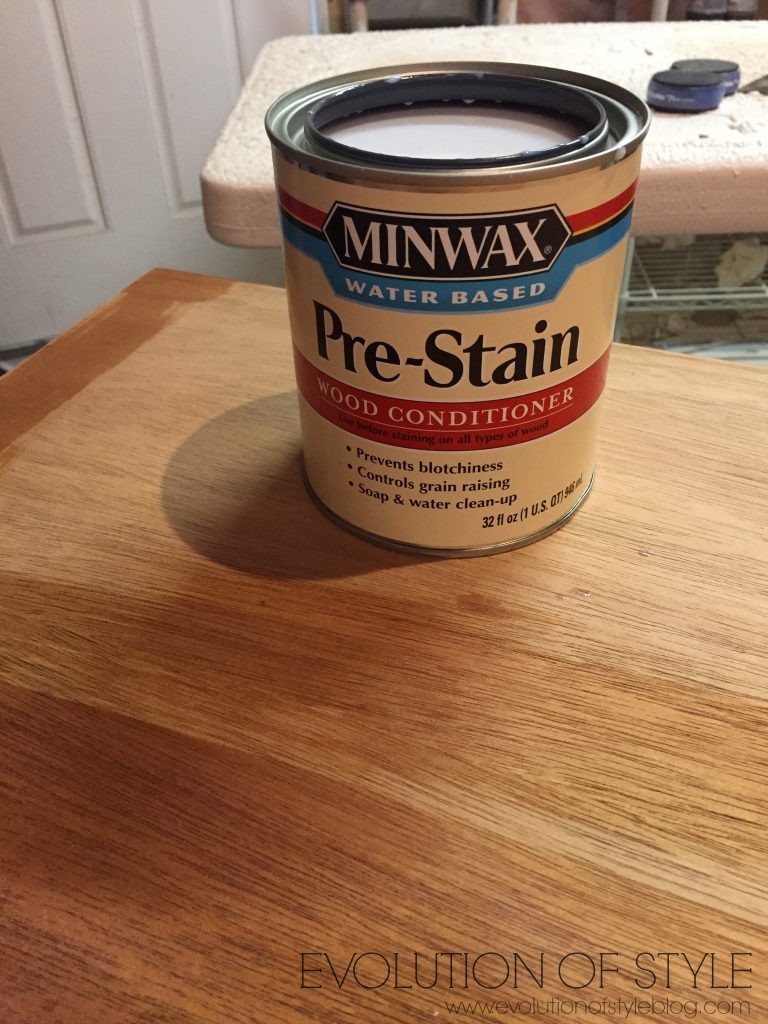
So, here is the top after the pre-stain wood conditioner was applied.
After this, I applied the stain – Shaker Maple by General Finishes – which ended up being WAY too red. Sigh… Suffice to say, it didn’t look anything like I thought it would based upon how it looked in the store. I was hoping for a lighter, natural looking stain, and after this mistake, I thought that I would have been better off just staining it with a clear coat instead of with the maple stain. So what does a girl do? She sands it back down and starts over from the beginning. Again.
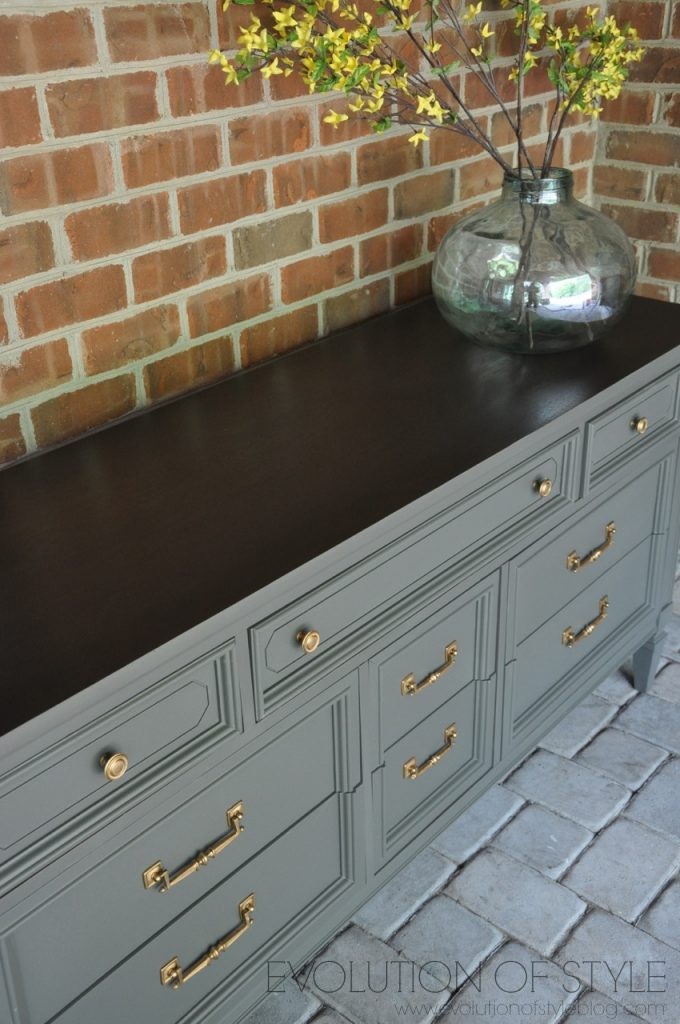
But, in the end, it turned out beautifully. I’ve found that you can’t go wrong with General Finishes Walnut stain. It’s so rich and beautiful – a great look. I ended up doing a toning technique that I’ve shared in the past – it’s a mix of the walnut stain, with the high performance top coat. Doing this gives you some added durability built in with the stain before you do any final top coats.
The Finished Product
And here it is in all of it’s glory. Bear with me – I was experimenting with staging options.
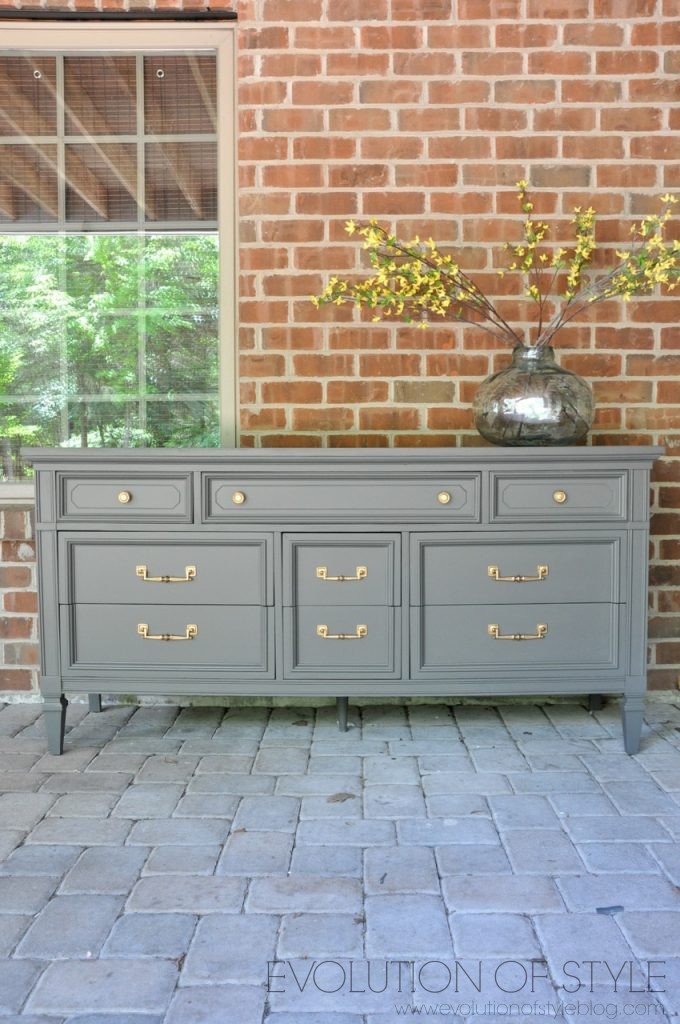
Such a gorgeous piece of furniture that could be used in just about any room you wanted. Classic and timeless.
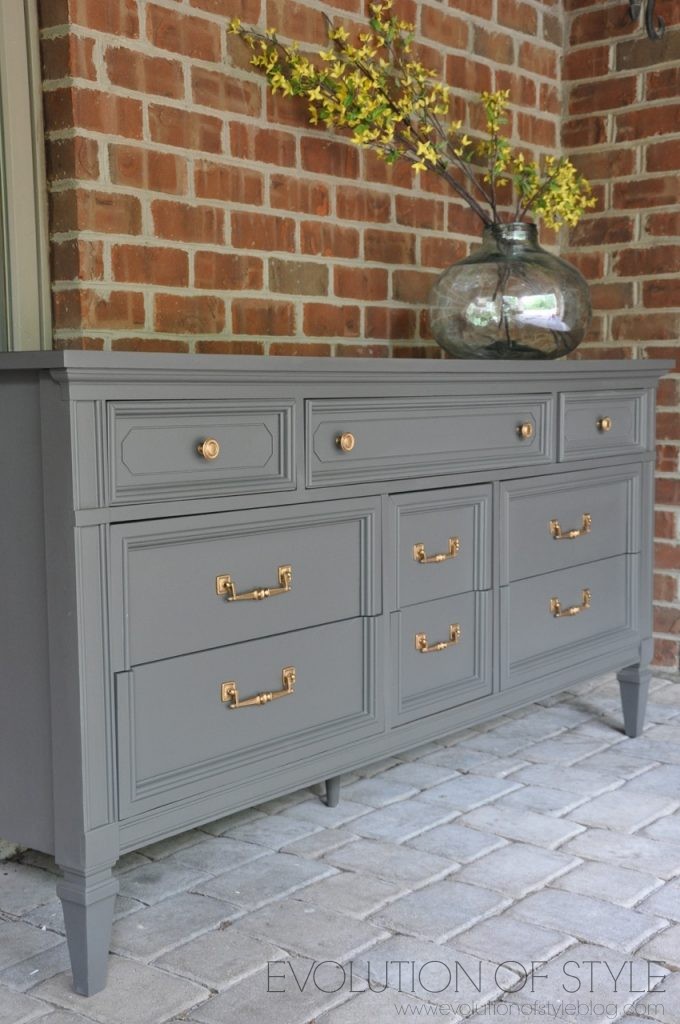
Gray + Gold = Gorgeous.
I have another piece that I’m still working on that is similar in style, and I’m debating about the look I want for it. I’m just drawn to this look. Until then, I’ll just admire my finished project.
Are you working on any projects? Dresser makeovers? Garage sale season is in full swing, so I’m definitely on the lookout!
Linking up:

Jenny

34 Comments
Lauren@SimplyLKJ
May 18, 2017 at 10:53 amWhat a gorgeous piece. Love the choice of staining the top.
Jenny
May 18, 2017 at 11:55 pmThank you Lauren! The staining really does add to the charm factor on this dresser.
Tamara
June 29, 2018 at 7:06 pmAfter you sprayed the dresser, did you seal it or just leave it with the chalky finish?
Jenny
July 7, 2018 at 11:41 amI sealed it with General Finishes Flat Out Flat topcoat. That way you still have a pretty matte finish to it.
Nikki
May 19, 2017 at 4:15 am😍
Nikki
May 19, 2017 at 4:16 amSimply beautiful x
Cousin Kathy Shingler
May 19, 2017 at 11:18 amJen, nice job. Thx for the tip on Rub N Buff. I have a much smaller project (jewelry box) that I refinished but the hardware is lacking the luster. This may be the answer. Did you remove the hardware or can you work with it still attached to the dresser?
Ivory
May 19, 2017 at 8:57 pmThis makeover is absolutely fabulous! I would love to be able to have a piece like this.
Karin
May 21, 2017 at 8:04 amLove how this turned out! I actually have a dresser that is very similar to this one. I painted it a few years ago, but have fallen out of love with the look. The paint has yellowed and the top is dinged up from my guys tossing keys on it. Mine has a veneer top, so stain is not really an option. What would you suggest I use to strip? I am looking for something environmentally friendly and of course, relatively easy to use.
Kelli
May 22, 2017 at 11:40 amYou can stain Formica. I used a cheap Gel stain from Michaels craft store in walnut to stain the top of a Laminate dresser and it came out great. It wasn’t artmindsor craft smart, I can’t remember, but it came out great. I started by giving it a really good sanding using 60 grit with my palm sander and worked my way up to 420 grit to get it super smooth. I wiped it down with simple green and then used denatured alcohol to wipe it down one more time.
I applied the walnut stain using an old wool sock and kept applying coats until I got the color perfect. I used Annie Sloan clear wax to protect the finish and it looks amazing.
Beth
May 23, 2017 at 12:06 pmI love this piece!! All of it turned out really nicely.
What color of gold did you use for the hardware? I know Rub n Buff has several colors of gold.
Jennifer clark
March 14, 2018 at 7:28 pmI didn’t see the answer to this?
Jenny
March 14, 2018 at 8:04 pmI mixed the stain with the General Finishes Satin High Performance top coat. Affiliate link here – http://amzn.to/2FBHImh.
Leslie
July 26, 2018 at 1:55 pmI would like to know which rub n buff you used as well.
Jenny
July 26, 2018 at 9:32 pmI can’t remember which one it was! I have all of the gold ones, I think it might be the gold leaf one.
karen wagner
May 23, 2017 at 2:50 pmAbsolutely stunning. Do you dilute the paint when you use a sprayer? What sprayer do you use/recomment
Jenny
May 23, 2017 at 9:18 pmThanks so much Karen. I sometimes dilute the paint, depending upon how thick it is. I use a Titan Capspray 95 HVLP system, but I started out with an HVLP conversion gun that hooked up to an air compressor. A great way to get started, with great results!
beth weishaupt
June 7, 2017 at 11:00 pmHello, I love the way this dresser turned out. Would you mind emailing me what type of high performance top coat you used on this dresser. I googled this on amazon and there are many to choose from, General Finishes QTHS High Performance Water Based Topcoat, 1 quart, Satin, General Finishes High Performance Water Based Topcoat, 1 gallon, Satin, General Finishes High Performance Water Based Topcoat, 1 gallon, Satin and a few more. I want to make sure I get the correct one. Also what is the proportion of stain to top coat and how do you apply the stain to the dresser?
Thank you very much for posting such a wonderful blog.
Sincerely,
jasmin
August 31, 2017 at 12:10 pmhow long did it take you to completely redesign the dresser? curious because I want to do it to mine but dk how long it will take me.
Jenny
September 7, 2017 at 9:15 pmThis one took me a little longer than usual – only because I had a stain mishap. You could probably redo a dresser in a week or so – I just have a tendency to drag things out it seems!
Ashley
February 6, 2018 at 8:05 pmDid you mix colors to get that color? I can’t seem to find it in amy Howard color charts
Jenny
February 7, 2018 at 8:46 amAmy Howard’s One Step Paint can be tinted to any color – so I had it tinted to Benjamin Moore’s Kendall Charcoal. A great color!
Luwannah
August 26, 2019 at 9:52 pmJenny, how do we tint it? Do we order it tinted? Or do we get a white paint and take it somewhere to tint it?
Jenny
August 26, 2019 at 11:37 pmThe paint store should be able to tint it for you.
Christina Robinson
April 29, 2018 at 7:20 pmHi I’m so glad I found your blog. I have a piece that is the same, looks identical. I already once painted it a beige and now I just dont like it. I was going to buy new. I thought I’d paint it gray. Because I already painted it once, would I be able to apply the gray paint mixed with primer onto the dresser ? I love how yours came out.
Jenny
April 29, 2018 at 10:50 pmSince you don’t know how the piece was prepped/painted before, I always err on the side of caution and do a thorough prep job, which means cleaning, sanding, priming, painting. It’s not worth the risk!
Myra
June 19, 2019 at 4:02 pmHi, Jenny
I really love that color, I’m remodeling my bathroom and would love to have that color for my bathroom vanity.
If you don’t mind sharing the exact color, and % used for the color mixture; would be really helpful to get the guys at my local ace hardware color match it
You Said it was BM Kendall Charcoal what % and what color base of the Amy Howard Gray was used.
Thank you bunches
Jenny
June 20, 2019 at 5:41 pmThe color was Kendall Charcoal, which is a Benjamin Moore color. They should be able to use whatever paint/product that they choose and have it color matched to that color. You don’t necessarily have to use Amy Howard’s products. I hope this helps!
Elizabeth
May 6, 2020 at 9:30 amWhen you use a paint sprayer, how do you avoid spraying the inside of the drawers while you were spraying the outside of the dresser?
Jenny
May 26, 2020 at 8:20 pmI take the drawers out and tape them off with masking paper to keep from getting paint on the inside.
Stephanie
July 21, 2020 at 11:40 pmLove this and going to give it a try! What type of primer did you use (not sure if it matters)? And did you use the sprayer for the primer as well? Thanks so much
Jenny
July 23, 2020 at 4:07 pmI typically use a shellac based primer like BIN for these projects.
Andrea Ross
March 15, 2023 at 12:41 pmCould you please tell me if you have ever found these drawer pulls anywhere? I have a dresser and chest of drawers with the same ones, and one is broken, and I’d like to try to find another one.
Jenny
March 26, 2023 at 8:44 pmI know there are some websites that sell vintage furniture hardware. Might want to see if you can find something like that.