Hello!
After reading your comments on my master bathroom wallpaper removal project, I think the general consensus is that this task is one of the most hated DIY jobs out there. I also believe there is BIG money to be made out there for the genius that comes up with a wallpaper removal product that makes wallpaper magically fall off the walls. Wouldn’t that be amazing?
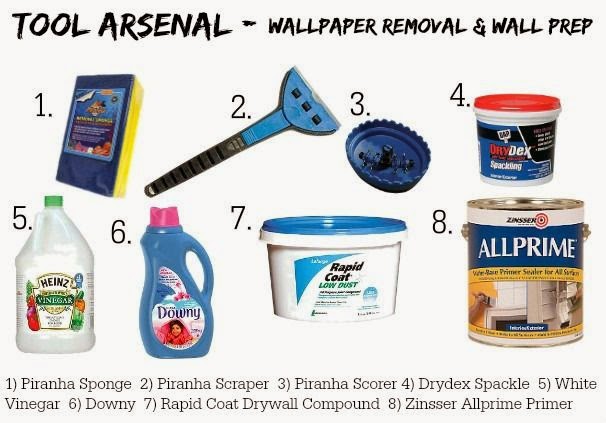
So, until that happens, I’m going to offer my tools of the trade, since I consider myself a bit of a veteran. There are some products out there that can make it a bit easier.
First, score your walls with the wallpaper scorer, so that there is a way for the removal solution to get behind the wallpaper and start to work its magic. As for a good removal solution, I know there are a lot of different wallpaper removal sprays to help ease the pain, but honestly, I’ve found that hot water combined with Downy or vinegar usually does the trick. The vinegar is good for especially difficult wallpaper. I gave a friend a surprise bathroom makeover years ago, and got her stubborn 70’s wallpaper backing off with the aid of vinegar. It doesn’t smell as lovely as Downy, but it gets the job done.
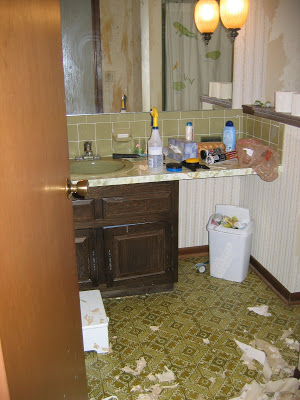
Before:
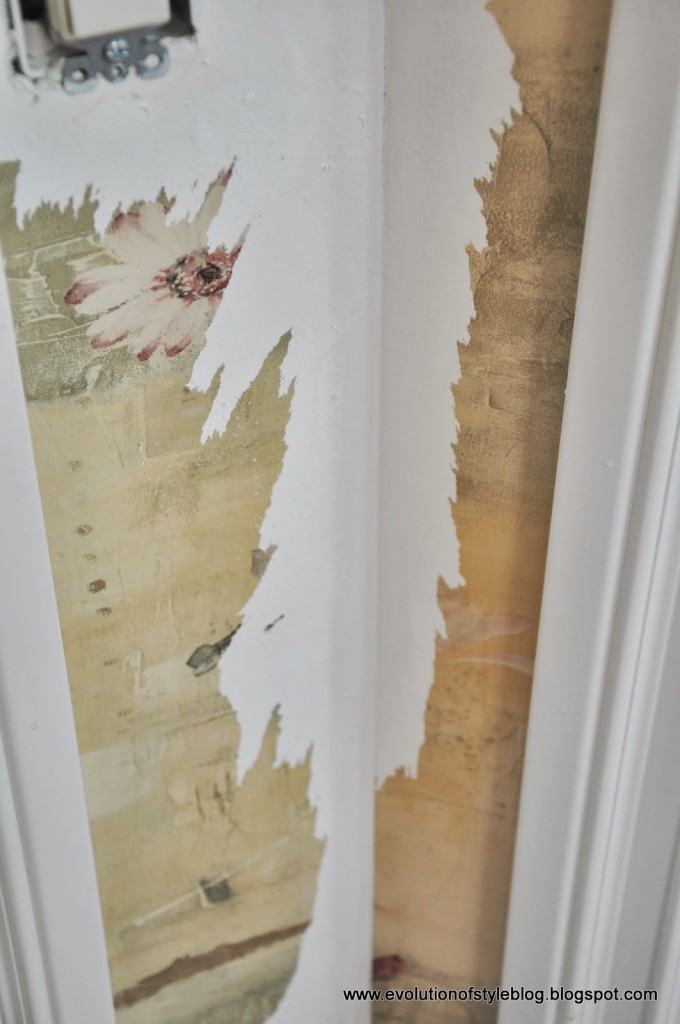
The worst part of the process is when your wallpaper just doesn’t want to come off the walls. Anyone who has removed it, is familiar with scenes like this:
Isn’t this the worst? Little teeny tiny pieces of wallpaper coming off the walls instead of nice big sheets of wallpaper, coming down with the greatest of ease.
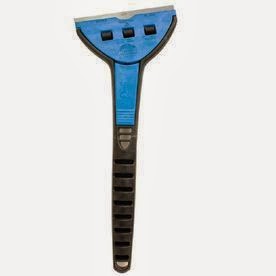
That’s where the Piranha razor scraper comes in handy – it scrapes away all of those little pieces of wallpaper backing that are left behind in the removal process. It is a must have tool, I tell you.
Another must-have tool that I have found tremendously useful is the Piranha Wallpaper Sponge. (FYI – I’m not getting paid by Piranha, I just have had great luck with their tools).
The sponge is fantastic for removing the residual glue and small pieces of wallpaper backing that will inevitably remain on your walls, in spite of your valiant efforts to remove them. This two sided sponge works overtime. One side is the regular sponge, to wet the wall, and the other side is a scrubber, helping to get rid of all of that gunk so that you’re left with a clean surface.
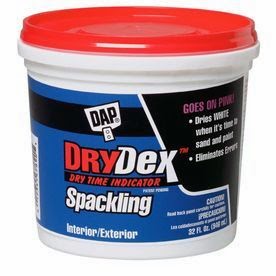
Once you’ve gotten all of the wallpaper off the walls, you will inevitably have some wall patching to do. (If you don’t, I want to know HOW.) The product you need to use to repair the walls, depends on how damaged they are. If it’s just a surface level gouge, you can use the Drydex Spackle.
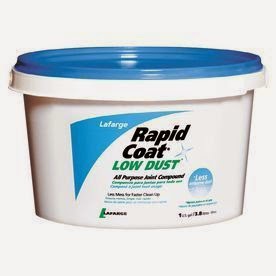
However, if you have torn down into the cardboard looking layer of the drywall, you need to bring in drywall compound.
If you try to use the spackle, it will just get the cardboard layer wet, which ends up bubbling and is not a good situation (I’m speaking from experience here). The drywall compound will repair the damage without bubbling, so you’ll be able to sand it smooth. This process is time consuming, but important, since you want your walls to look as smooth as possible before priming and painting them (unless you’re daring enough to put up more wallpaper after surviving this ordeal).
Speaking of priming, this is a MUST. The primer acts as a sealer to any glue or backer paper that remains on the wall, and gives you a solid foundation for painting. I’m taking my cue from Kris at Driven by Decor, and suggesting the Zinsser Allprime primer for dealing will previously wallpapered walls.
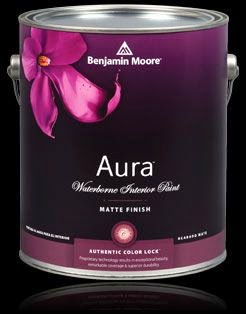
I didn’t include this in my collage o’products, but when you finally get to holy grail point of this process – where you get to paint – I highly recommend using Benjamin Moore’s Aura line of paints, in a matte finish.
Yes, I said matte finish. It hides any remaining imperfections in the walls, plus the Aura paint is scrub-able, and allows for seamless touch ups. Seriously, you can touch up this paint, and it just melts right in – you don’t even notice it. It’s what I used in my husband’s office after a nightmarish wallpaper removal project.
Now, I know I’ve left out the mother of all wallpaper removal tools – the steamer.
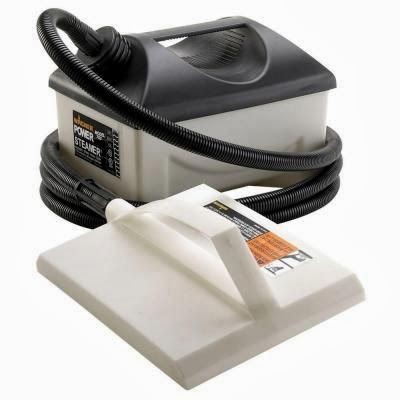 |
| Steamer – Home Depot – $49.95 |
Honestly, I’ve never used one. Maybe I should have, given all of the wallpaper I’ve had to deal with in this house, but it’s been manageable (albeit not enjoyable) with the arsenal of tools that I’ve listed here. Although if I had layers of wallpaper to remove, I might think twice. And heck, this one is only $49.95 – who knew?
Did I miss any tools that you have found helpful in this arduous process that is the bane of my existence? Do share!





7 Comments
Kris @ Driven by Décor
March 27, 2014 at 1:00 pmSo funny that you posted about this today because I'm in the middle of removing wallpaper (again) and was going to email you to ask about the sponge that you said worked so well for you. Now I know! And I love the info about Aura – haven't tried it before but will now!
Lisa @ Shine Your Light
March 27, 2014 at 4:05 pmJenny, excellent post!! May I humbly add that before scoring, try to remove the top layer of wallpaper – you know how sometimes if you're lucky that top layer will come off in a big sheet? And then you can spray paper layer underneath with diluted Downy or vinegar, let it sit a bit and then scrape it. I just used that exact steamer at my sister in law's house. Some of her wallpapers came right off, others needed the big guns. The use of a steamer is awesome, plus if you're working in a small space like a powder room you get the bonus facial from all that steam 🙂 The steamer makes water run down the wall, so it's good to have a towel on the floor to absorb. Now……..what color did you decide on for your bathroom? Can't wait to see what you do with it!
Tamara @ Provident Home Design
March 28, 2014 at 1:09 amHi Jenny! I had a terrible time taking down wall paper in my dining room but about half way through I figured out an easier way to do it. I filled my spray bottle up with warm water, sprayed a 5 ft section of the wall up and down (have towels at the bottom to catch the water), then leave it for 30 minutes. Come back and spray the same area with warm water and leave for 30 min again. When you come back gently peel up the bottom of the wallpaper and it should come right off. The walls underneath will need to be dried off with a towel. Sorry for the long comment, I guess I need to write a post about it:-).
Holly
March 31, 2014 at 12:52 pmThis brings me back to our first house where there was wallpaper on all of the walls – including the 5th wall (the ceiling!) – such a nightmare. I actually enjoyed the removal process for a little while but it got very old quickly. We tried everything under the sun including the steamer. We actually had the most success with the steamer but the hard part was moving it around with you. The end result though is well worth the aggravation.
Jenny
March 31, 2014 at 1:11 pmWallpaper on the ceiling?!? Oh my – that's one nightmare I've managed to avoid thus far. I can't imagine tackling that project – my neck hurts just thinking about it!
Melissa Chhoun
April 1, 2014 at 6:38 pmOh the dreaded floor to ceiling wallpaper!!!! I have removed a LOT of wallpaper in my last three houses and I think I finally found the method that works the best. I no long score the wallpaper – yes, it allows for the solution to penetrate, but it also makes the pieces a lot smaller when removing. I mix a solution of 1 part liquid fabric softener and 2 parts water in a spray bottle. Simply spray the solution on the wallpaper or paper backing, let sit for a minute and then scrap or peel away! Not only does it work really, really well, but it also smells much better than any chemicals!
I always have a bottle of this solution made up for other things too. It works wonders for removing hairspray residue off of the walls and floor – just be careful as it can get slippery as well! I also use it to dust my furniture. The fabric softener in it repells dust and that is a must with my dark wood furniture!
vanessa brook
April 7, 2014 at 4:51 pmI'm getting ready to tackle some wallpaper removal, and wanted to know what i needed. I was so happy to find this post. And even more happy as to have a clue what should work on my wallpaper, as Jenny has already removed some from my house. I'm the friend who she surprised with the bathroom makeover! love you Jenny ~ i'm heading to Lowes to buy me some piranha gear!!