Hello!
I hope you’re having a great week! I have been a busy bee trying to finish a desk redo so that I can get it out of my garage sell it. I’m really thrilled with how it turned out, and I think you’ll appreciate the transformation as much as I do. This post contains some affiliate links to products that I use (and love).
I have wanted to redo a furniture piece like this one for awhile, so when it came up for sale on a local Facebook page, I snapped it up right away. It wasn’t in great shape, but I knew I could make it pretty.
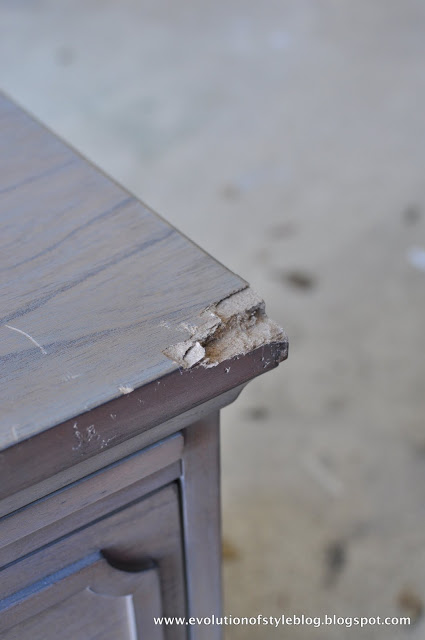
This is sadly the only “before” image I have – it’s the one that was provided in the listing. You can see that it wasn’t in the best of shape, but I loved the style, and it’s a solid piece of furniture.
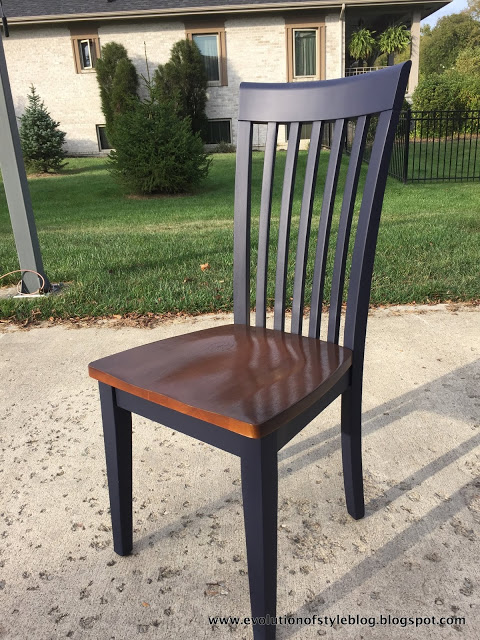
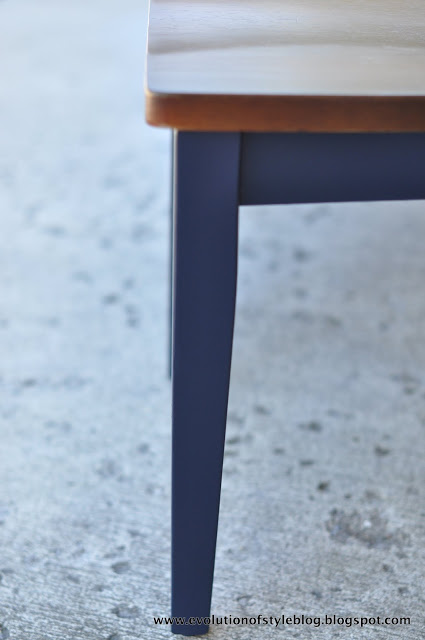
Originally I was planning on going with Coastal Blue by General Finishes. It’s a gorgeous navy blue, and I used it for a table and a set of chairs for a client.
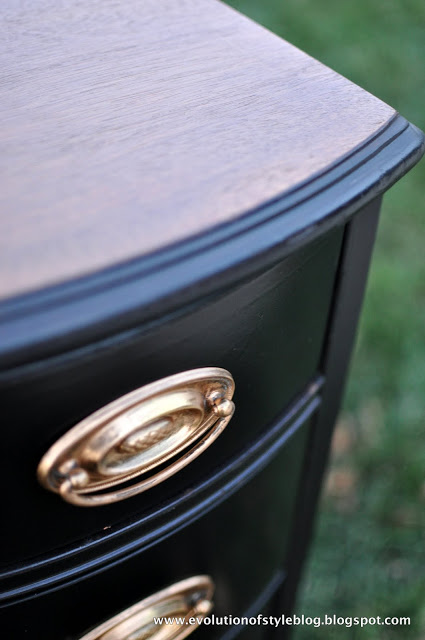
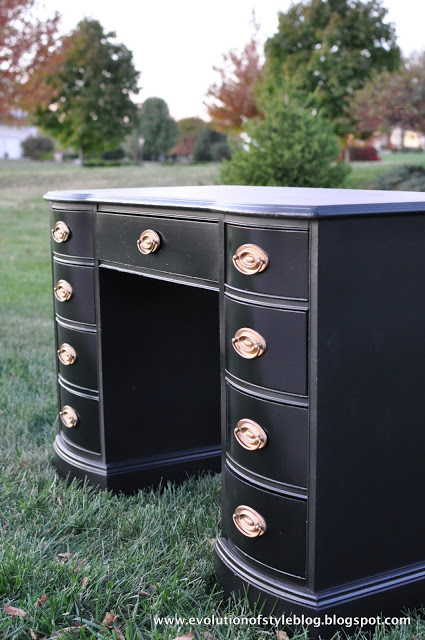
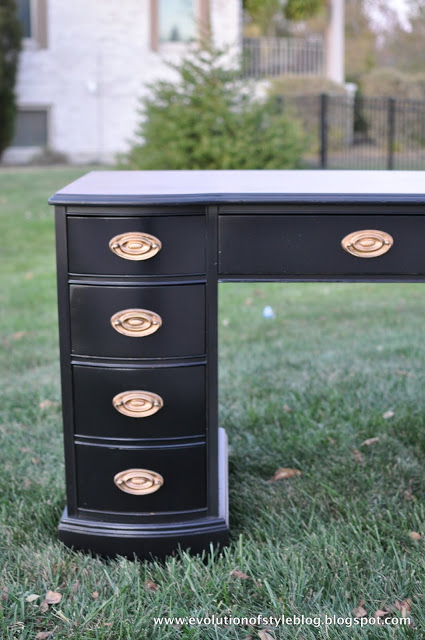
But I had a change of heart midway through the project and decided to go with Lamp Black (also by General Finishes).
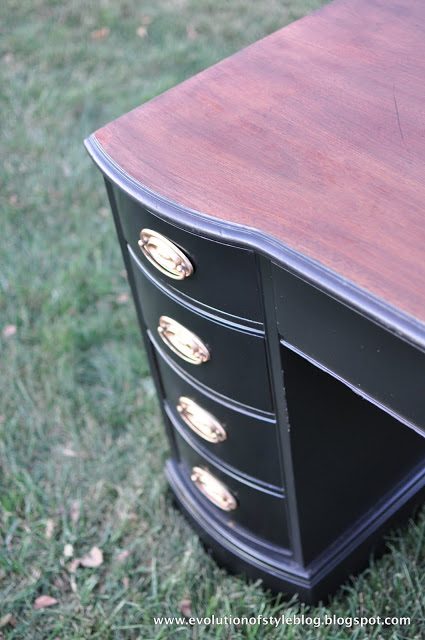
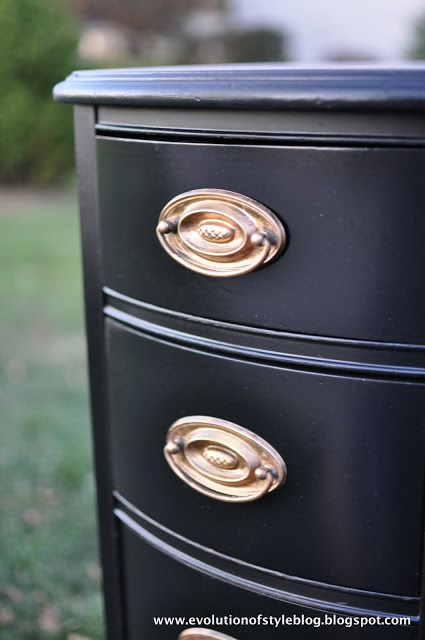
I’m in love with the result. You can see that the hardware got a refresh as well, thanks so a little Rub ‘n Buff. It’s the first time I’ve used it, and I’m sold. Look how it transformed this hardware.
I also had to do a bit of repair work. I used Minwax High Performance Wood Filler for this – it’s great stuff for repairing furniture. It hardens just like wood and is rock solid.
I’m also using it to repair the nightstand I bought for my daughter’s room for the One Room Challenge. Scary looking, right? That’s where this stuff works its magic.
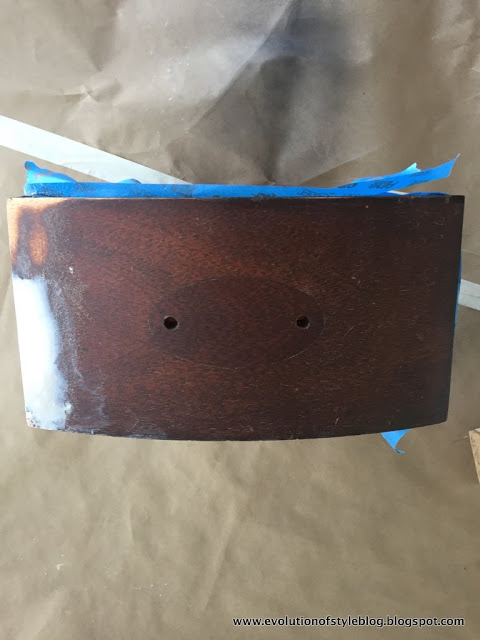
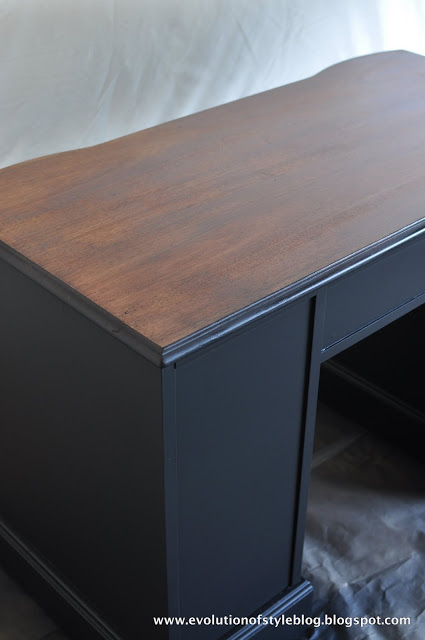
The top of this desk needed some serious help as well. Originally I was planning to paint it, as I didn’t think that I could salvage it to stain it. But, I took my sander to the top and sanded it down to bare wood. Now we’re in business.
In order to make sure the stain looked even when I applied it, I went over the top with a coat of pre-stain conditioner before staining it. Great stuff!
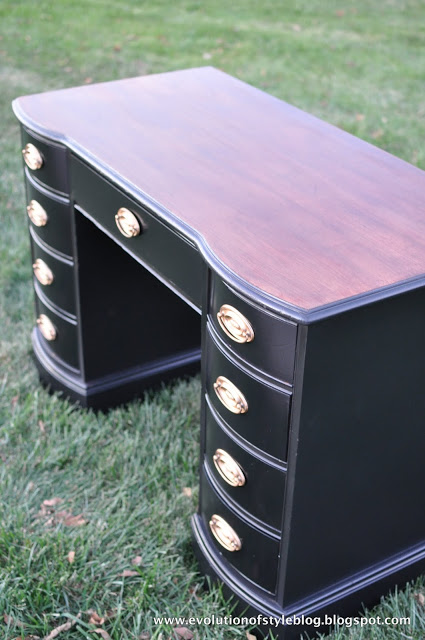
Here’s a tip I learned from my local Woodcraft store – mix the stain with the polycrylic and apply it. It gives you a head start on the durability since the polycrylic is in there, and it also gives you some additional control on the color of the stain. I mixed it in a 2:1 ratio – two parts polycrylic to one part stain. I used General Finishes High Performance Polycrylic and their Walnut stain. The walnut stain is a fantastic color – not too dark, not too light. And you can make it darker if you want by applying another coat – I like the control you have with it.
Here is the top after I applied the stain. Good as new!
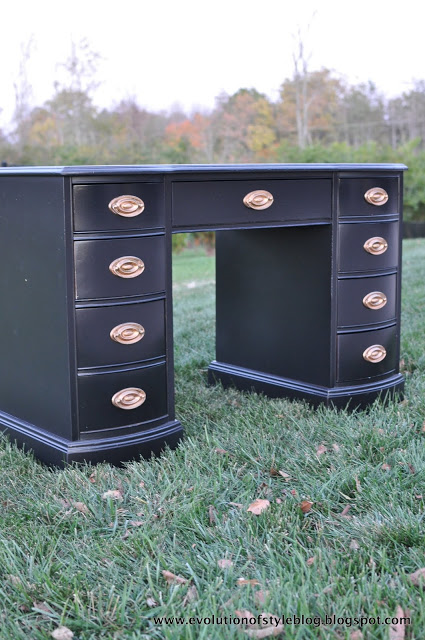
And here is this classic beauty now.
I’m really happy with how this piece turned out, and sold it after posting it on my personal Facebook page. Doesn’t get much better than that, does it? Now I want to find another one – I love this classic style.






4 Comments
Cassie @ Primitive & Proper
October 21, 2015 at 1:12 pmsuch a classic beauty!
marty (A Stroll Thru Life)
October 21, 2015 at 1:37 pmIt is gorgeous.
Vel Criste
October 21, 2015 at 4:42 pmCan't believe it's the same desk ! Great job, it's an heirloom piece now for sure!