
I hope you all are enjoying the gorgeous weather that is sweeping the country – I know I am! As much as I hate to lose that hour to Daylight Savings Time, I am loving the extra sunlight at the end of the day. Although I’m thinking that we should all spring forward around 3:00 pm on Monday morning vs. over the weekend. I don’t think that I would miss that hour quite so much if we did it that way. 😉
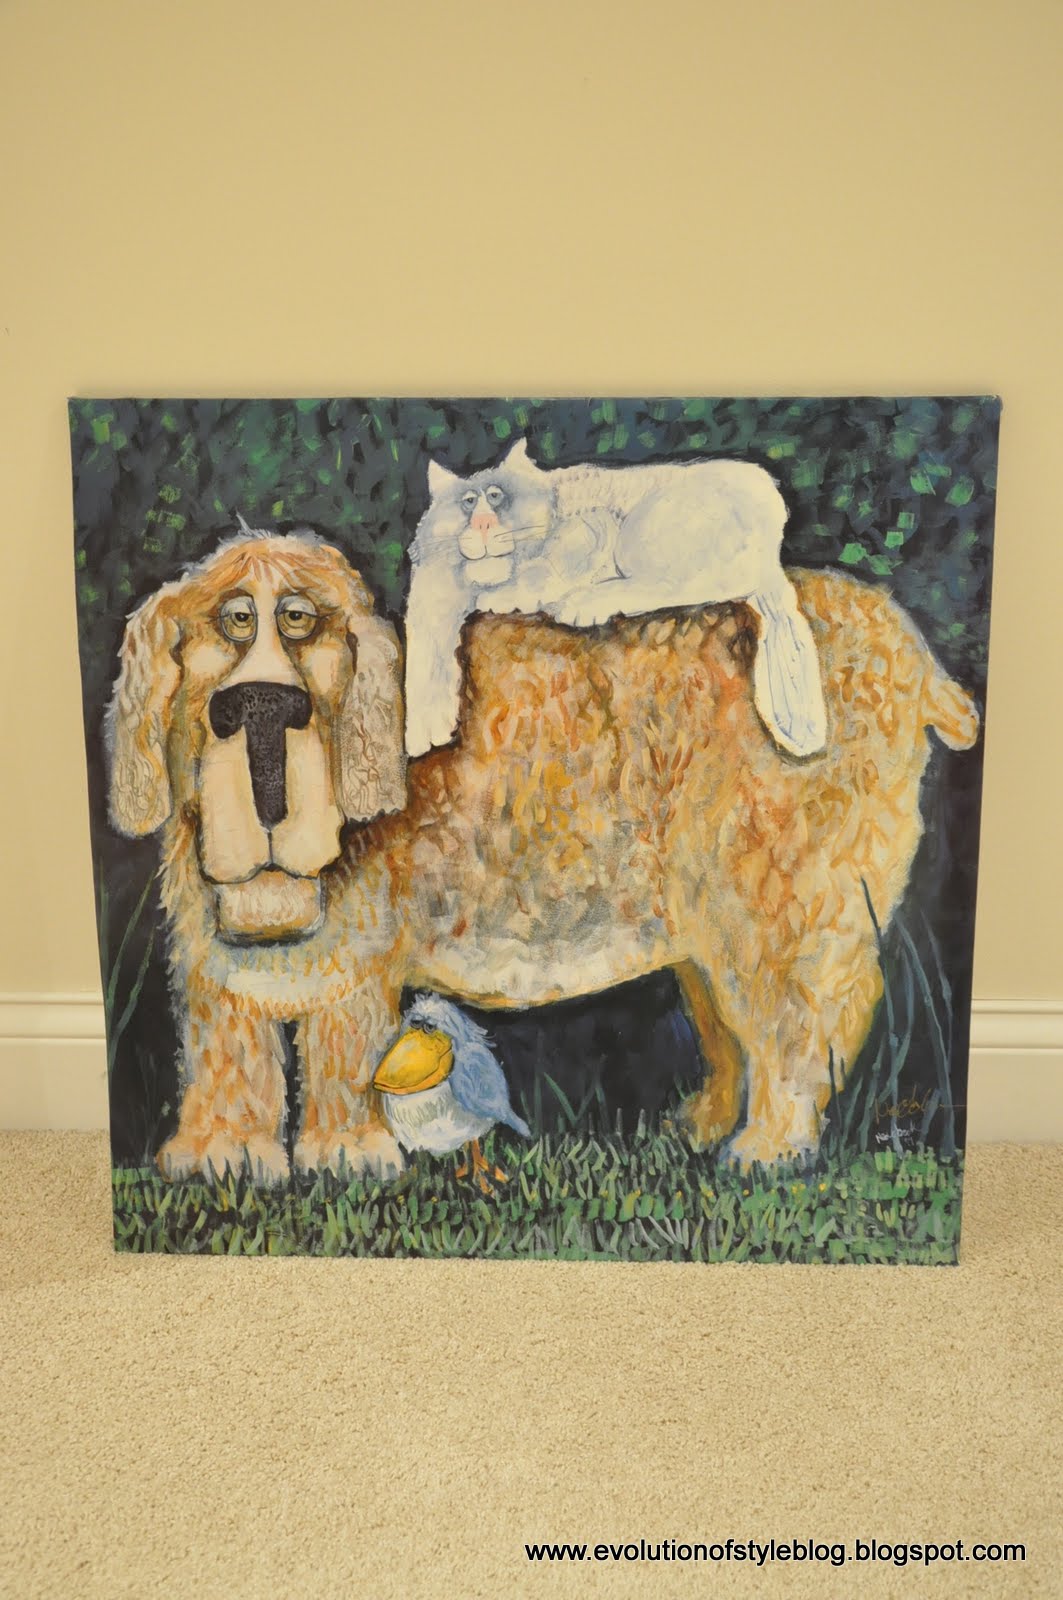
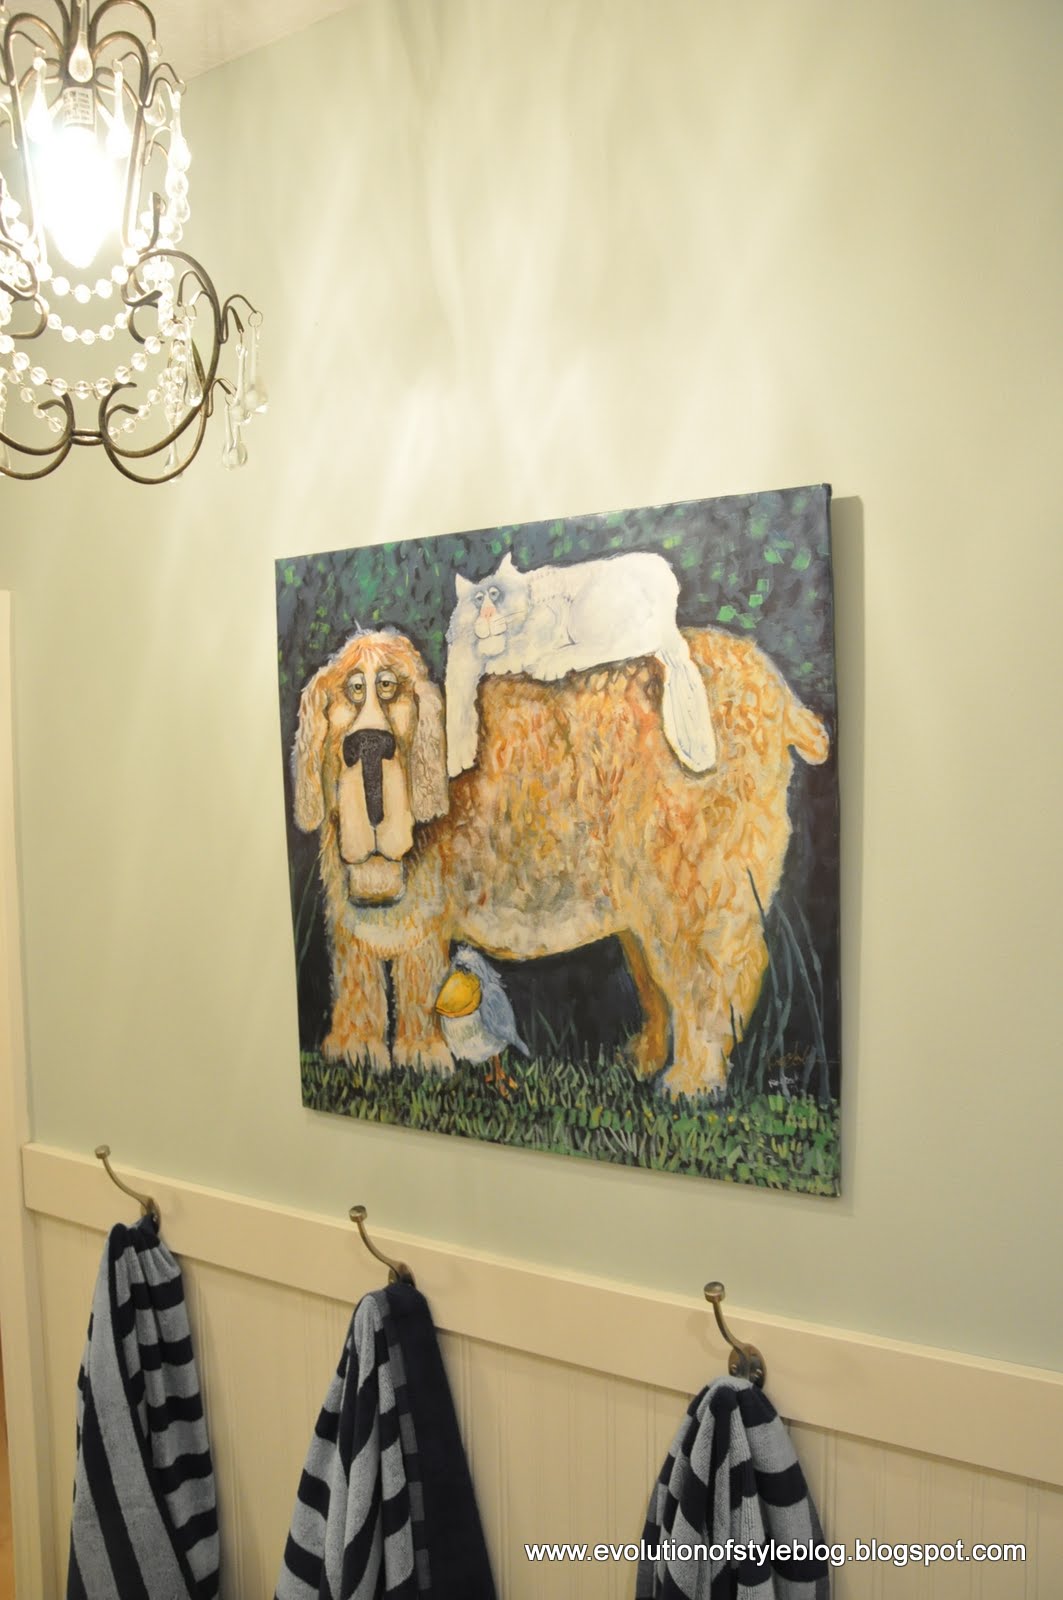
So, I had shown you my updated Jack and Jill bathroom and my addition of some fun artwork – now it’s time to show you how I did it. First a recap of the finished product:
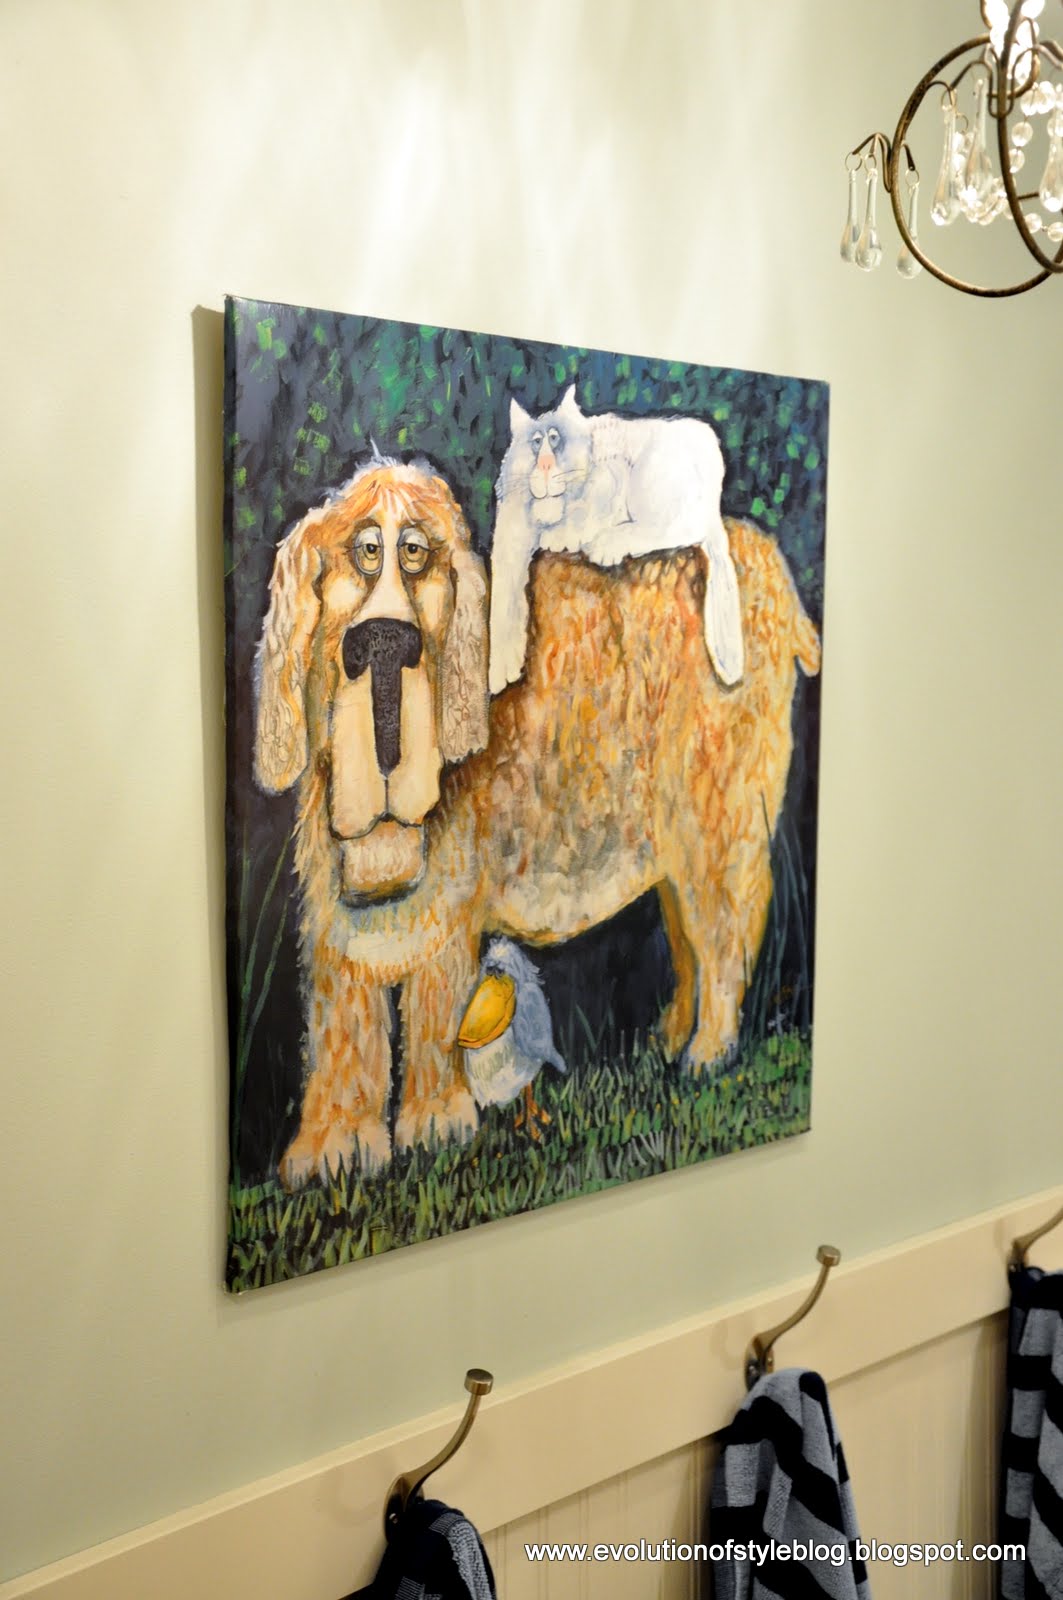
I don’t know what it is that makes framing so spendy, but it’s the main reason (procrastination aside) that I have several prints that are floating around my house unframed. You would think that I would have learned by now to just spend the extra money and purchase framed prints. But alas, no – I’m a slow learner.
So, as a framing alternative, I took a leap of faith and decided to Mod Podge this sweet print to a piece of wood (or in my case, MDF, since that’s what I had on hand). I didn’t feel like I was settling for second best, as I love this look.
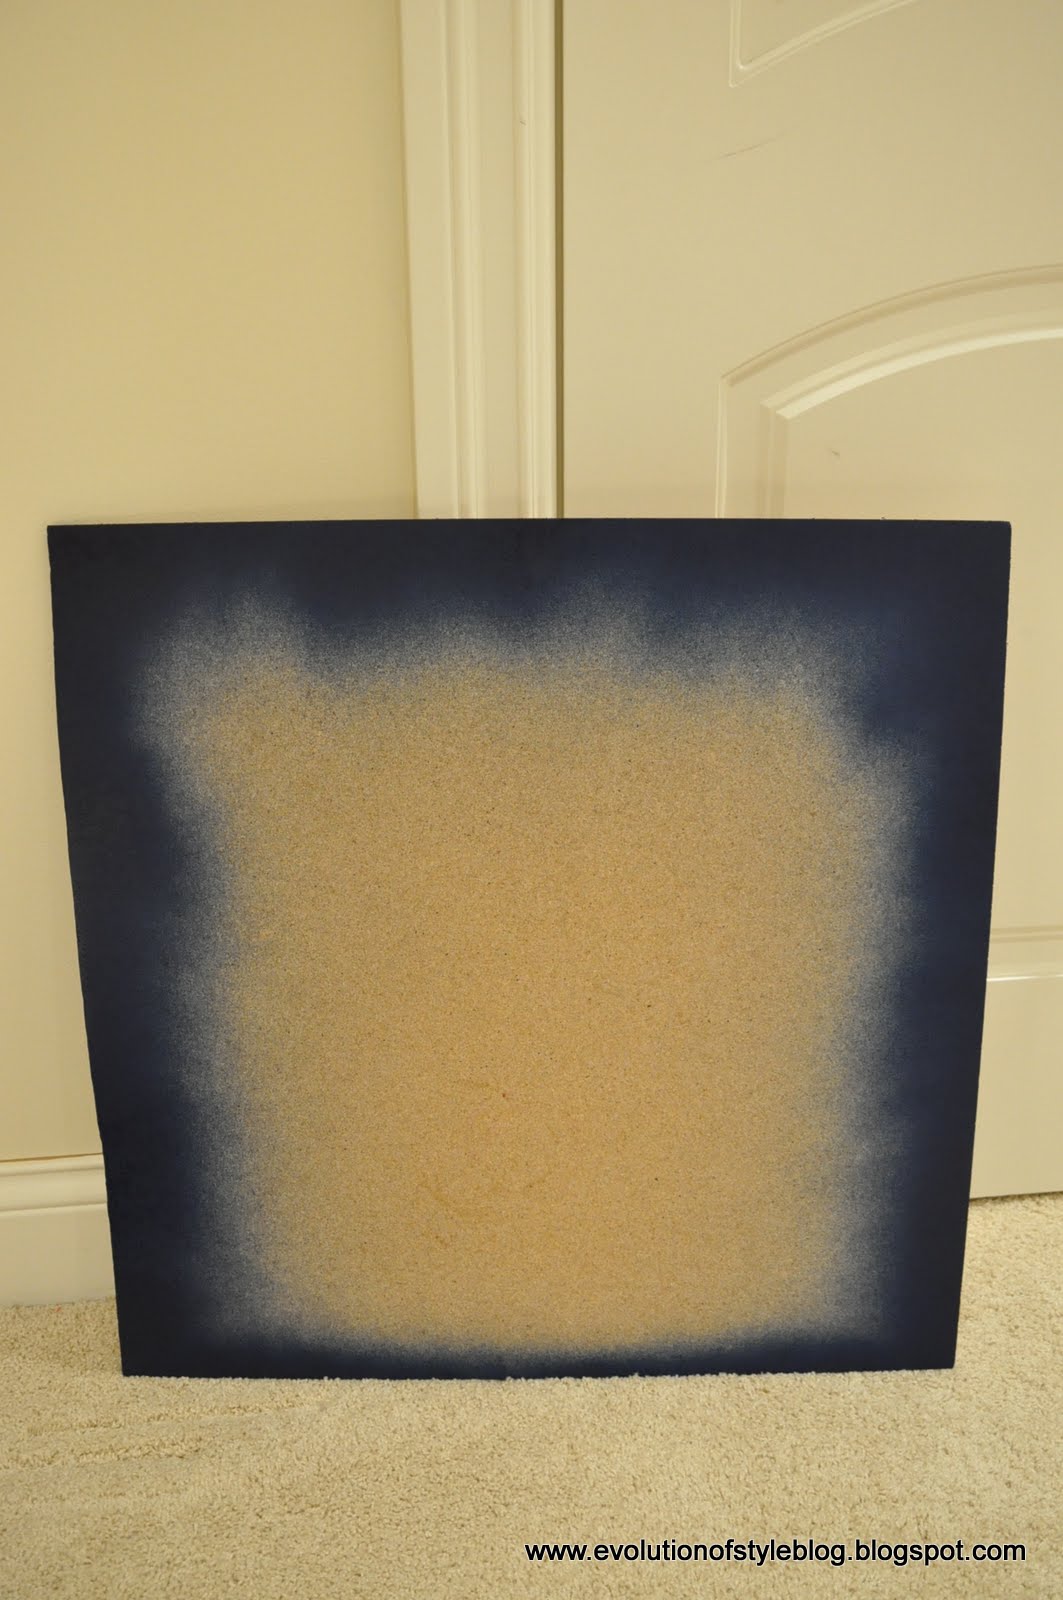
I started out with a piece of MDF that I cut to size – just a bit smaller than the overall dimensions of the print, since I wanted it to wrap around the sides of the wood. (But, after doing this project, you could most certainly cut the wood a bit bigger than the print and save the headache of messing with the wrapping.)
Then I spray painted the edges with navy blue paint that I had, to camouflage the wood so it would blend with the print.
From here, I applied the Mod Podge on to the wood:
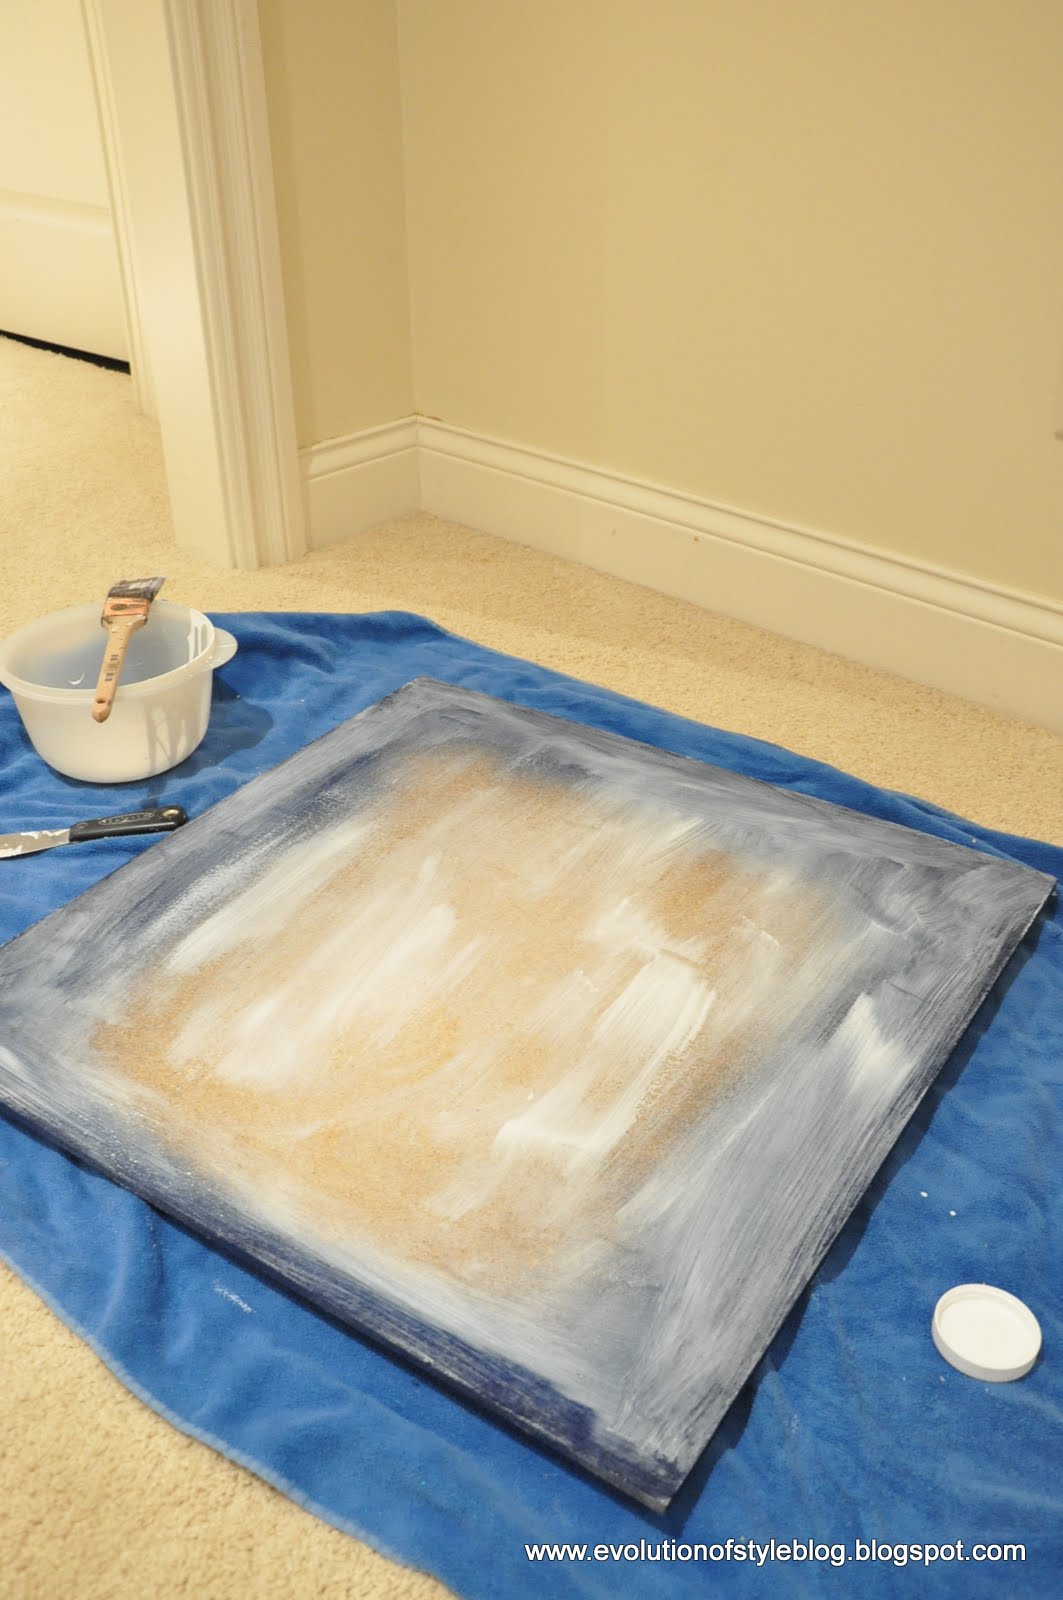
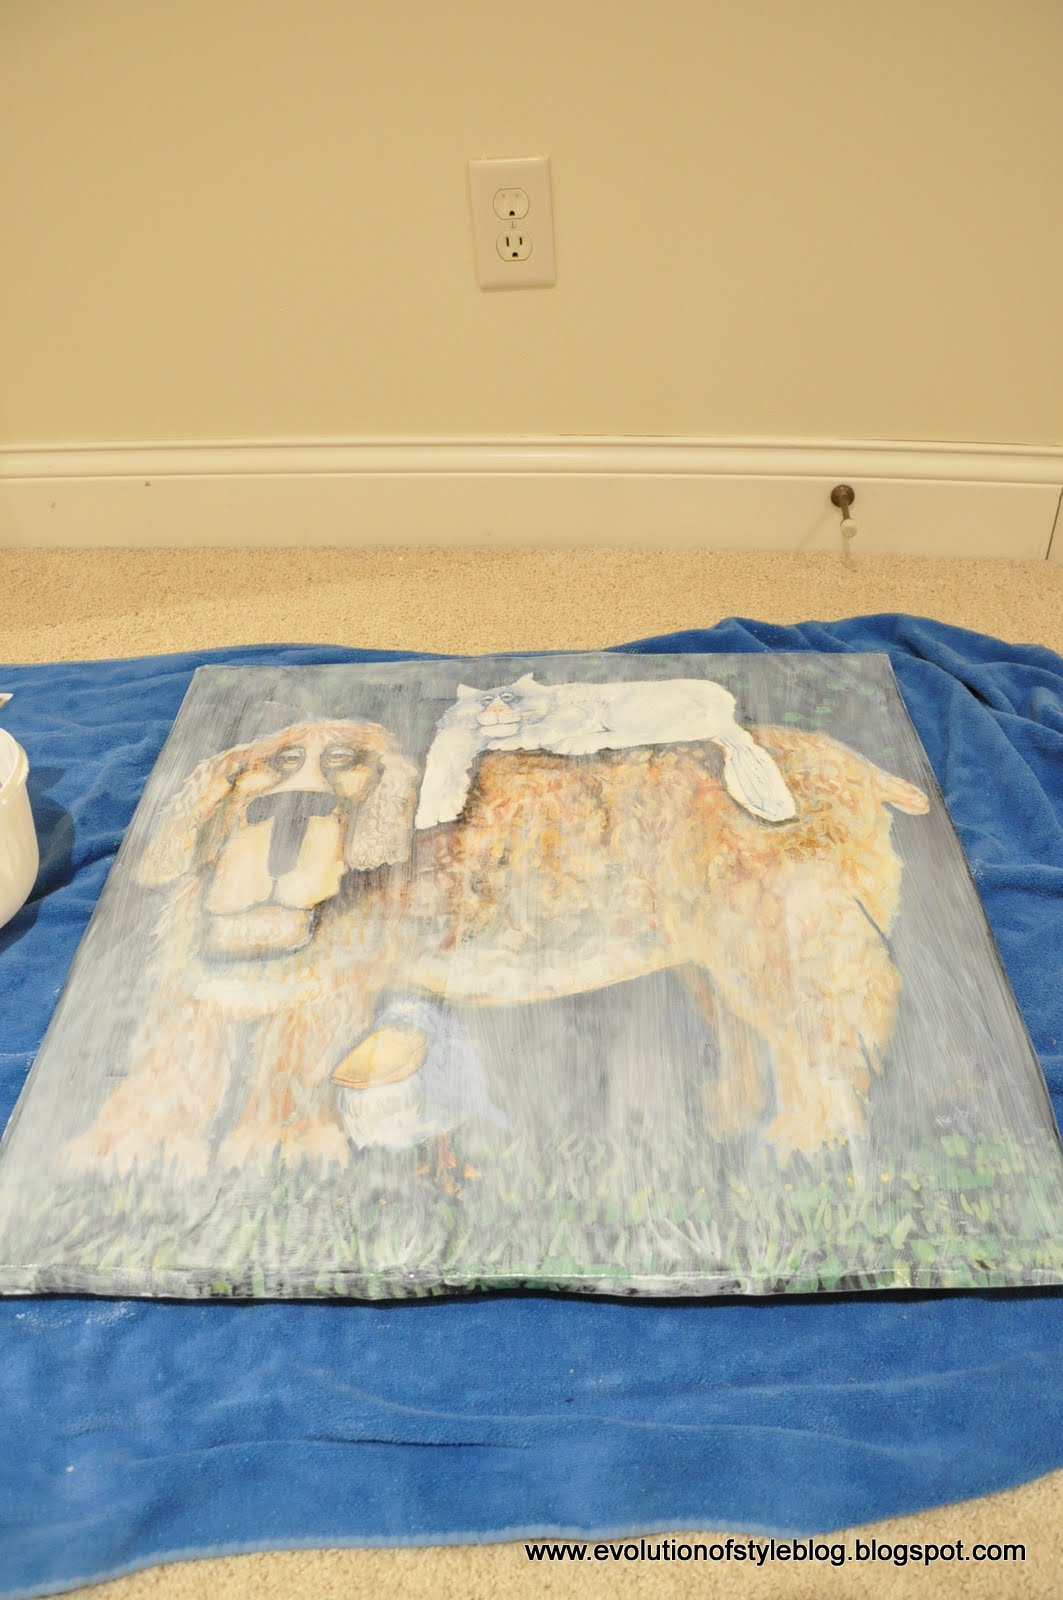
Then I placed the print over the top, and smoothed it out. If anyone has any tips on bubble avoidance in this process, I’m all ears – it’s tricky.
From here, I Mod Podged the print, and tried not to panic – 2-3 coats, allowing dry time in between each coat.
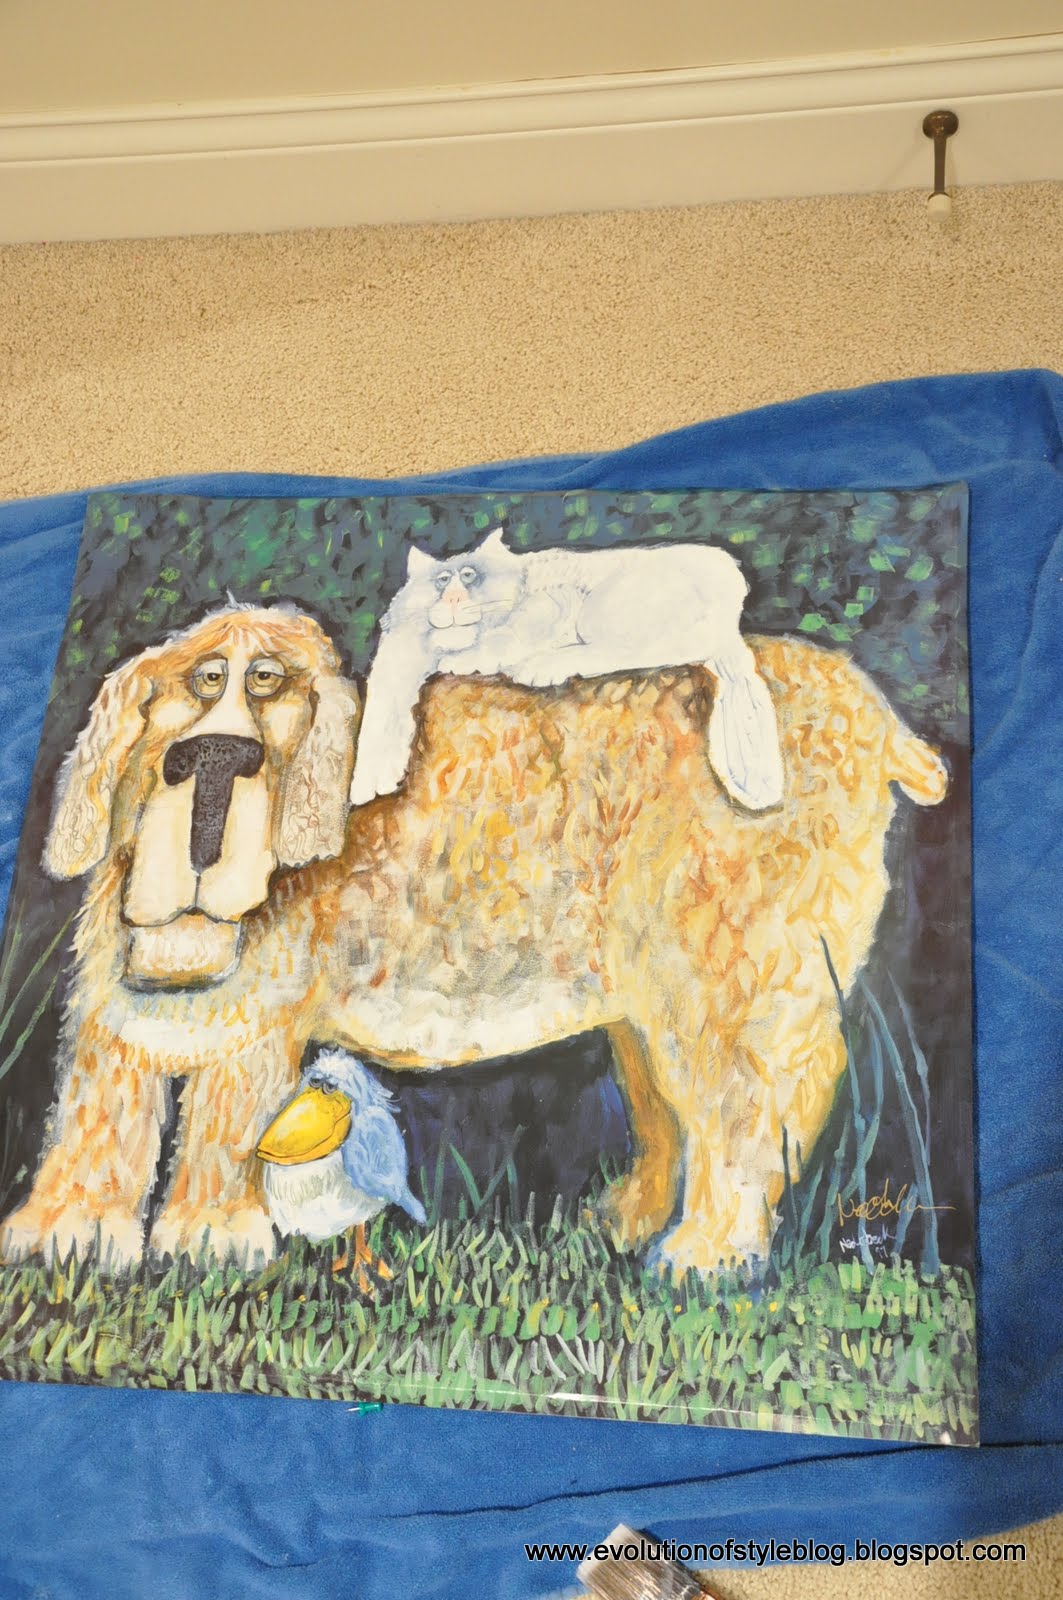
After the Mod Podge dried, I tackled wrapping the sides, since it was getting too messy when I tried to do it all at once. This is where I’m saying that you might want to consider the option of cutting the wood larger than the print. I resorted to hot gluing the edges for the wrapped effect I was looking for.
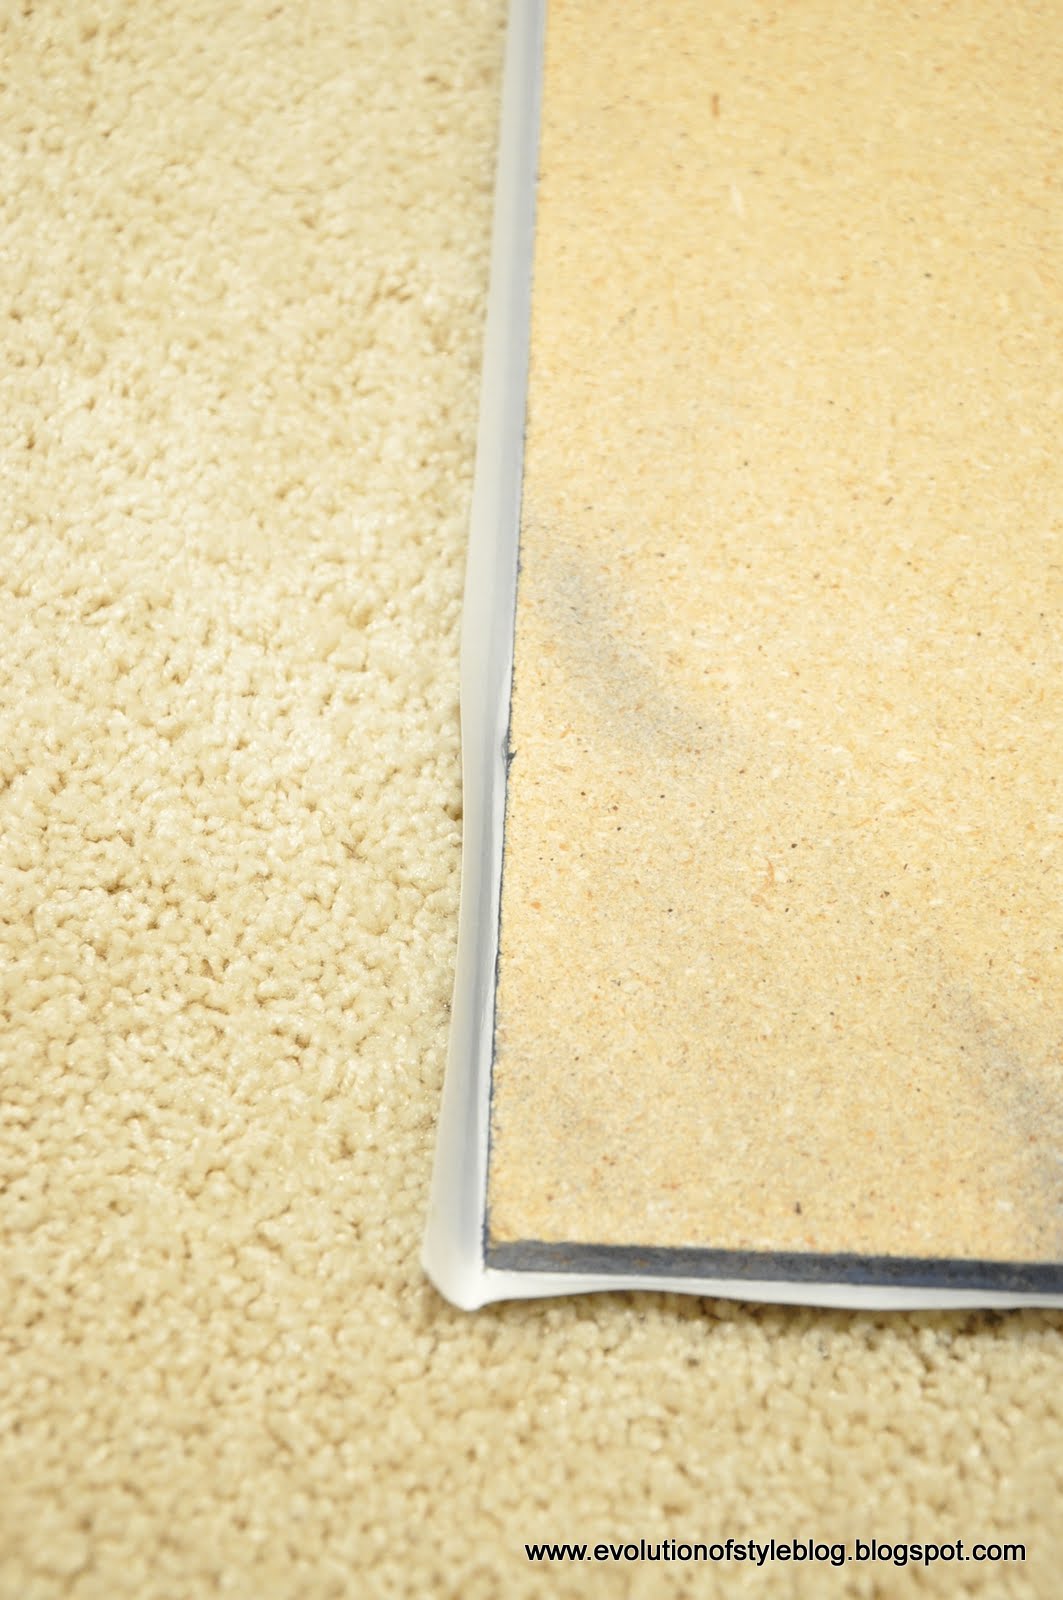
And really, it’s fine – no one is any the wiser, right?
To hang it, I used this:
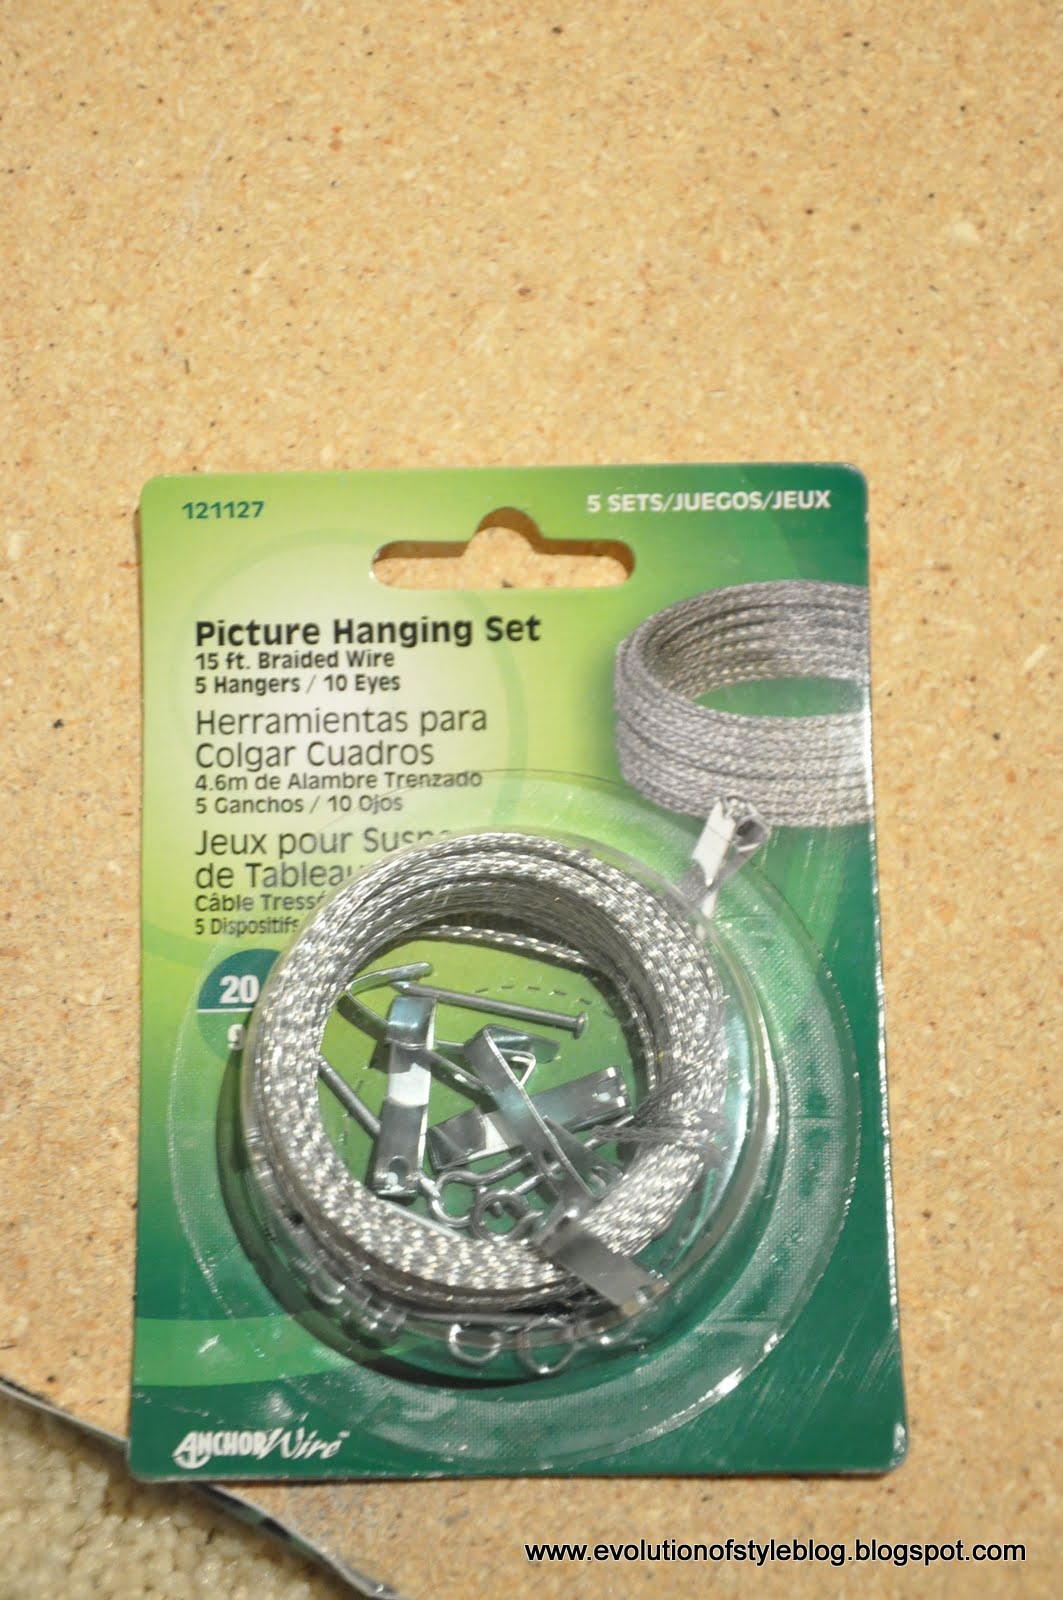
I drilled a little pilot hole to screw in the eye hooks…
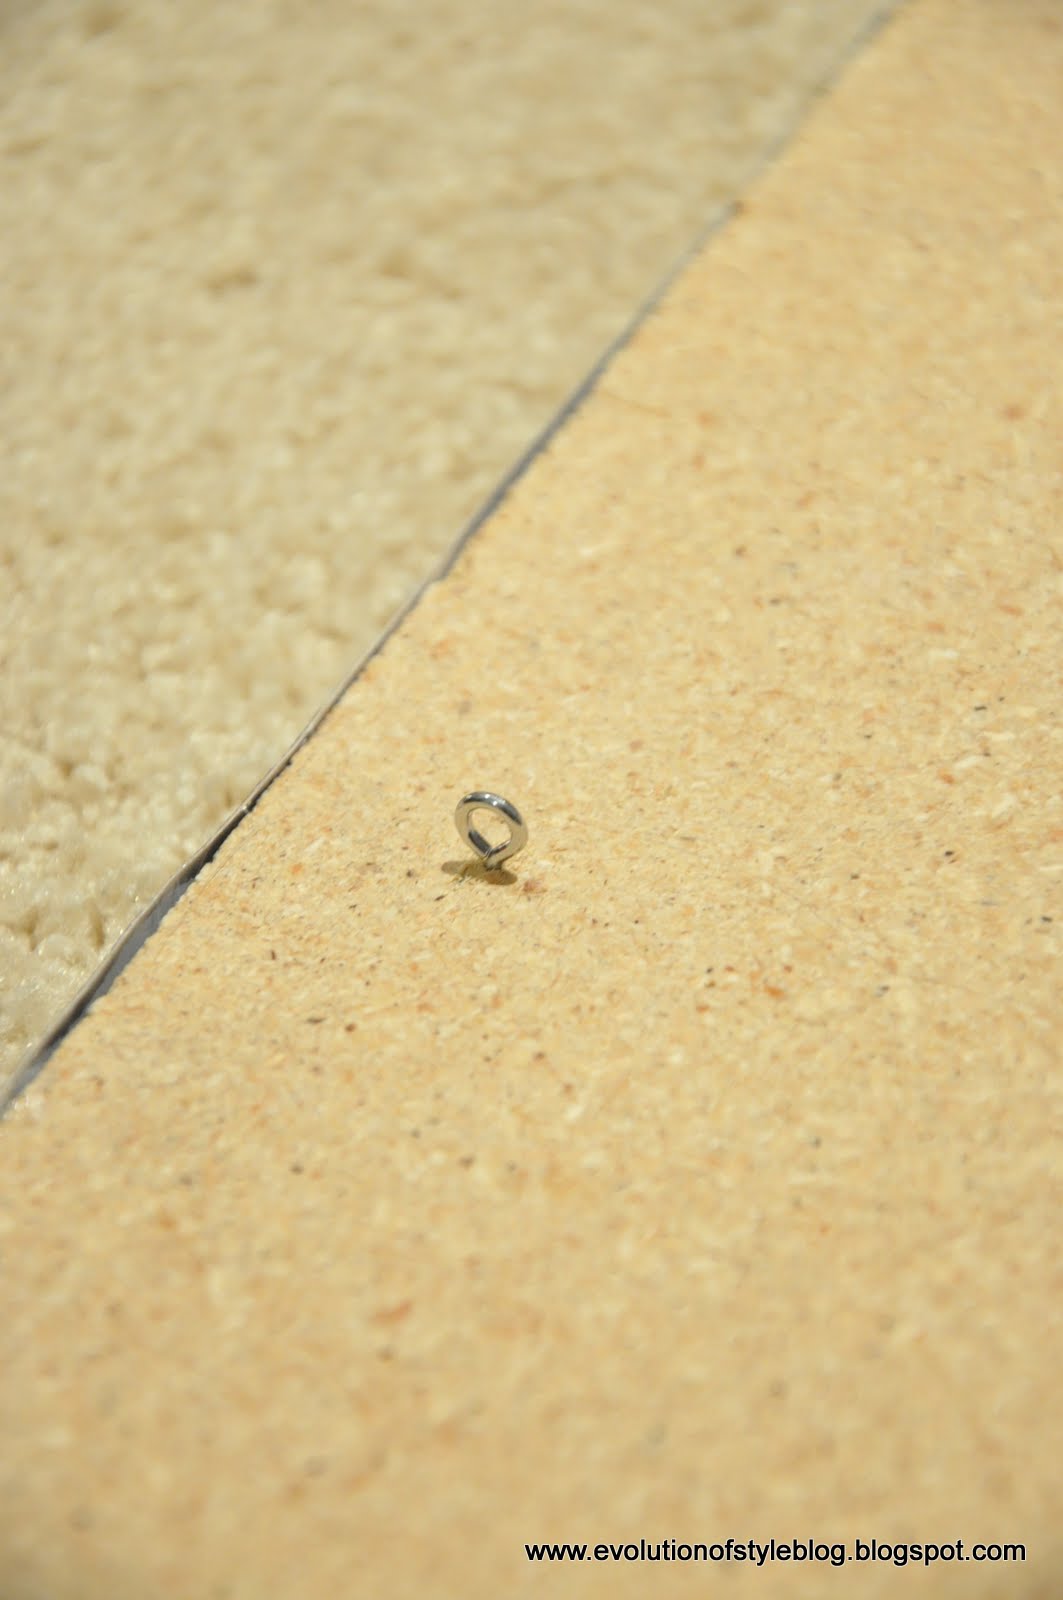
And then threaded and secured the picture wire:

And that’s it! A framing alternative for those of us who would rather spend our money on pedicures or strappy spring sandals. Or both, if you’re like me and your feet need to be de-winterized. (I can only hope that the Korean gentleman who did my pedi wasn’t gossiping in his native language about my feet to the other employees in the shop. Am I the only one who has this paranoia?)
Anyway – I hope you find this tutorial helpful. Really, the possibilities are endless here – you could use family photos, pages from books, postcards, etc…
Enjoy your day! My daffodils are blooming and I’m excited at the prospect of fresh cut flowers at my desk – it’s the little things, isn’t it?
Linking up to:
My Uncommon Slice of Suburbia – Tuesday Treasures

6 Comments
Maury Kilgo
March 15, 2012 at 12:39 pmWow! It looks like you bought it like that! Great job!
Andrea
March 15, 2012 at 12:40 pmVery clever. I think I'll try this out. Love the artwork too!
Mrs. Robinson
March 15, 2012 at 1:46 pmThis is SUCH a great idea! =) I'm the girl who'd rather spend her money on manicures. Ahhh….your a creative genius. I can't wait to try this. =)
Lisa Scibilia
March 15, 2012 at 8:17 pmIt looks great, Jenny! I saw that you can do this with large photos printed at Staples, etc. and would love to try it for my basement. Thanks for sharing your how-to!
Budget Design Girl
March 15, 2012 at 10:35 pmGreat idea, and tutorial! Your bathroom looks adorable!
xo-Lisa
Aloys
August 24, 2014 at 8:16 pm… 4framedprints.blogspot.com