Hello!
I hope you’re all getting some of the gorgeous spring weather that we’re getting here in Ohio. It’s been glorious, even if my allergies are kicking into high gear. I’ll take it! It’s been wonderful to open up the windows and let the fresh air into the house. That said, I finally finished this other mid-century modern dresser. I shared my first one here, in case you missed it, but this one was a bit more labor intensive, and is what I describe as mid-century modern with a twist. This post contains some affiliate links for products I used in the process.
Let’s go back to the beginning with this one, shall we? Remember this?
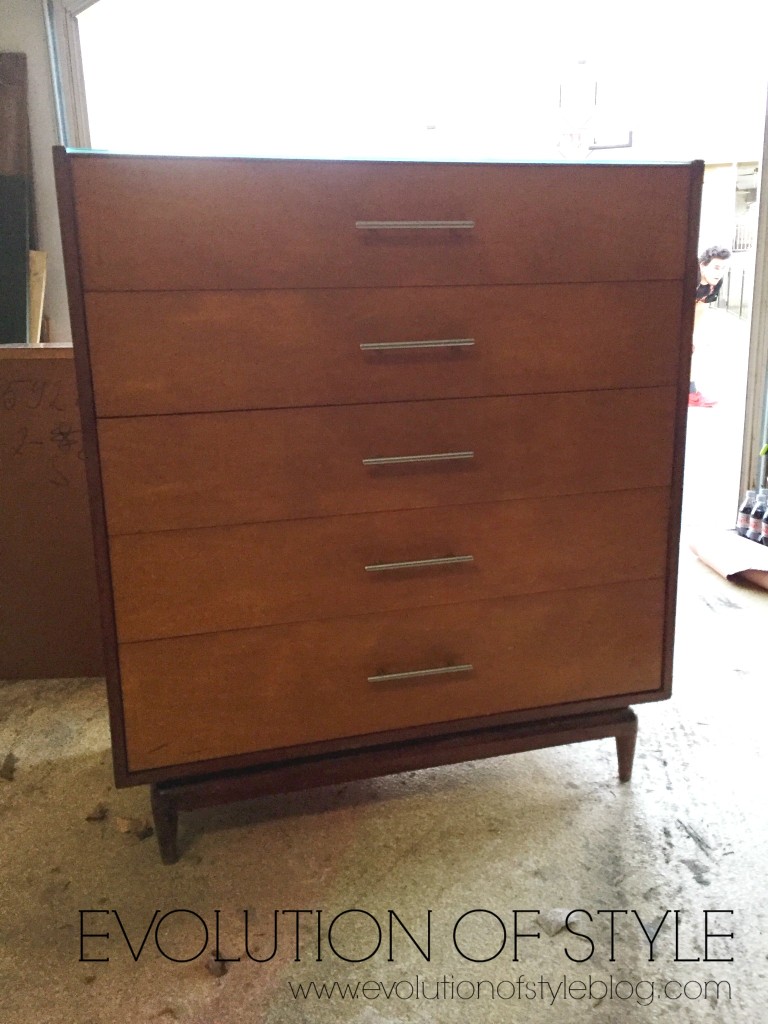
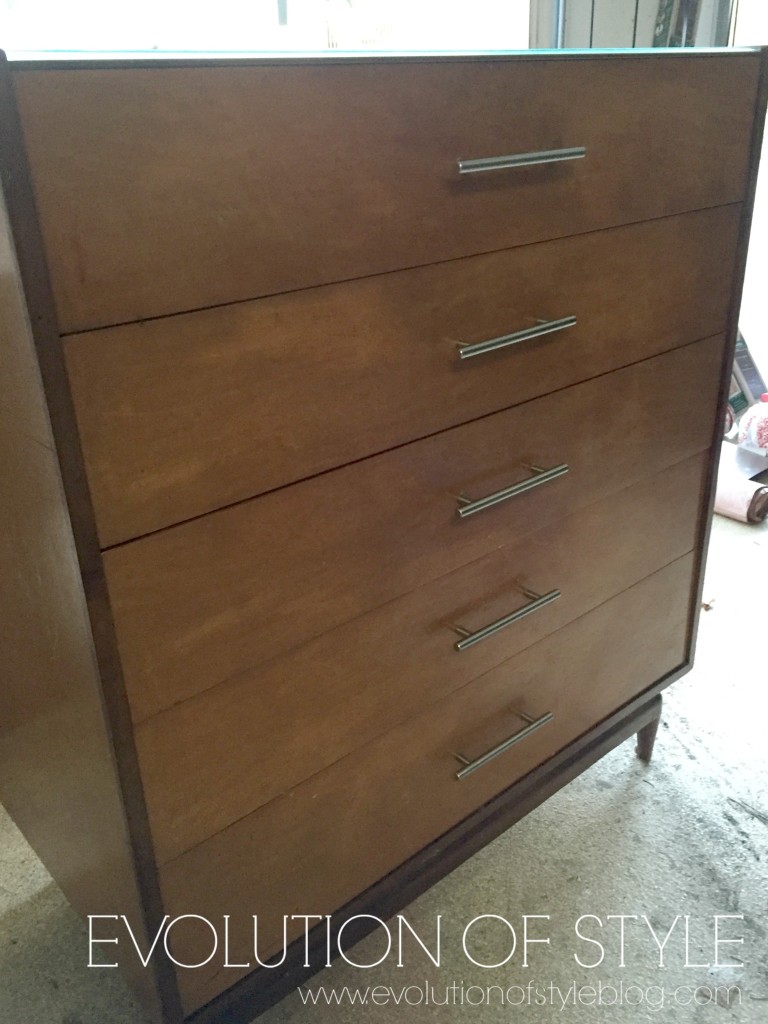
The top was a hot mess. There was a piece of chipped glass on top of this dresser when I got it, and underneath it was just plain yucky.
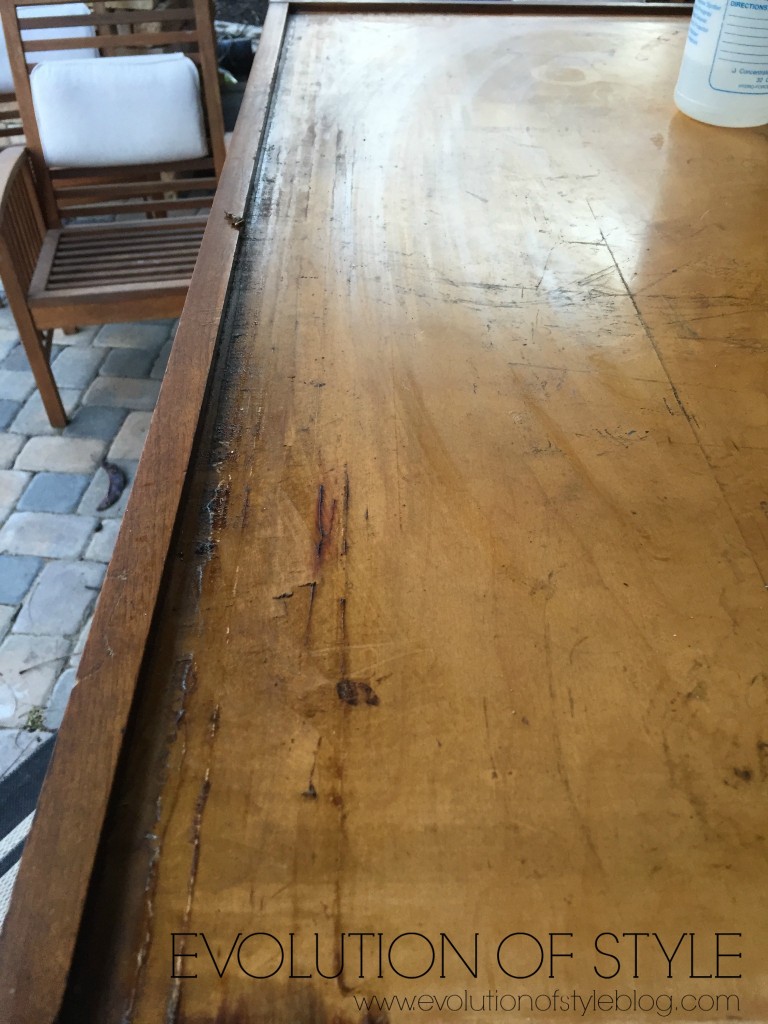
But, I got it all cleaned up with some trusty Krud Kutter, and then I sanded it within an inch of its life. Still not perfect, which is why I ended up painting the frame.
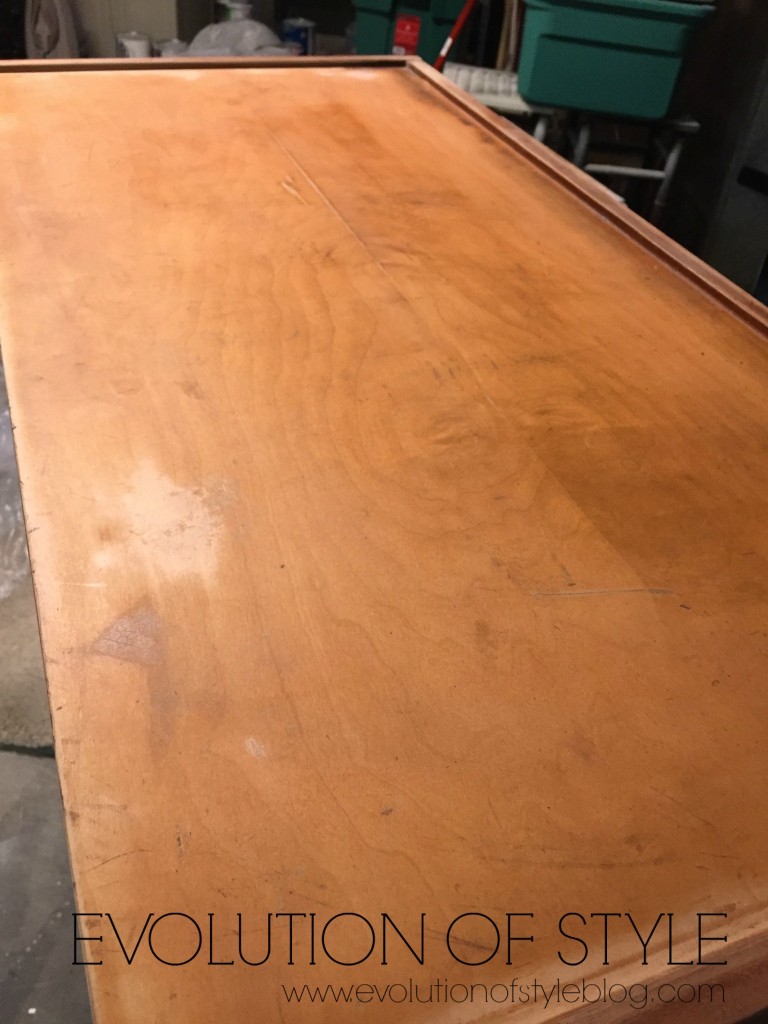
I primed it with BIN Shellac (smelly, but necessary).
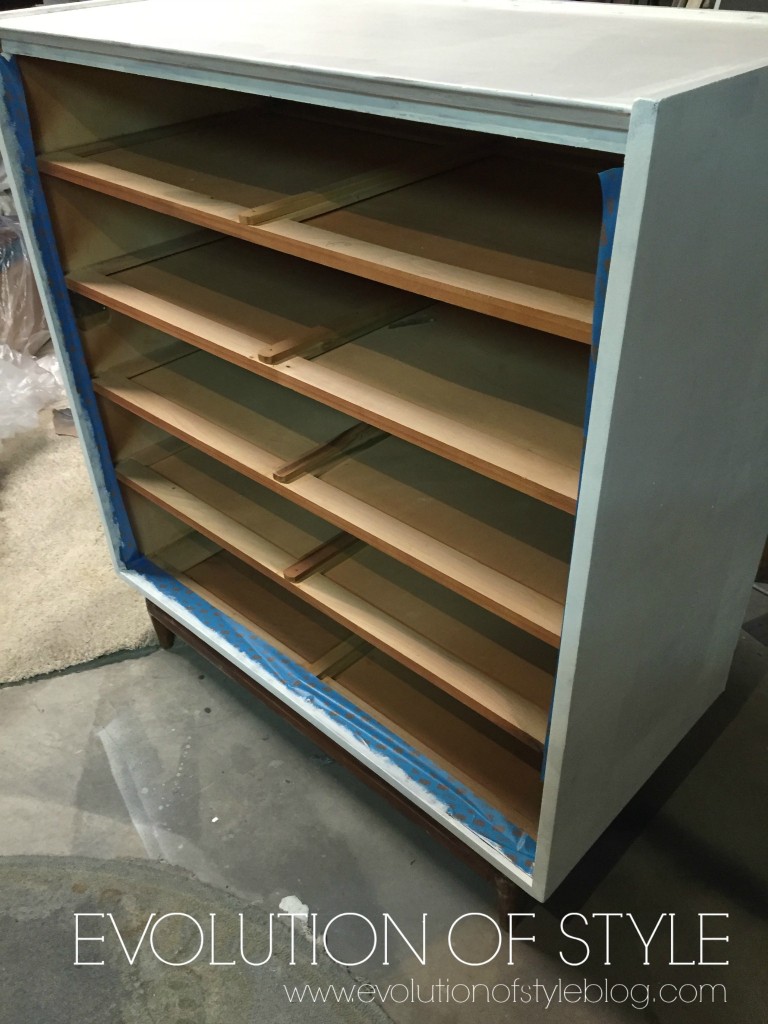
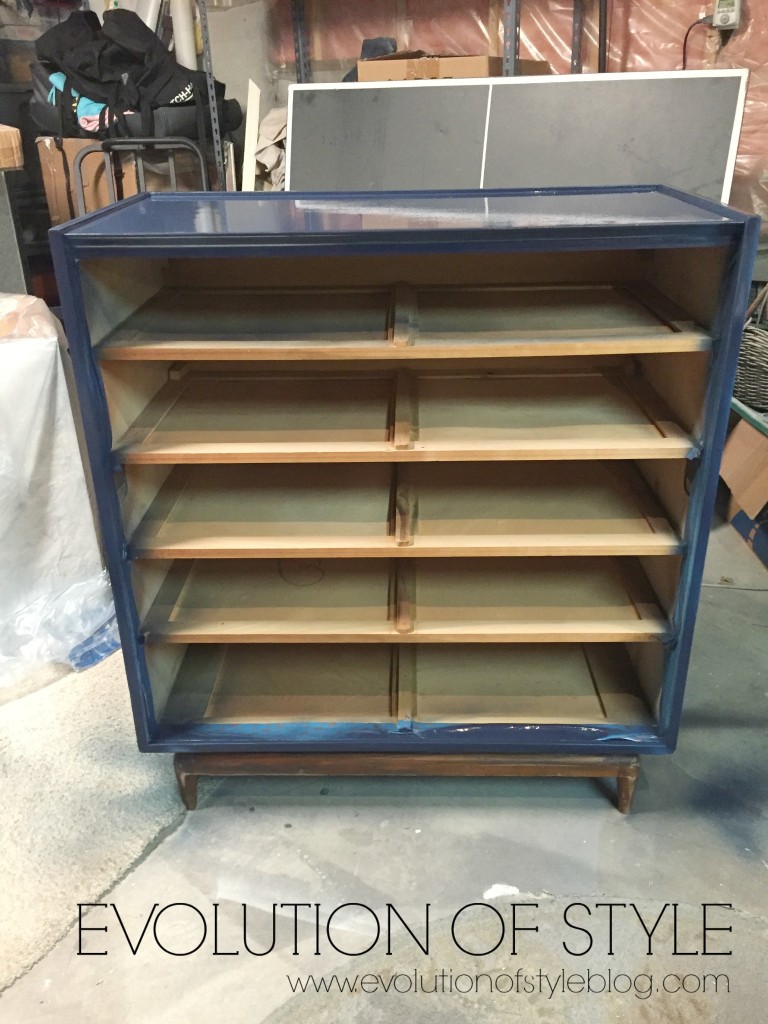
I took a small detour by painting the frame blue, but then decided that I liked the crisp white look better.
I opted for a rich walnut stain from General Finishes for the drawers, and as a contrast-loving gal, I was smitten.
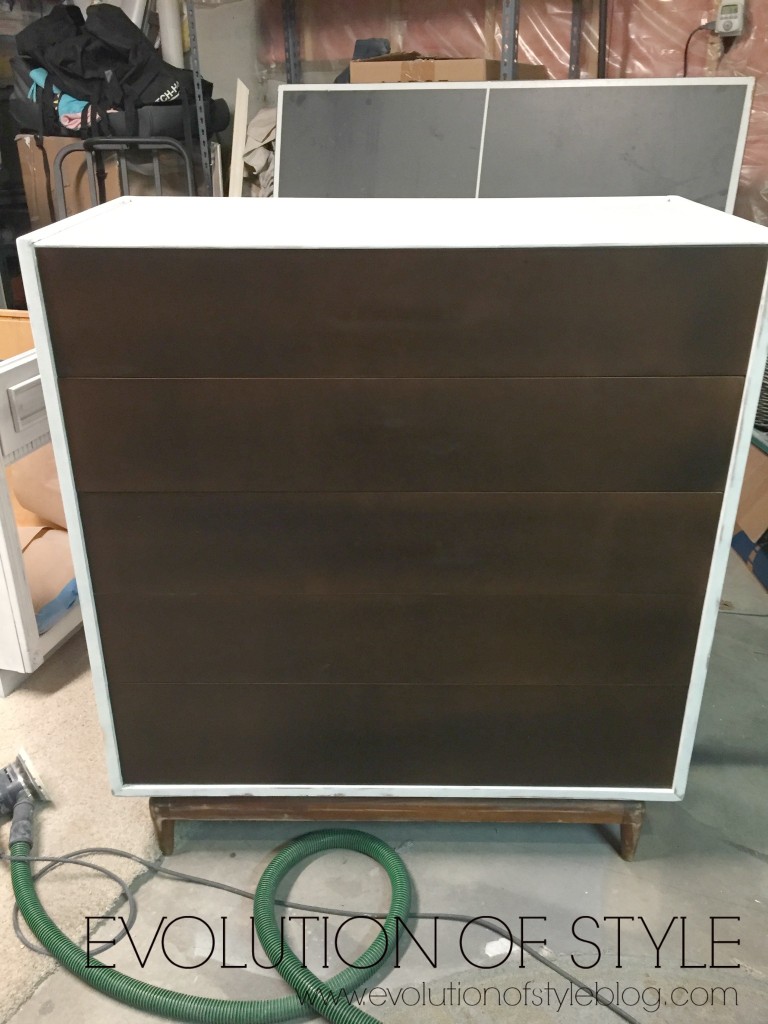
The only bummer part is that you could still see the hardware holes that I filled. Not all that well in this picture, but enough to where it bothered me (and yes, the legs still needed to be stained in this photo).
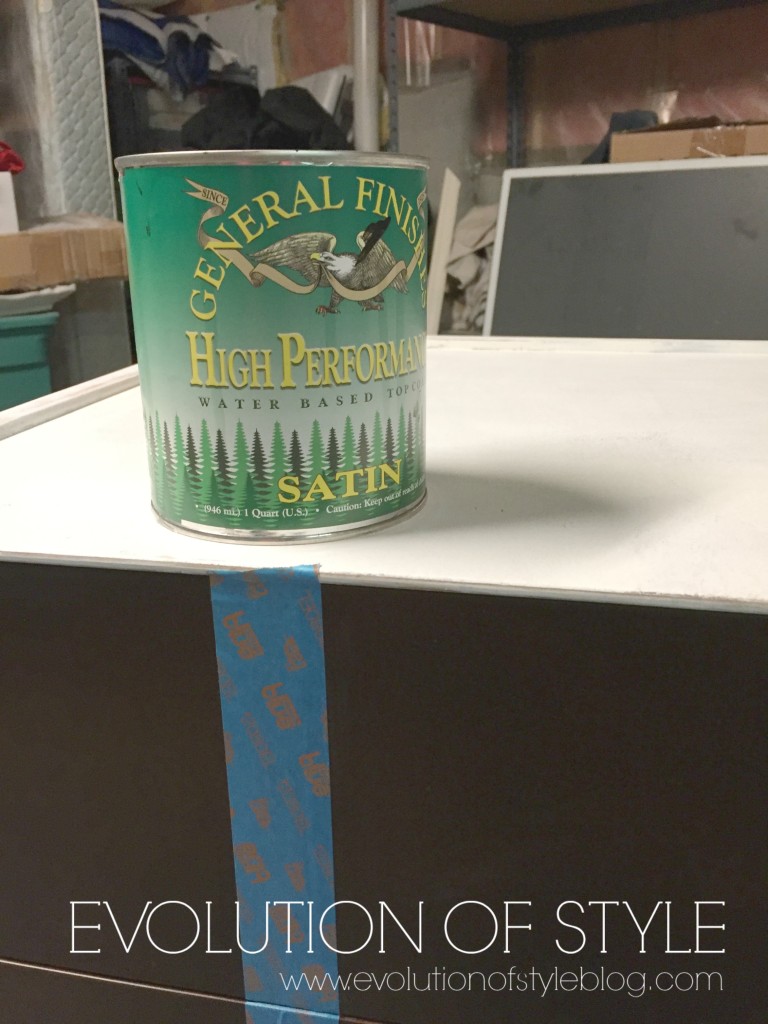
To address the stain/hardware hole issues, I decided to do a stripe down the middle, since that hides the holes a bit better. The easiest way to do this is by measuring off where you want to put the stripe and tape it off with all of the drawers in place on the dresser.
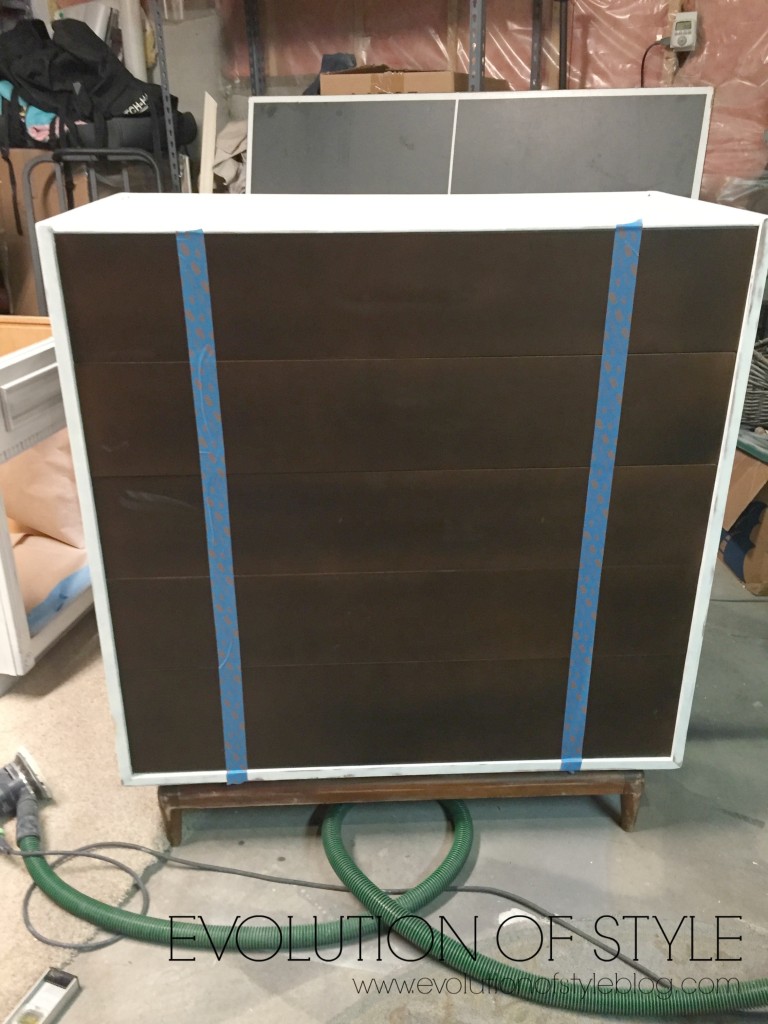
Here’s a tip when painting stripes – I used a bit of the General Finishes top coat to seal the tape down so that paint doesn’t bleed through. Even though I’m a big fan of my Edgelock Delicate Surface Tape, I didn’t want to take any chances, given the amount of work I put into this piece.

From here, I added some perfect mid-century knobs from D. Lawless Hardware (and finally stained the legs). And now we have this:
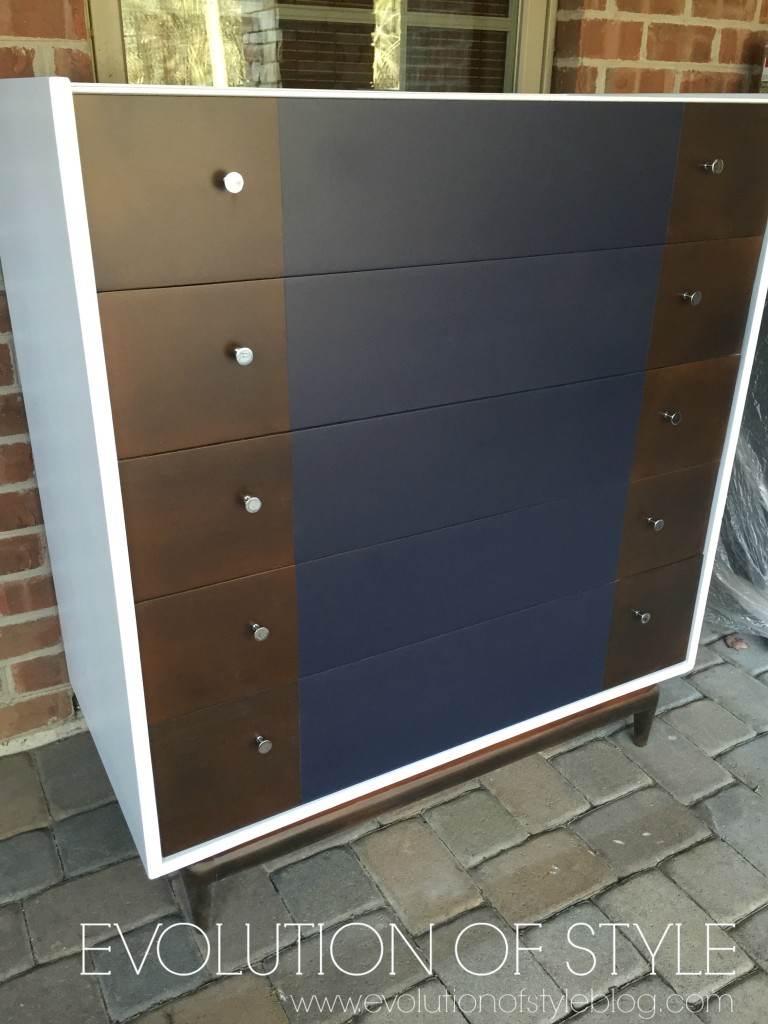
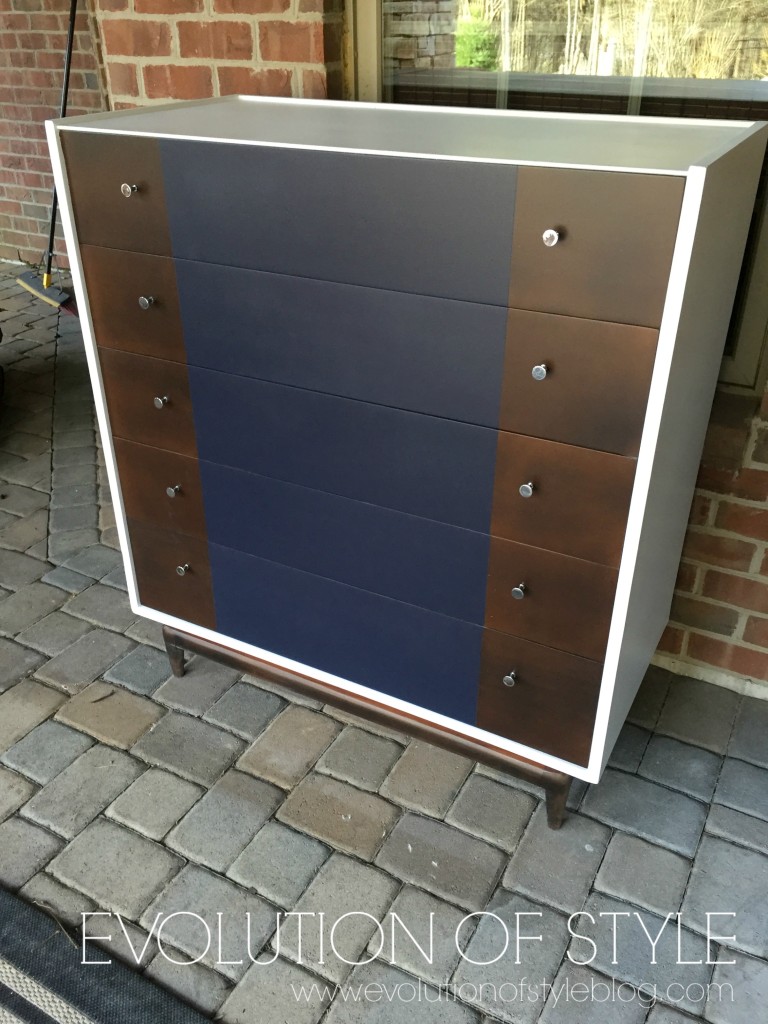
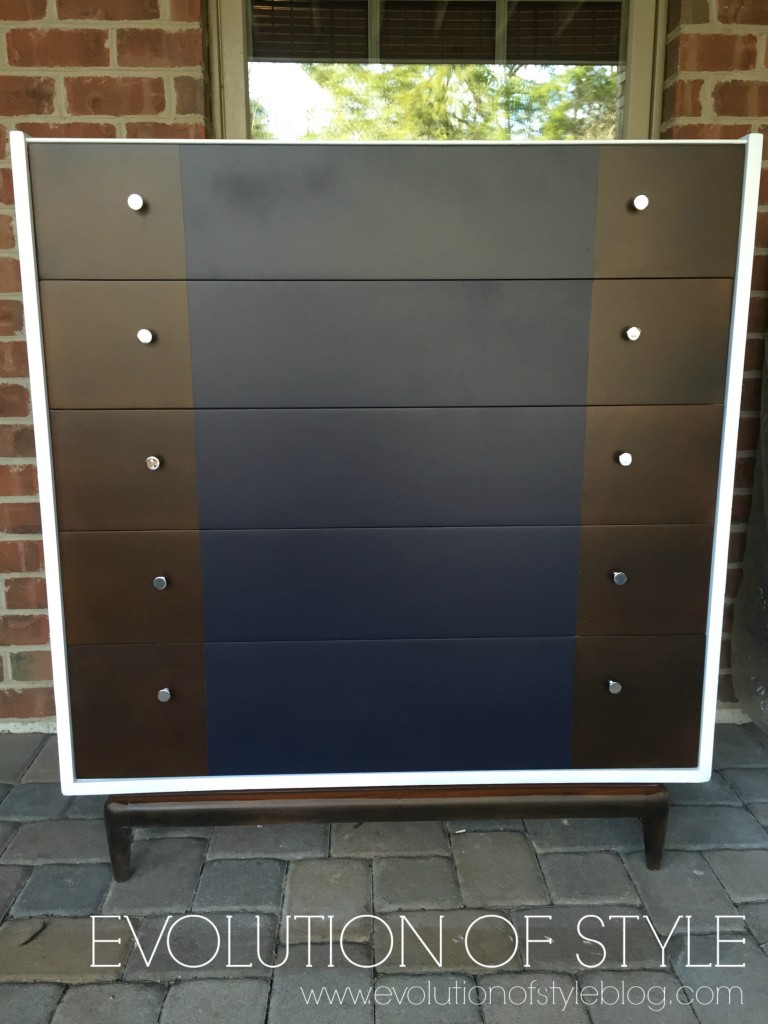
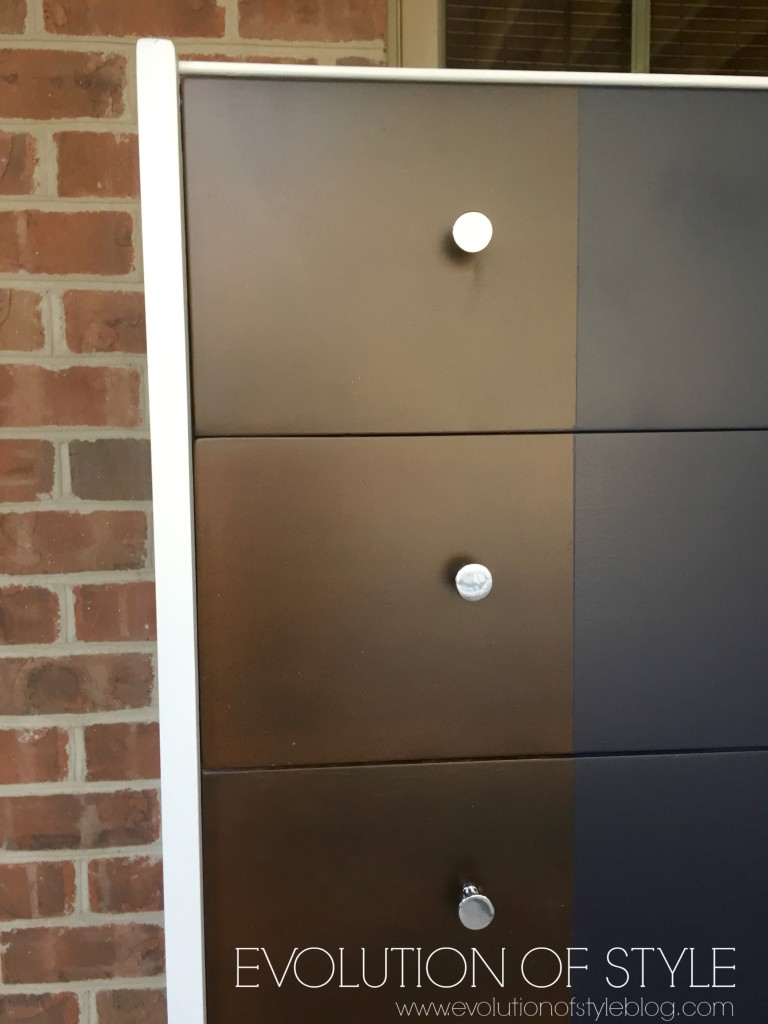
So sharp, if I do say so myself. 🙂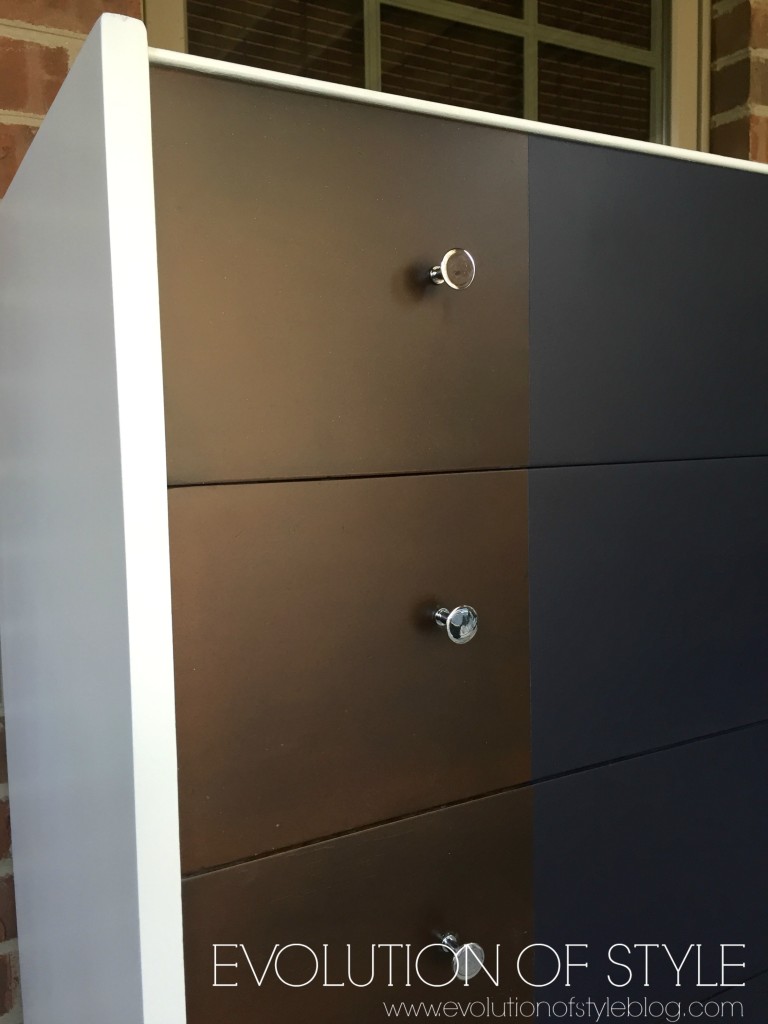
Here’s the side by side comparison – you’ve come a long way baby.
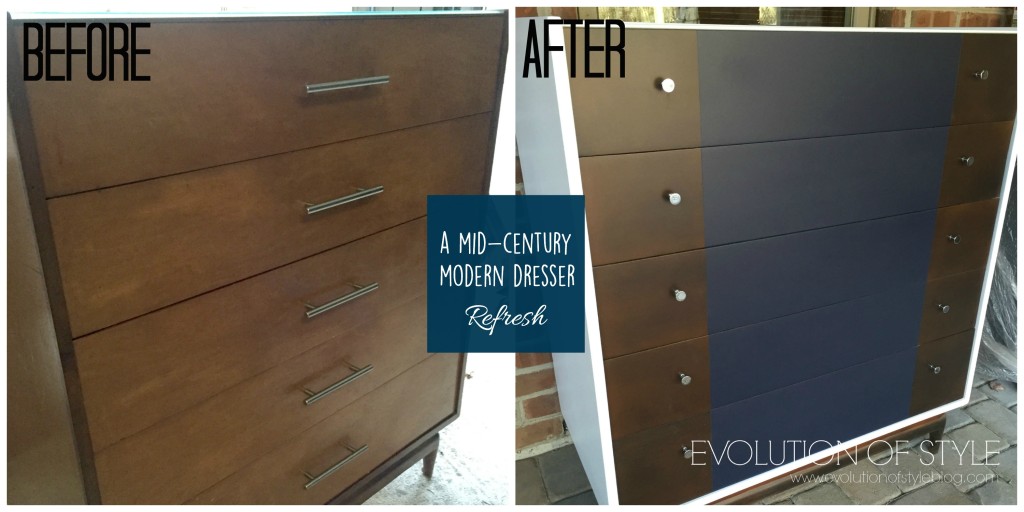
What do you think? Do you like the mid-century style?
And as a side note – some exciting things coming soon as part of my Painter in Your Pocket series. We’re going to be talking paint sprayers, friends. I can’t wait to share this stuff with you, because it’s really a game changer when it comes to painting.

Have a great day!
Jenny


4 Comments
Maria
March 9, 2016 at 1:50 pmLooks great! Love mid-century modern furniture and this is a lovely twist.
Lisa @ Shine Your Light
March 9, 2016 at 4:57 pmNice Jenny! You do some excellent work! Looking forward to hearing your thoughts on sprayers!
Karen A.
March 9, 2016 at 11:04 pmJenny,
As always, you did a really nice job! I also like the simple hardware. Were your ears burning recently? This past Monday evening, I took a 3 hour “How to use a HVLP Paint Sprayer” class at my local Woodcraft (Leesburg, VA). The instructor used the paint station from Earlex, and a stain from General Finishes. I told the instructor, and the other two guys in my class, about your blog, and how you frequently use General Finishes. One of them was going to tackle painting some cabinets in his daughter’s room the next day and was excited to check out your site for tips. He, like me, is seriously considering painting his kitchen cabinets. I love the finish a paint sprayer provides, so I’m looking forward to your paint sprayer post. 🙂
Happy Spring!
Jenny
March 11, 2016 at 7:40 amKaren that is so cool that your Woodcraft offers a class on using a sprayer! Thanks for sharing my tips with other people – would love to see your kitchen once it’s done!