
I have been on a roll with refinishing thrift store dressers lately, an this one is probably one of my favorite furniture makeovers to date. You know that I love trying new brands of paint, new colors and new techniques, and this Queenstown Gray dresser makeover is one that I think you’ll love as much as I do. This post contains some affiliate links.
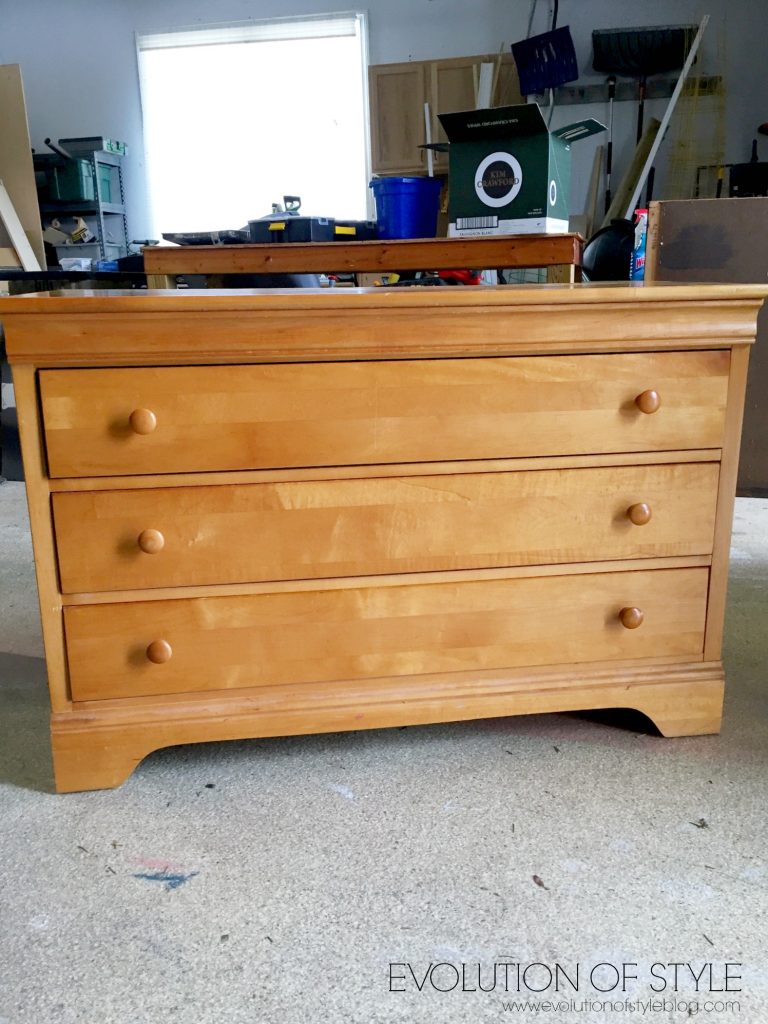
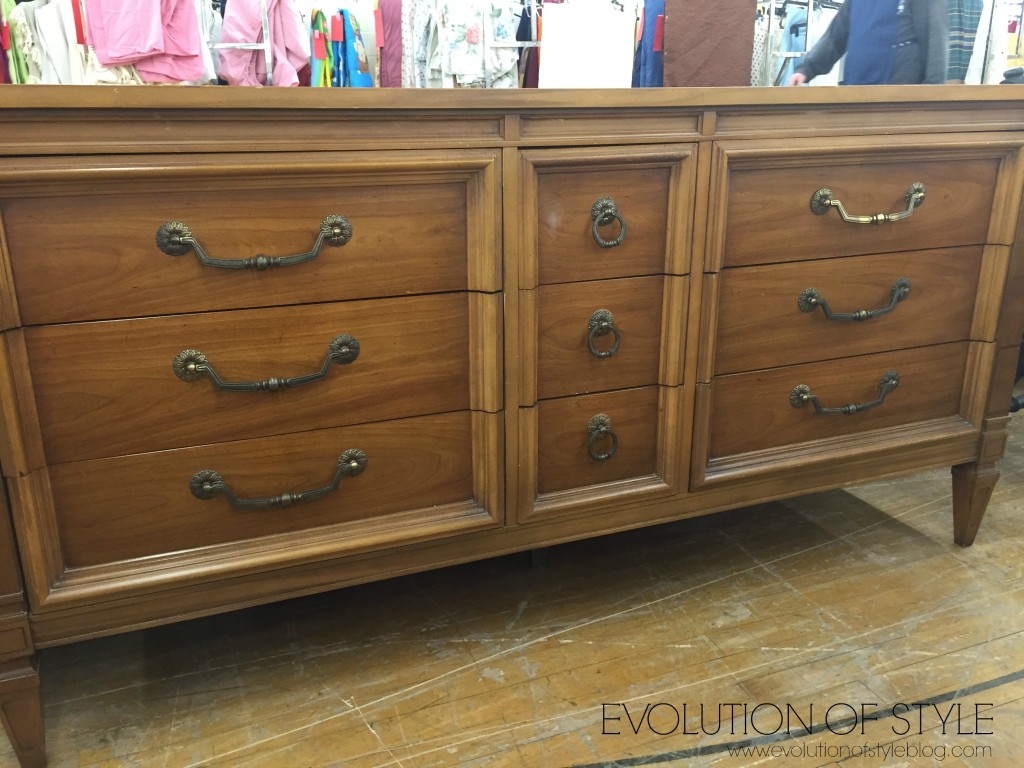
The dresser itself was in great condition – one of the drawers needed a little adjusting, but that was it. Solid wood, made by Stanley Furniture – good stuff.
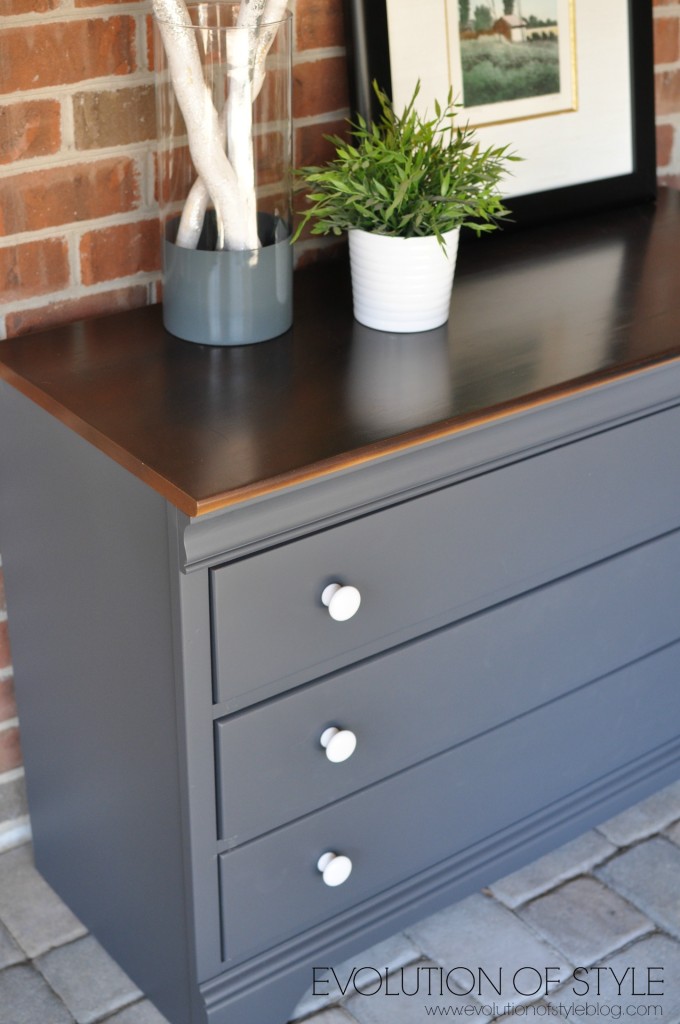
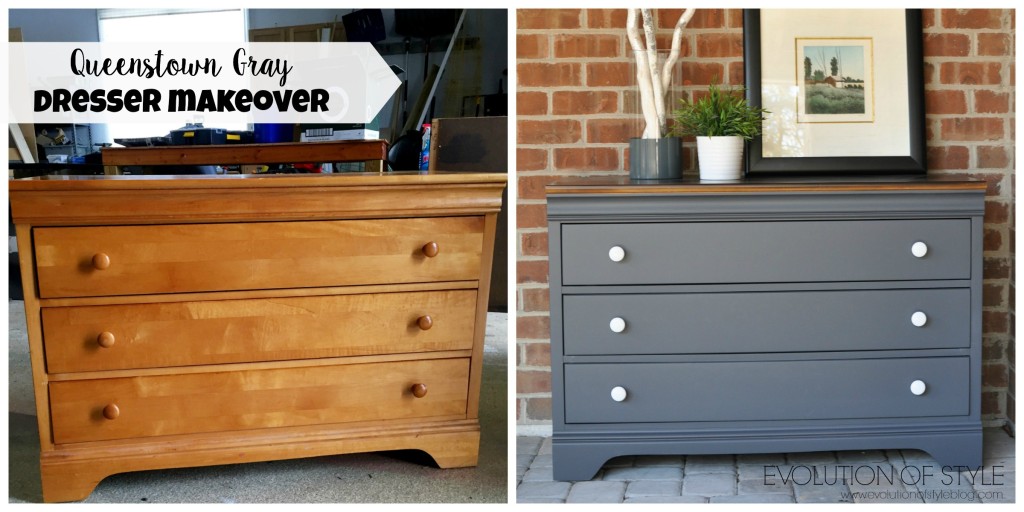
I have used General Finishes paints in the past, and I really love how easily they spray, and the final finish once dry. They have a great selection of colors too. Because we all want great colors, yes? I spotted Queenstown Gray with a stained wood top, on a side table in a local Woodcraft store that sells and refinish furniture, and fell in love with it. I knew it had to be mine, and would be a perfect color for this piece.
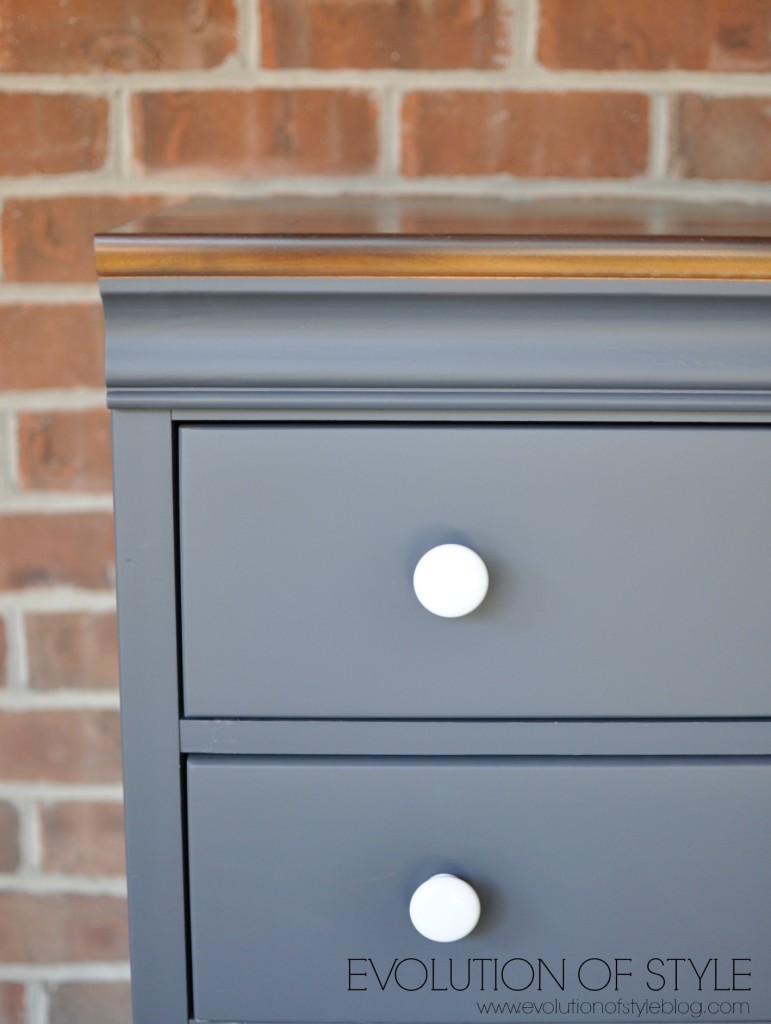
So, I got to work. I have been doing a lot of stained tops and painted bottoms on furniture lately, and I think it really ups the interest factor and adds some depth and dimension. It takes a little bit of extra time, but if the top of the furniture piece is in good shape, it’s worth it.
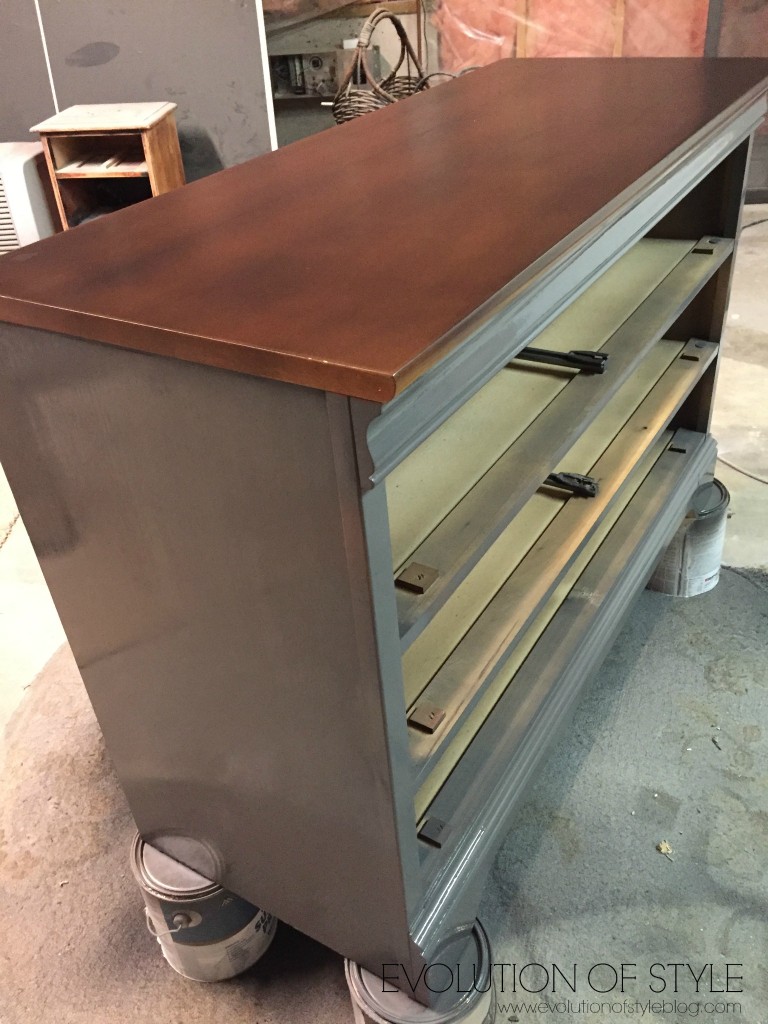
I used the same toning technique as I did in this buffet makeover – mixing stain and satin poly together before spraying – and it just does not disappoint. Again, I went with the Walnut Stain from General Finishes. It’s a great stain color – not too dark, not too light, and you get some control on the saturation of the stain by mixing it with the poly.
I sprayed the body of the dresser, and added some crisp white ceramic knobs from Hobby Lobby to give it a pop of contrast. I absolutely love the finished look, and was quite tempted to keep this beauty for myself!
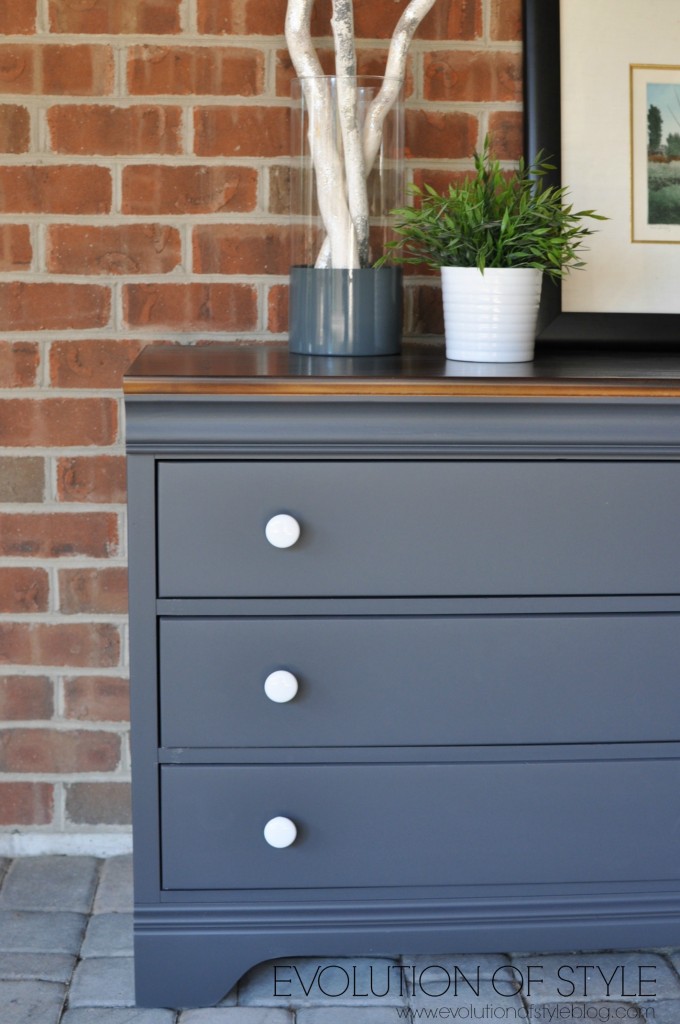
Can I just say how nice it is to have a lovely brick exterior right outside the door of my workshop area? Makes for easy staging with a perfect backdrop. I wish I had thought of this sooner! Here it is in all its glory.
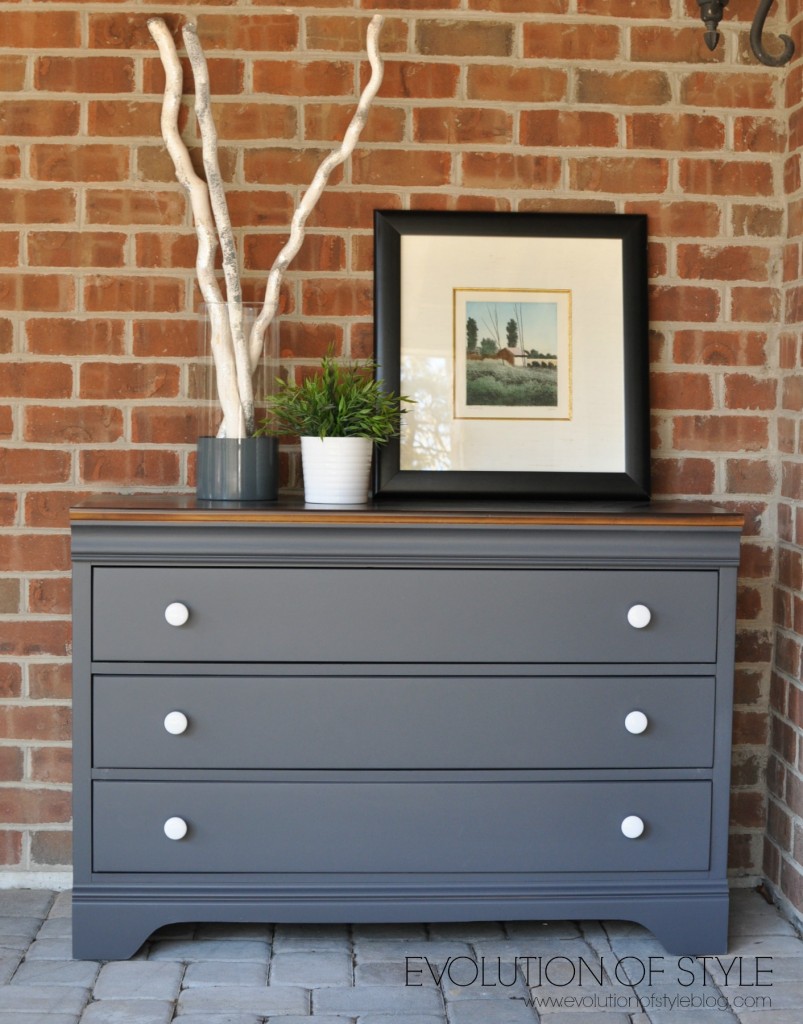
I think staging this piece really helped in selling it too. I sold it within 24 hours, which was quite a thrill, let me tell you.
Here it is before I staged it. Nice but the accessories definitely give it an extra bit of interest, and I think it allows buyers to envision how they might use it in their own home.
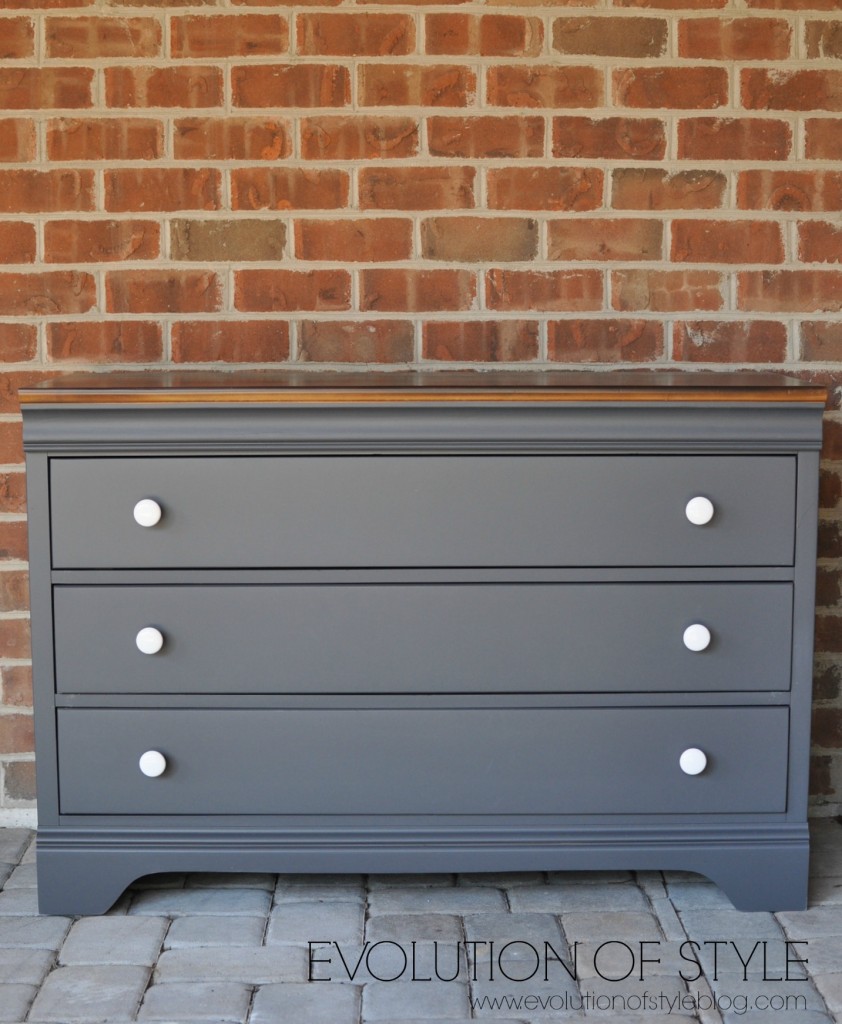
Note – these shots are before I applied the polycrylic, but you can see how pretty the finish of this paint is on its own. I’m really excited to try the Flat out Flat poly on the piece that I’m working on now, and will be sure to report my findings. here’s a peek at the next dresser in my arsenal –
Until then, here is a final side-by-side comparison. After finishing this dresser, I can recommend Queenstown Gray without reservation. 🙂
Have you tried this beautiful shade of gray? I can’t believe it took me this long to find it!
Jenny
Linking up:

23 Comments
Elaine - visual meringue
January 27, 2016 at 9:45 amWOW! It is absolutely gorgeous! I can see why you wanted to keep it and not at all surprised that it sold so quickly. She’s a stunner! Amazing job. Thanks for sharing 🙂
Jenny
January 27, 2016 at 1:29 pmThanks so much Elaine. I’m anxious to do another piece in this same color – it’s just such a classic!
jill
January 27, 2016 at 11:16 amBeautiful color and dresser. Like the stained top on a piece of furniture that might get a lot of use. I’m a huge fan of GF’s navy color as well.
Jenny
January 27, 2016 at 1:29 pmI *love* their navy color too Jill. It’s another one I keep finding myself drawn to for furniture makeovers.
Vel
January 27, 2016 at 1:53 pmYou are definitely becoming quite the master at painting furniture Jenny! Another wonderful job!
Kathy V.
January 29, 2016 at 7:54 pmI’m with you–that gray is beautiful. I would have snatched it up, too. Maybe we could have worked out a joint custody thing. LOL
Does the milk paint require a finish? Could it be left as is and wear reasonably well. I love the flat finish.
Jenny
January 30, 2016 at 4:35 pmI always put a topcoat on the milk paint. I just picked up a top coat called “Flat Out Flat” that is supposed to maintain the look and feel of the paint underneath. I’m anxious to see if it lives up to its reputation when I use it over milk paint.
lesley
February 3, 2016 at 9:52 pmBeautiful !!! If I read the article properly you sprayed the body of the dresser. Is this paint available in an aerosol or did you alter it in any way and put into a sprayer?
I have the perfect piece and it will be my first time painting furniture !
lesley
February 3, 2016 at 10:29 pmi just found your ‘how to paint kitchen cabinets’ page .. fantastic info !
Thanks
Jenny
February 5, 2016 at 12:01 amI purchased the General Finishes milk paint in a quart size and then watered it down to spray out of my sprayer. The sprayer really makes quick work of this kind of job!
Christine Paape
May 10, 2016 at 6:11 pmWhere may I buy this paint, I absolutely love the grey Would this be alright for my kitchen cabinets?
Jenny
May 10, 2016 at 6:55 pmI bought this paint at my local Woodcraft store, but it’s also available on Amazon. You could use it for kitchen cabinets, but you would have to topcoat them. You could always get this color matched with a different paint (like Benjamin Moore’s Advance paint) if you want to use it on kitchen cabinets.
Danielle jennings
August 1, 2016 at 9:55 pmDo you sand before spraying? How do you think this paint would look if it was brushed and not sprayed ?
Jenny
August 1, 2016 at 11:11 pmI’m pretty meticulous about my prep – so I clean and sand before priming/painting. You could still brush/roll with good results, but it won’t be quite the same as spraying. But if you use high quality brushes and rollers, you can still get a nice, smooth finish. I’d suggest a mohair roller – that does the trick. 🙂
Emily
August 30, 2017 at 6:50 pmHi Jenny! What did you use to prime? SOOOO beautiful – I am attempting this on a dresser that was handed down to me from my grandmother who recently passed. i think she would love it.
Jenny
August 30, 2017 at 10:44 pmIt’s been awhile, but I’m guessing I used the SealGrip primer that I love so much (PPG brand). I’m glad you like it – I hope your grandmother’s dresser turns out beautifully. 🙂
Lenora FIELD
April 26, 2017 at 9:27 pmYou are an amazing Teacher. Love your easy style.. Love your painted furniture
Jenny
April 26, 2017 at 9:33 pmThanks so much – I really appreciate that!
Marypat Luzzo
October 10, 2017 at 11:51 amWil a dresser made from hardwood stain. I want to paint and then stain it the top?
Wanda
November 1, 2017 at 9:09 pmHi love the Queenstown gray. When u painted the body of the dresser did u mix the gray with the satin poly too?. If not was the finished dresser with just the gray and no top coat? I have not used that brand of paint and love the look u achieved. Thanks so much for sharing your work. Wanda
Jenny
November 1, 2017 at 9:29 pmI didn’t mix the poly with the paint – I sprayed a matte poly on the painted portion and then mixed the poly with the stain and topcoated it with a satin poly.
Cindy
January 20, 2020 at 8:56 pmHow much paint did you use for this piece?
Jenny
January 22, 2020 at 7:45 amI think I bought a quart of paint.