
I’m so excited to finally share this big, scary kitchen makeover. It’s been in the works for awhile, since there was so much construction going on in this house, but I finally got in and did my part and I’m done! You can see by looking at the before photos, why this was the biggest, scariest kitchen makeover I’ve ever done. The sheer size of this place is intimidating, and the fact that it is a spray job makes me a bit anxious.
This post contains some affiliate links.
Although once I got started, it wasn’t too terrible. Thankfully, most of the cabinets are lower cabinets, which makes reinstalling everything a little less strenuous (although I do have a massage scheduled for this week – a regular massage and a hand/arm massage. I think I’m looking forward to the hand/arm massage more than anything!).
Like I mentioned, this kitchen is getting a serious makeover – paint on the walls/ceilings/cabinets, new counters, new flooring, lighting, backsplash, etc… Bear in mind that it’s not all finished yet, but most of it is, and you can see the dramatic changes that have taken place so far. And I know that everyone has different tastes, and some of you will probably be horrified that they tore up this kitchen. Just remember that I’m the painter in this equation!
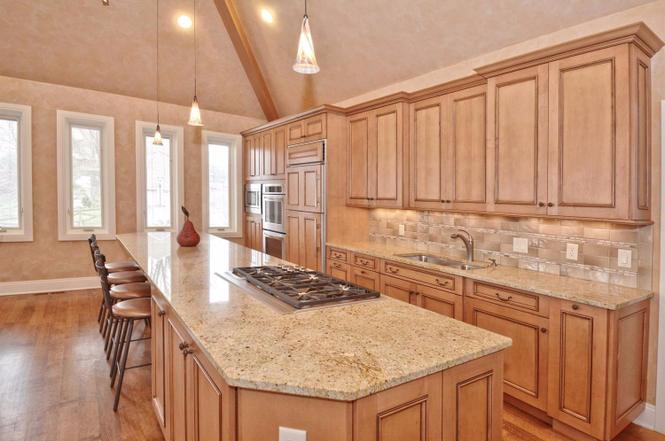
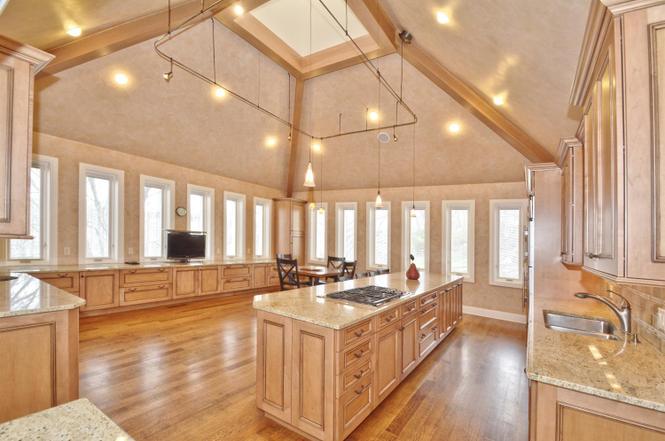
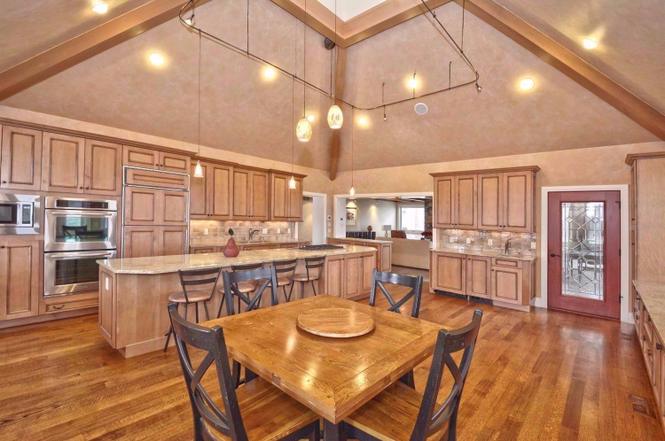
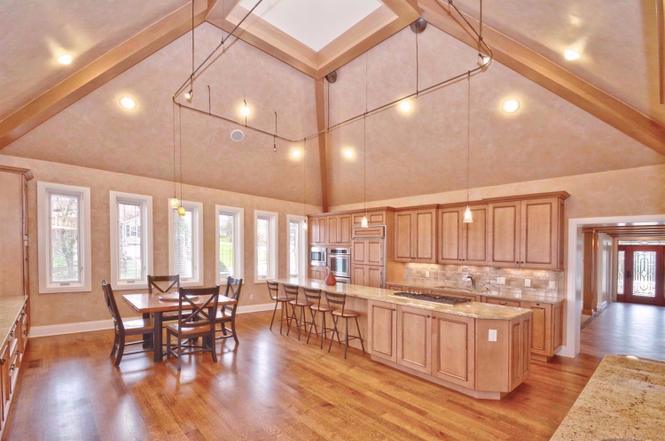
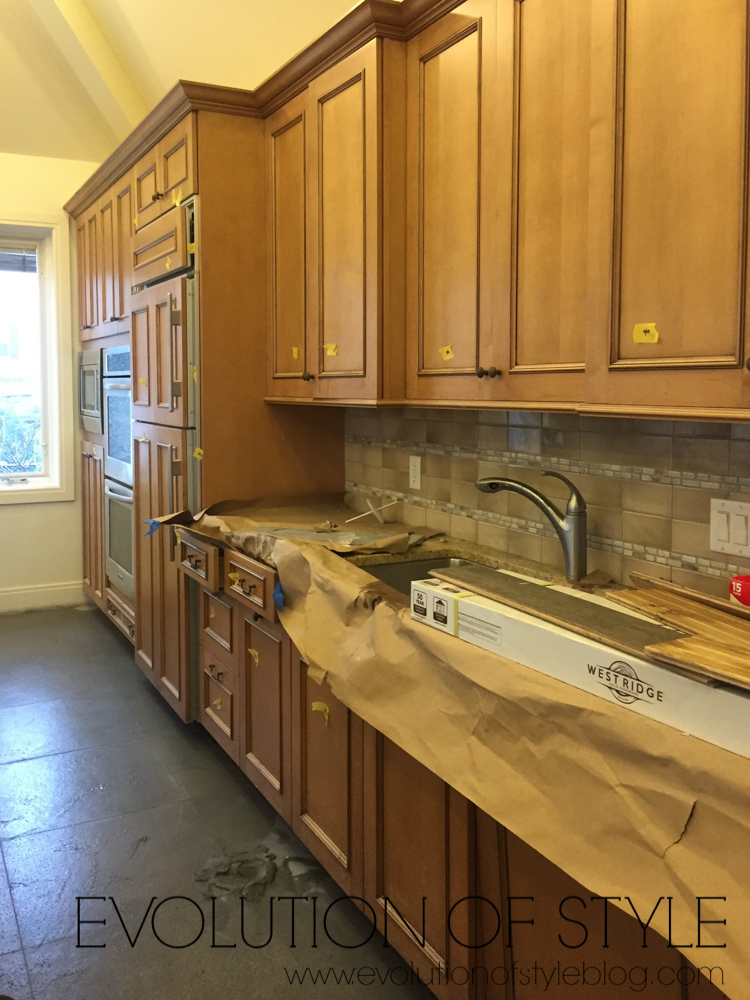
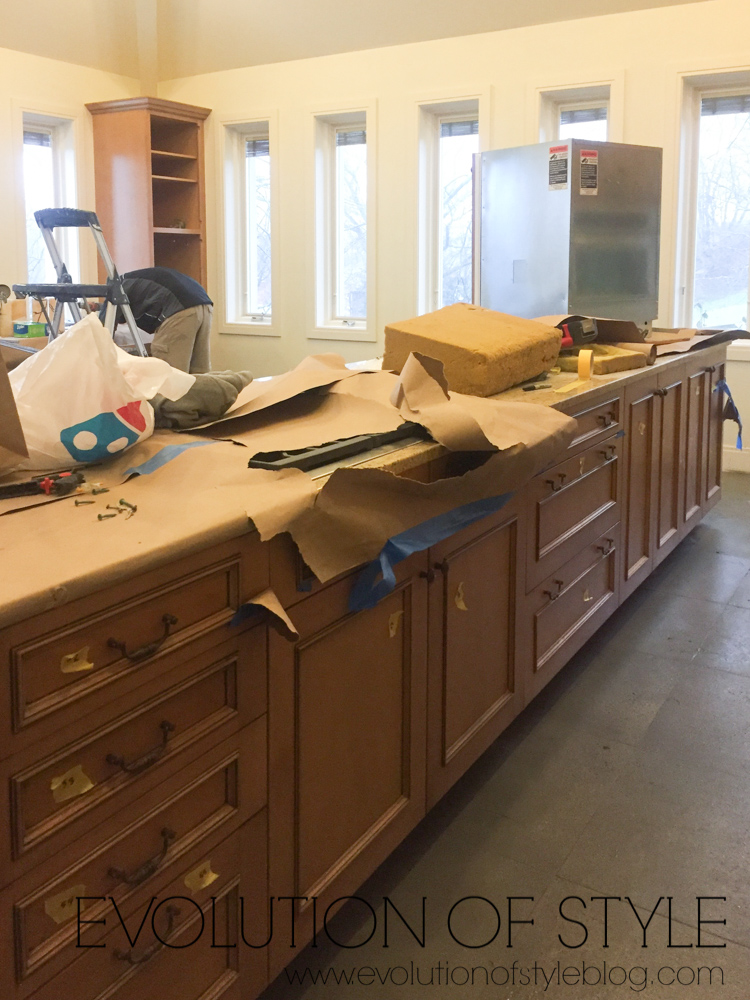
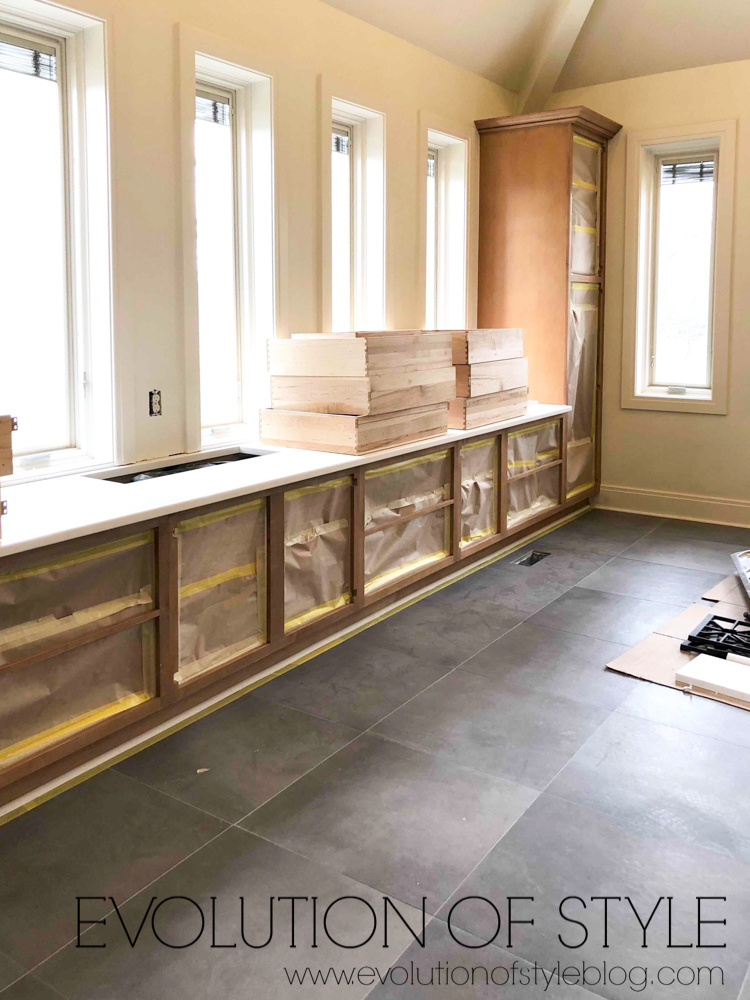
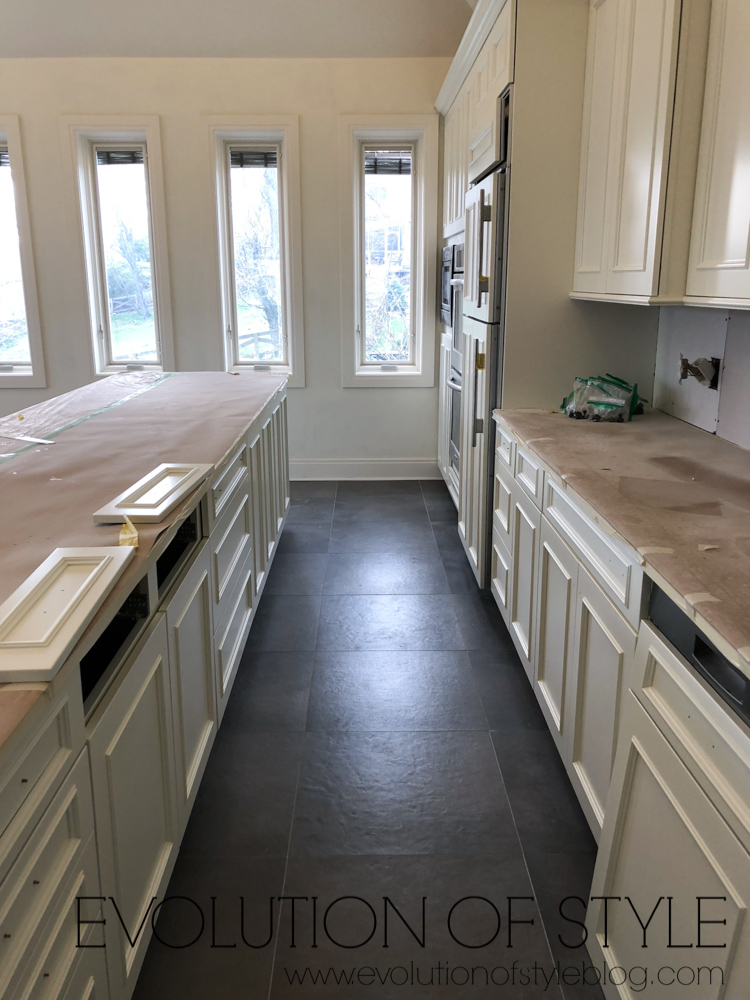
You can see that a wide angle lens was necessary for the photos above, but with these photos you can get a feel for what the cabinets look like in terms of their wood tone.
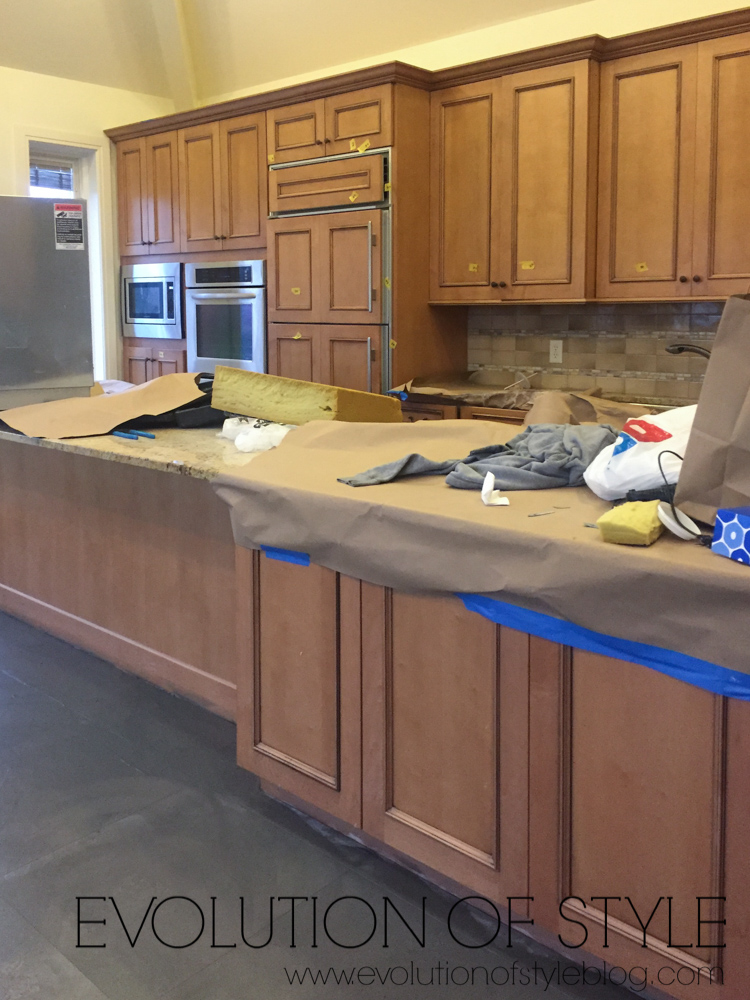
When we got there, the guys working were grouting the tile (ugh) – thus the pile of wet grout on the floor. It wasn’t ideal, but we made it work.
My husband even took the day off to come and help me take this bad boy down.
![]()
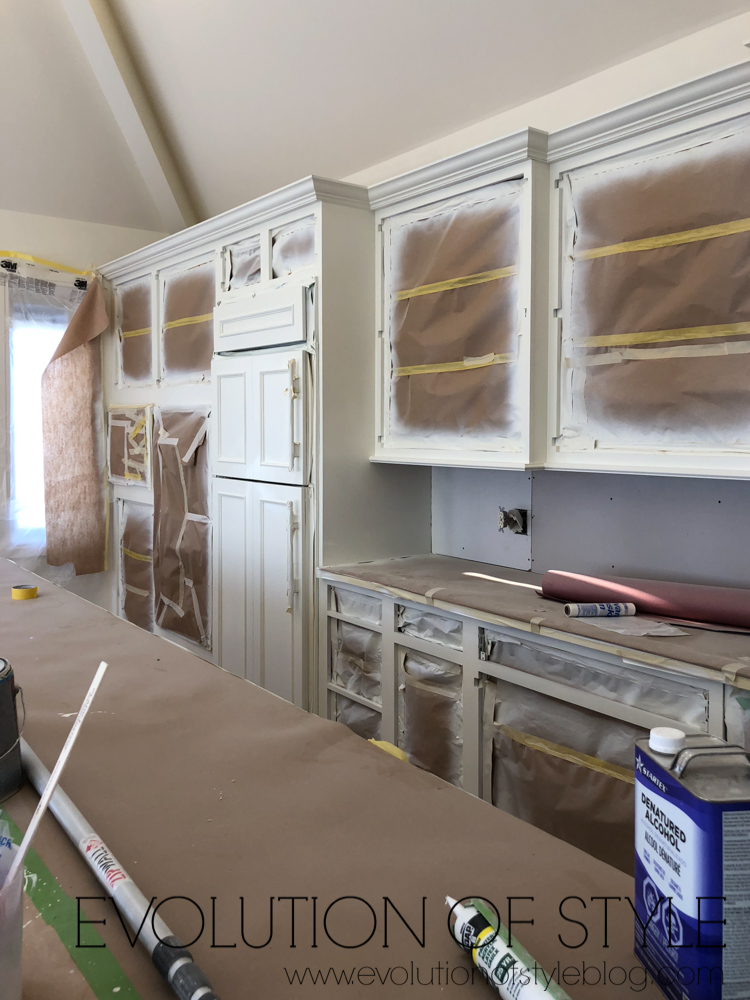
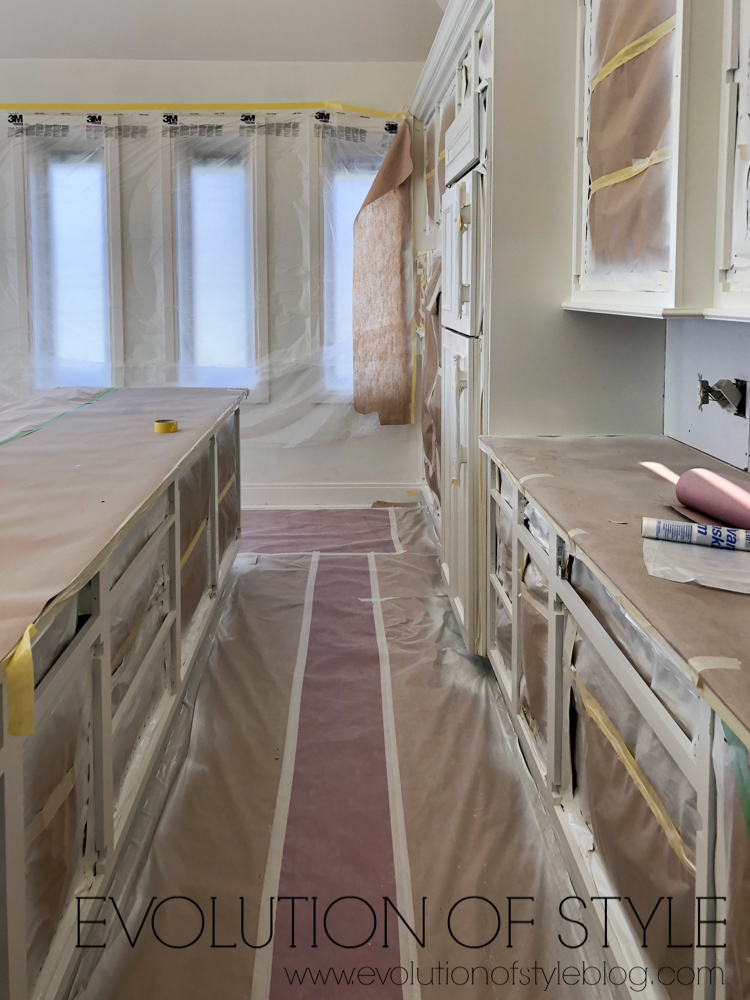
Prep, Prep, Prep
I finally honed in my taping skills, and was able to get the kitchen masked off much faster as a result. I’m going to have to do a video or something, as this is a skill that I searched far and wide to find the best technique, and I’m really happy with how much easier it was to do on such a massive kitchen. I had set out for the week to get everything done on site in five days and I did it!
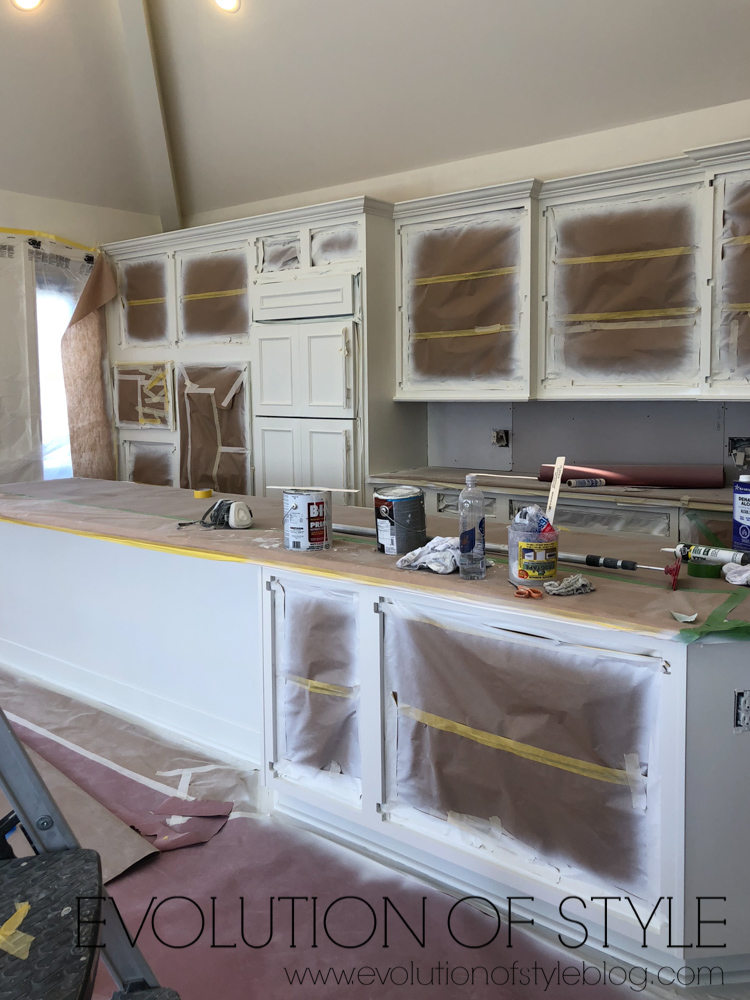
Then I finally got to work spraying. This was the primer coat (BIN Shellac Primer). If you’re wondering why I don’t have more of the walls taped off, it’s because there is still another coat of paint that is going on the walls, and thankfully, the walls and cabinets are the same color).
![]()
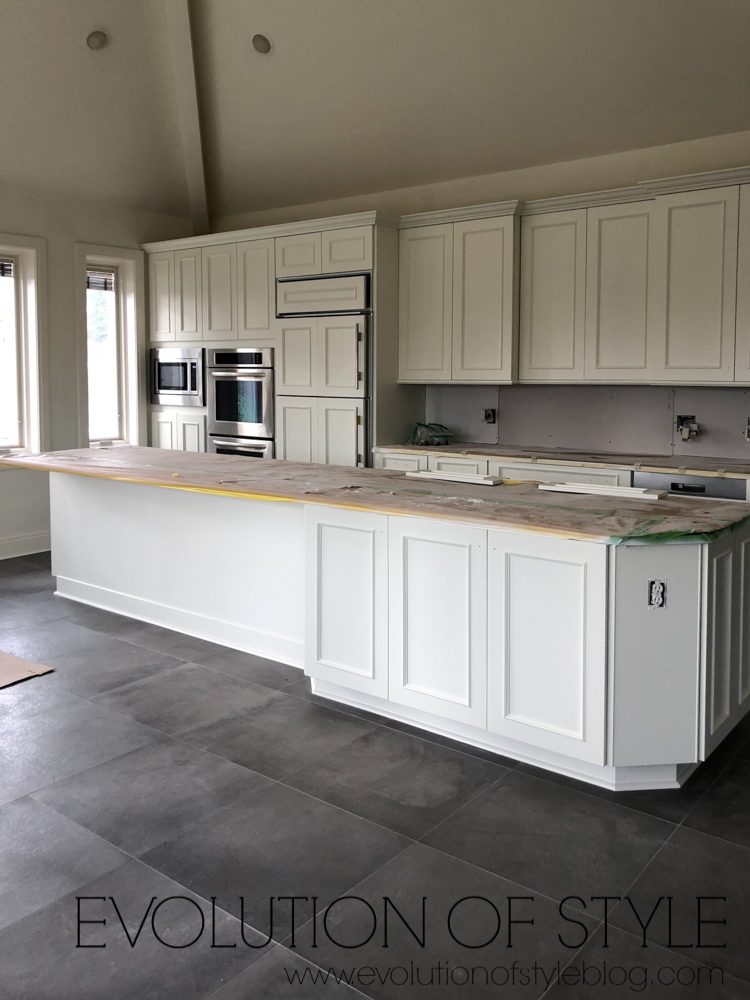
The Big Scary Kitchen Makeover Reveal
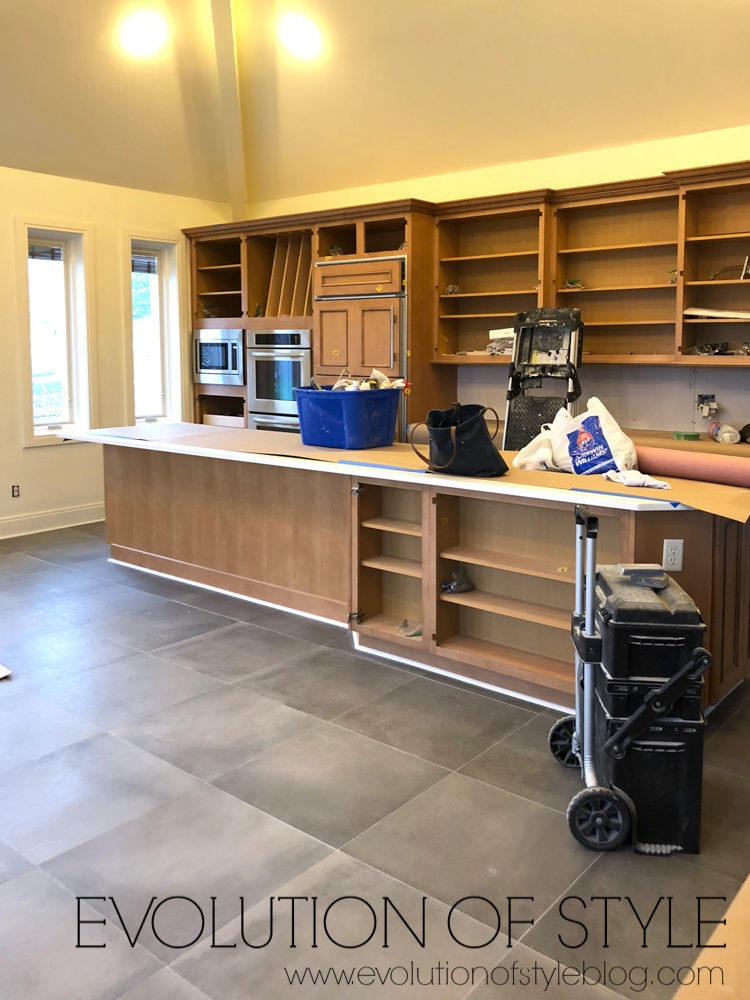
And here it is now – a tricky space to photograph, my apologies. It was getting late on my last day when I finished.
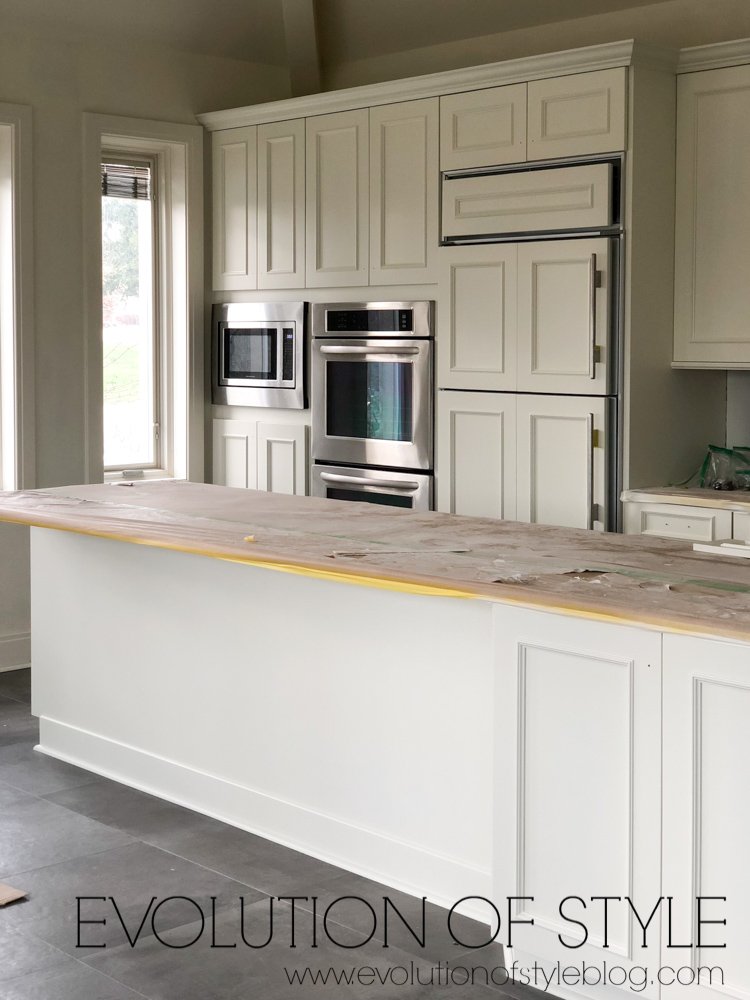
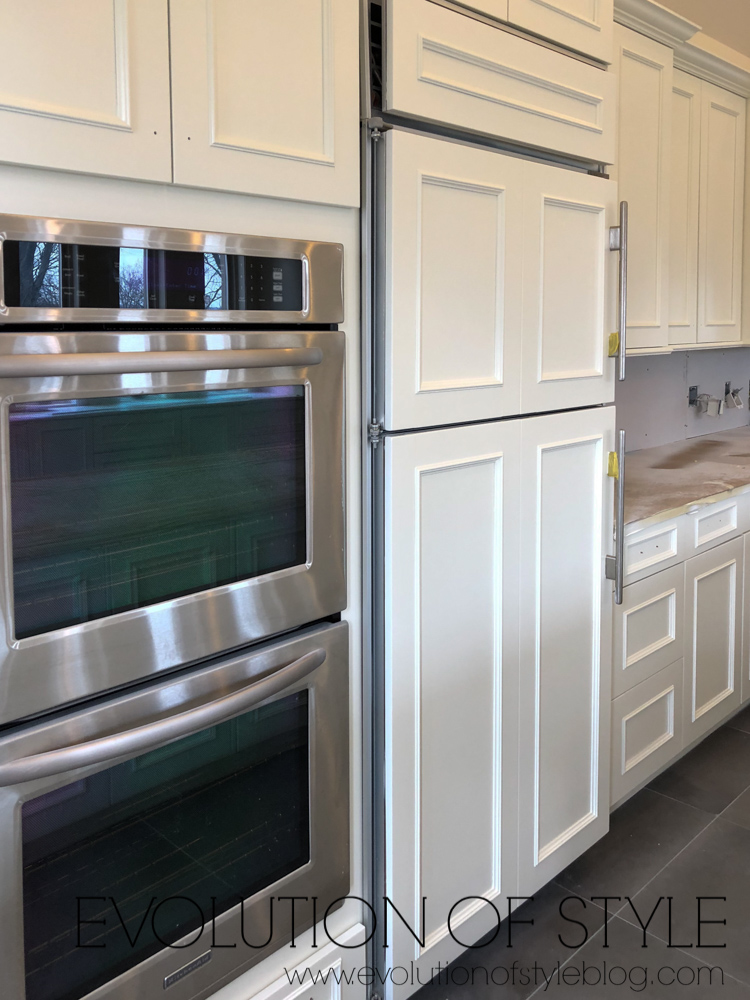
New hardware still needs to be installed.
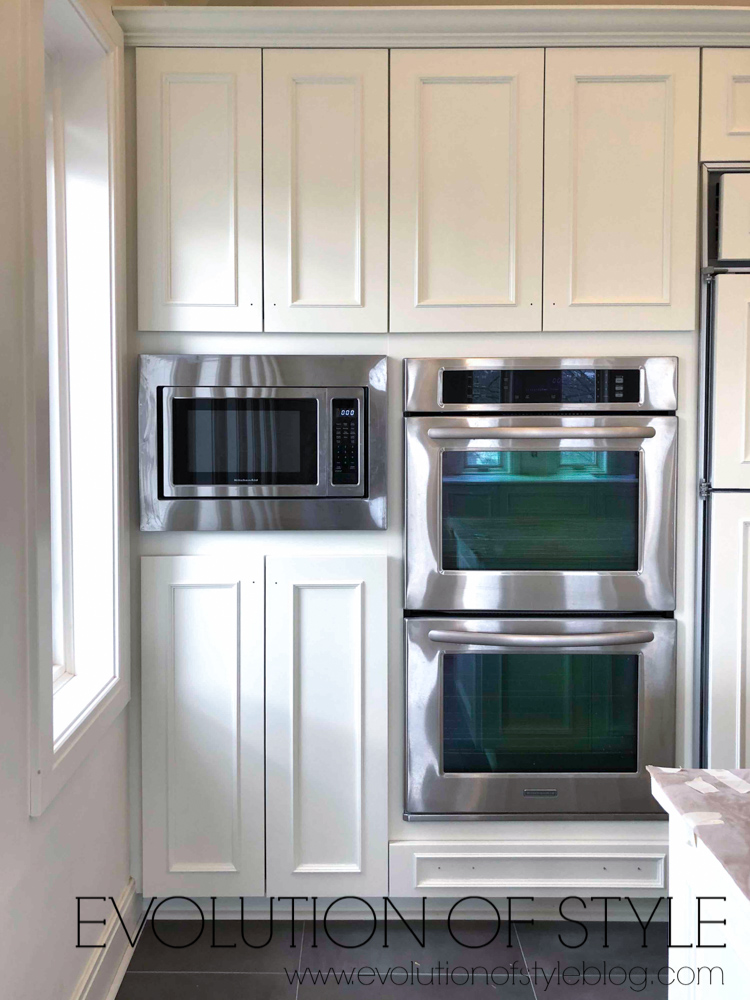
Again, the lighting in here makes photos tricky! They’re all painted the same color – which is a custom color that I had to have color matched.
The appliance panels weren’t installed because you need to install the hardware first – so those will be installed once the hardware is chosen.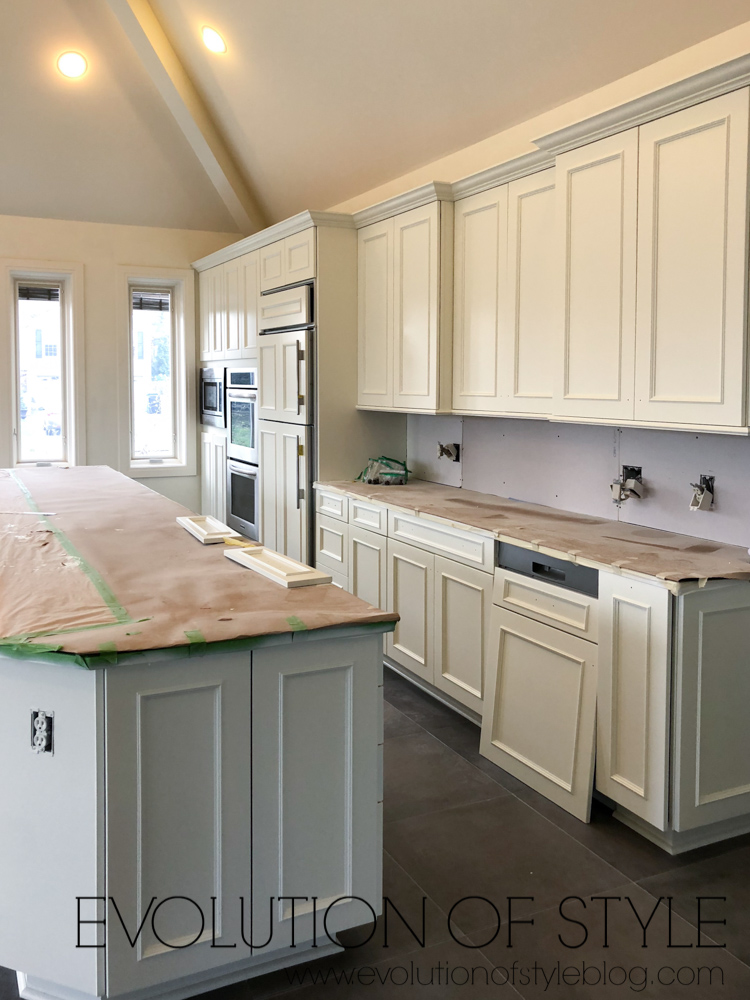
And these drawer panels – the drawers went MIA (but have been found). I think they went missing when the new counters were installed.

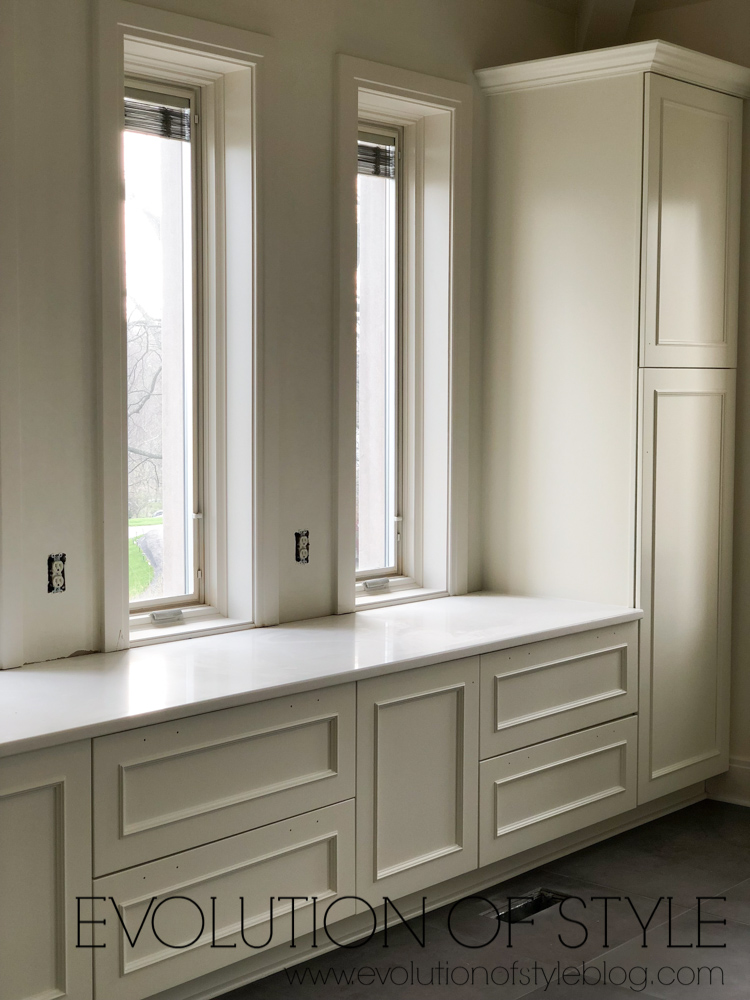
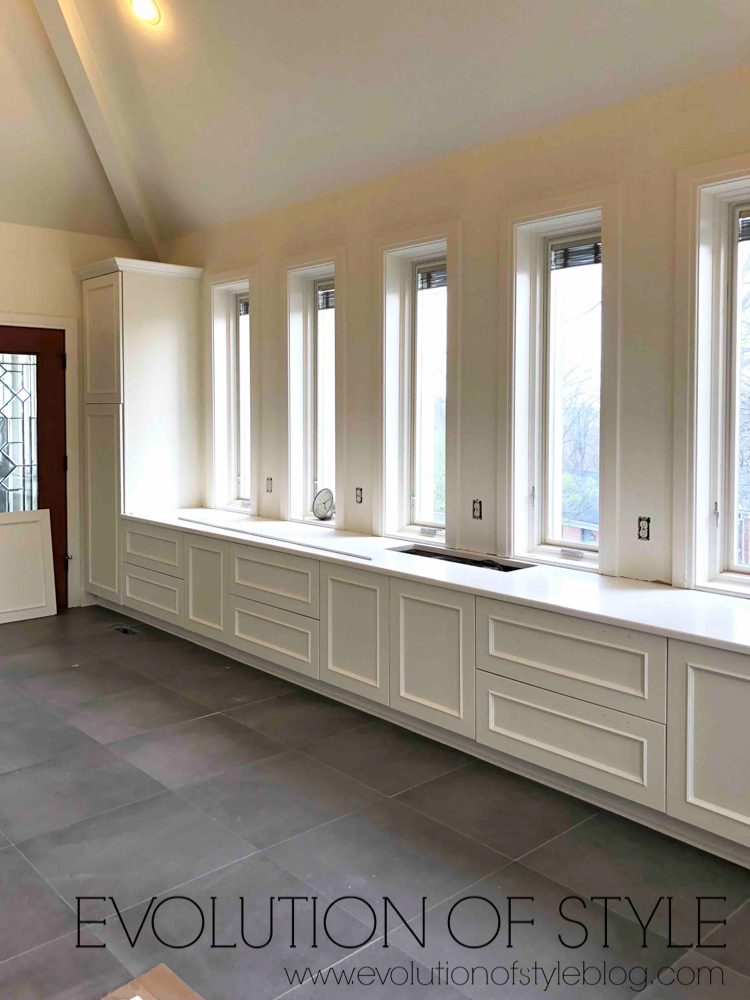
On this side of the room, you can get a peek at the new countertops. A very monochromatic look with the counters and cabinets, but a nice contrast with the floors.
I’m hoping to have photos of the kitchen when it’s complete, so I’ll be sure to share them with you. Like I said, the kitchen is just one small part of this renovation. I don’t think there is a space that was left untouched!
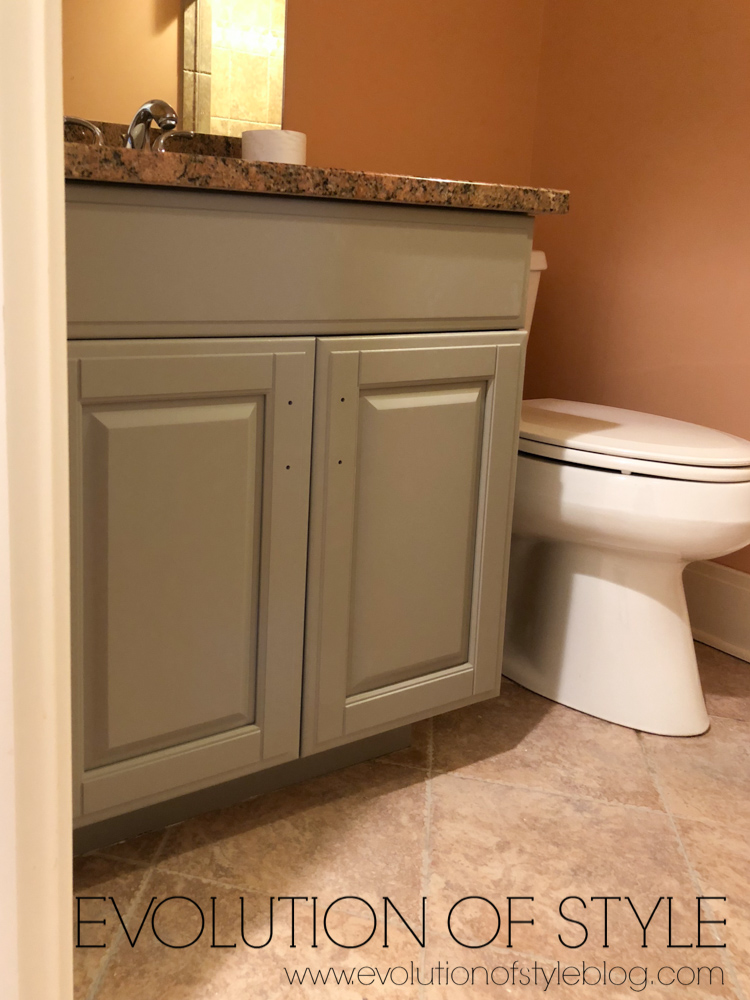
I also gave the basement vanity a little facelift (walls still need to be painted). The color of the vanity is Acier by Sherwin Williams.
While this kitchen was the biggest, scariest kitchen that I’ve ever done, I feel so good knowing that I did it! From here, I feel like I can tackle just about anything when it comes to kitchens, because this one was definitely a challenge.
So come on now, if I can tackle this kitchen, what’s holding you back from working on yours? Do I need to hold your hand? Coach you through it? I’m working on that – stay tuned.
In the meantime, here are some of my most popular posts on the subject:
How to Paint Your Kitchen Cabinets Like a Pro
Tips and Tricks for Painting Oak Cabinets
Benjamin Moore Advance vs. PPG Breakthrough
Supply List for Painting Kitchen Cabinets
Jenny

7 Comments
Shelley @ Calypso in the Country
April 18, 2018 at 7:59 amWow, that is quite a project but it already looks amazing! Can’t wait to see more!
Shelley
Lauren@SimplyLKJ
April 18, 2018 at 11:00 amGirl, you are a rock star. What an amazing job! And yes, you deserved that massage.
Jill
April 18, 2018 at 2:50 pmWow… you rocked it…high five!
Jessica
April 18, 2018 at 5:46 pmI definitely want to see this taping-off tutorial ASAP! We are about to be embarking on our second kitchen reno. Beautiful job on this beast!
Debbie
April 18, 2018 at 6:47 pmHoly cow, what a transformation and your work looks amazing! Terrific job!
Renae
April 18, 2018 at 10:01 pmAn amazing job!! I’m super impressed.
That is going to be one white kitchen!!
Jenny
April 18, 2018 at 10:19 pmIndeed it is! Thanks so much for your kind words.