Hello!
Hope you’re having a great week! I have been feeling like I’m fighting off illness, and my son was home from school yesterday, so let’s hope I can keep it away. Ain’t nobody got time for that!
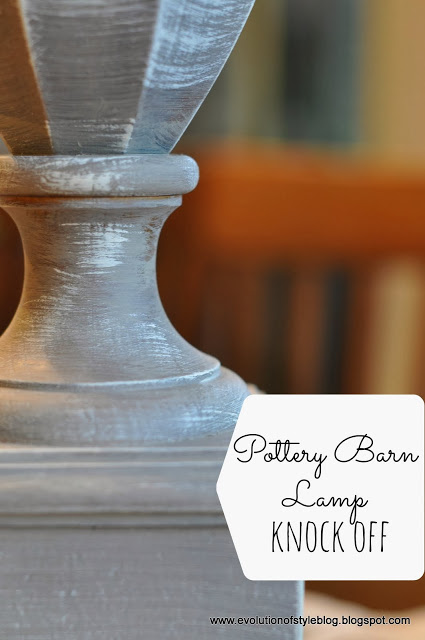
Today I’m excited to share my Pottery Barn lamp knock off, and I’m really happy with how it turned out!
Let’s go back to my inspiration:
 |
| Pottery Barn – Architectural Salvage Square Urn Lamp Base – $200 |
Then, I saw this lamp at a cute local store (also $200, but at least it comes with a lamp shade).
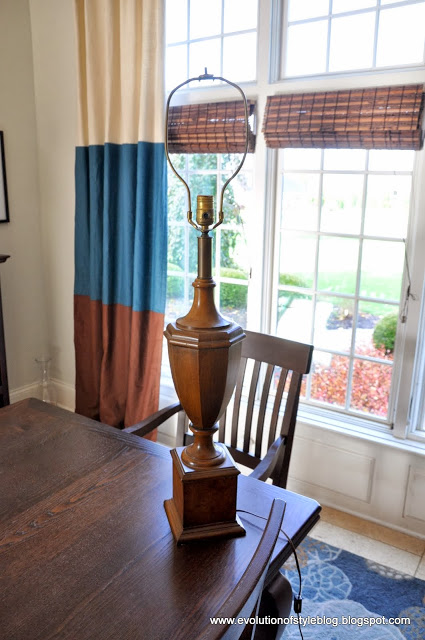
When I found this lamp for $4.99 at Goodwill, I knew I could work with it.
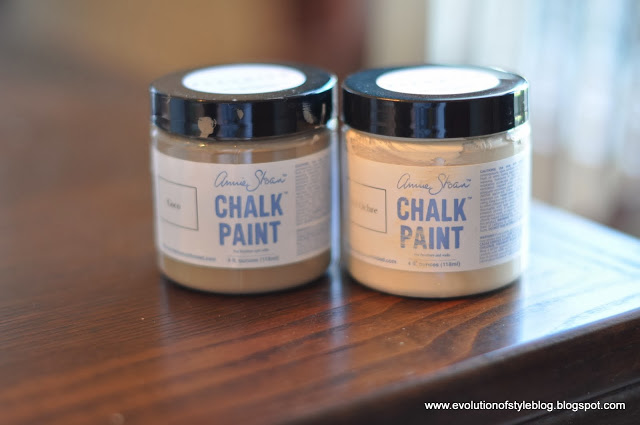
So, I got to work, and bought two little sample pots of Annie Sloan Chalk Paint in Coco and Ochre. The perfect size for small projects like this one!
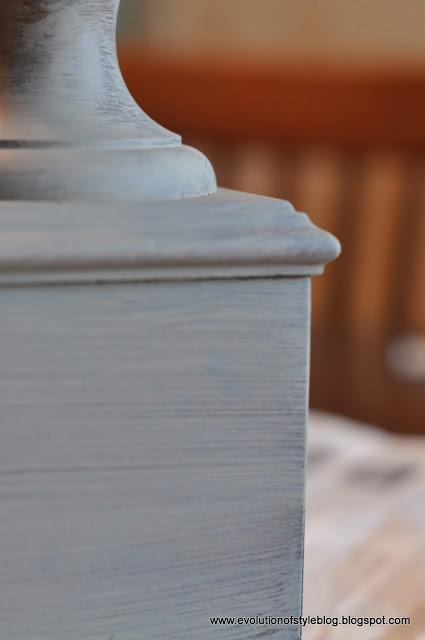
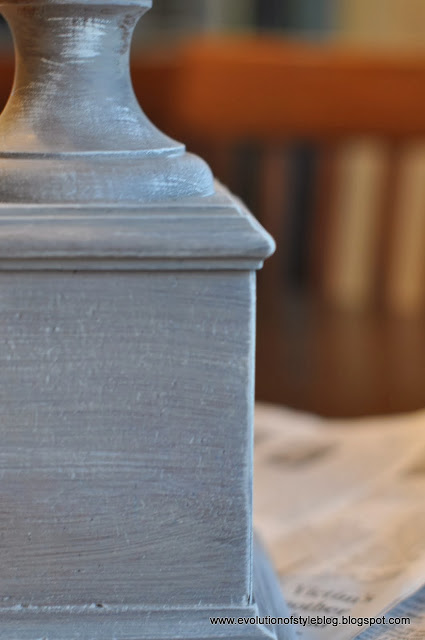
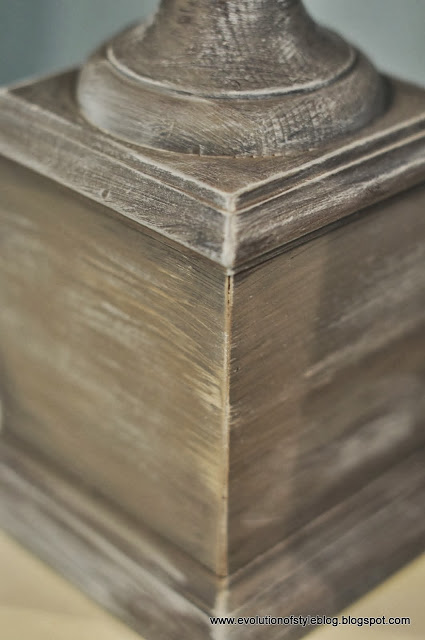
After giving the lamp a quick cleaning, I used the Coco color as the base coat. I could tell this was going to be good, since I was already loving it after just one coat of this color!
I made sure not to go too heavy handed on the base color because I liked the wood look to show a bit beneath it.
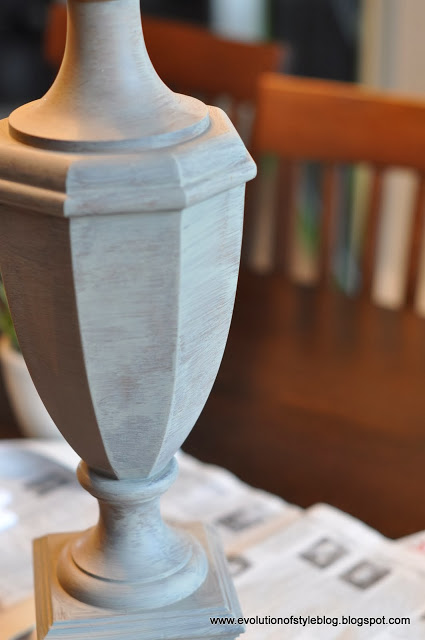
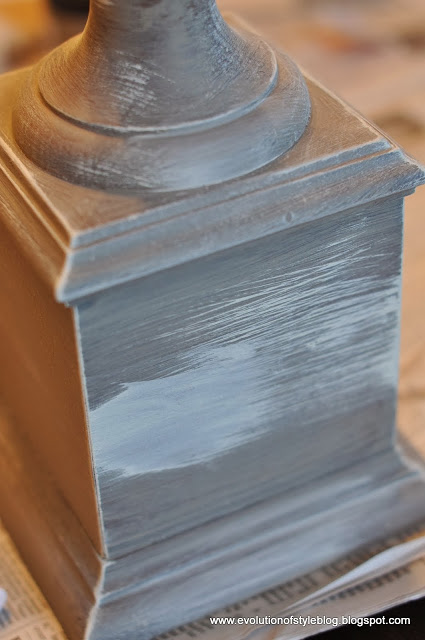
From there, I used a dry brush technique to apply the Ochre color:
Had a little bit of an “ooops” moment but just went back over it with the Coco color and touched it up.
I’m totally digging it. I still need to put a coat of clear wax on it (and maybe dark wax to add some more depth – on the fence about that one). But, you get the picture.
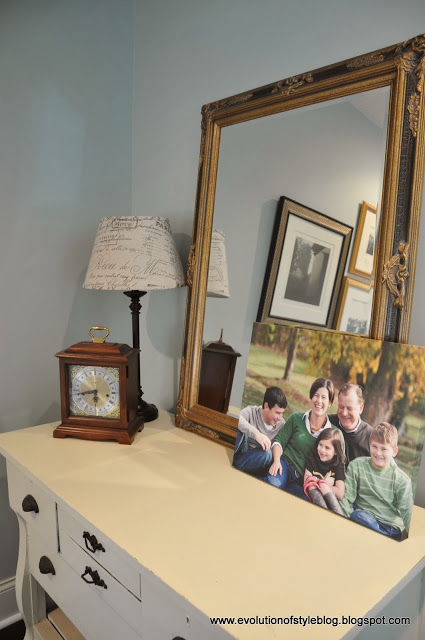
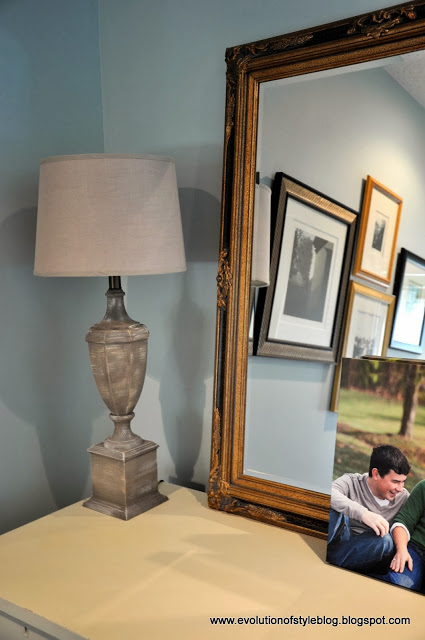
I figured I would put it in this little nook we have in the hallway, since the lamp in there was ready for a refresh. Here it is before:
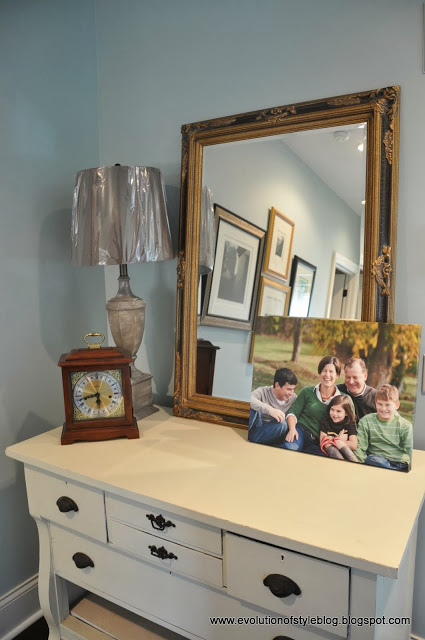
I picked up this shade at Target and left the plastic wrap on it because I wasn’t sure if it was going to work. It seemed so … TALL.
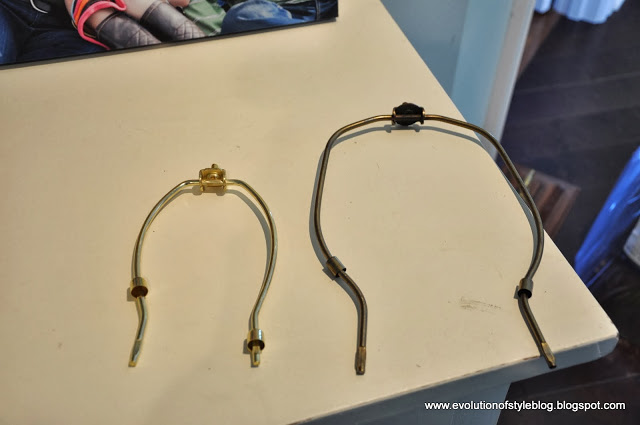
I pulled out the harp and compared it to the one that was on the lamp I was replacing. Wowza – big difference.
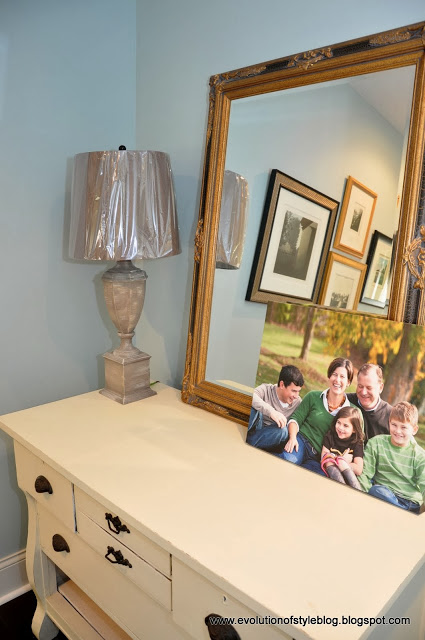
So, I switched them out. Not loving this shade overall – the color blends too much with the lamp itself.
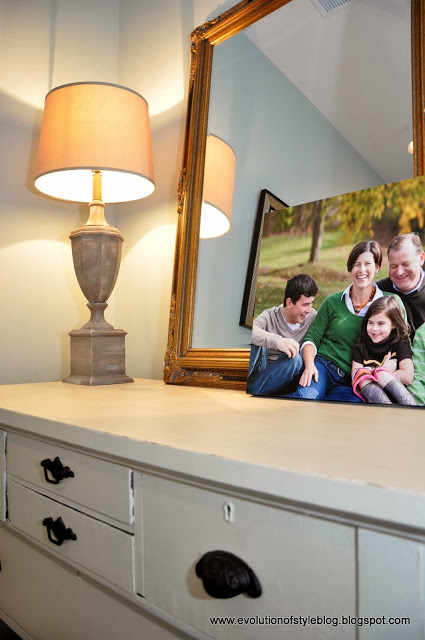
I swiped a shade from one of my other lamps, and am liking this one a lot better.
Yes, much better. So, I guess I’ll have to go back to Target and get lost in its holiday goodness buy another one.
So, there you have it! How easy was that? I may have to start stalking more of these lovely old wood lamps – such potential at such a great price!
What have you transformed lately?




15 Comments
Cyndy Aldred
November 7, 2013 at 5:01 pmHoly moly girl, your lamp is far better than the ones from the store! Wow, pretty fantastic and I'm going to have to try it! Great job as usual!! xo
Jamie Hoover
November 7, 2013 at 5:40 pmAmazing job…I like yours better than the expensive versions! I love that Pottery Barn can provide us with an endless source of inspiration that we can make better and cheaper ourselves!
Cassie @ Primitive & Proper
November 7, 2013 at 6:46 pmwow! you knocked it out! looks amazing!
Dee @ A Lapin Life
November 7, 2013 at 11:59 pmWonderful transformation on the lamp!
Traci@ Beneath My Heart
November 13, 2013 at 2:28 amLove your lamp and love the paint treatment you did on it. And only 5 bucks! That's awesome! Way to go! 🙂
Mary Vitullo
November 15, 2013 at 10:41 amI just love how that lamp base turned out. Great job!
Mary @ Orphans With Makeup
Lisa @ Shine Your Light
November 15, 2013 at 2:29 pmI love the finish you gave this lamp, Jenny! It came out great!
Lisa Faris
December 12, 2015 at 2:50 pmWell done. Beautiful family.
Melissa
January 30, 2016 at 2:17 pmDid you end up using a clear and dark wax?
Jenny
January 30, 2016 at 4:33 pmYou know, I don’t know if I did – it’s been awhile. Either way, it’s held up great and still sits on the dresser in our hallway. 🙂
Sarah Fredrickson
July 23, 2016 at 1:56 pmI love the look of your pottery barn lamp! I had a question I am looking at purchasing a table – which I love the shape of – but it is veneer covered – would this method work on veneer?
Jenny
July 23, 2016 at 5:58 pmThanks Sarah! I think as long as the veneer is in good shape, you could definitely use this technique. Good luck!
Bonnie
February 26, 2018 at 3:34 amJenny, great job. I am really loving. +
Jen
March 9, 2018 at 6:23 amHow’s it still holding up?
Jenny
March 9, 2018 at 9:21 amGreat – still on the same dresser in the same place!