My most popular post, by far, has been “How to Paint Your Cabinets Like a Professional.” As a result, I have gotten a lot of questions, specifically, about how to paint oak cabinets. I have tackled a great deal of oak cabinet client projects, so I thought I would share some tips and tricks for painting oak cabinets that I have learned along the way, if you’re looking to give yours a refresh. If you’re interested in ONLINE VIDEO TRAINING, with a pro coaching you through the process, click here for more information. If you’d like a one-on-one consultation before tackling this project, click here for details.
Questions about Painting Oak
I know there are a lot of you out there who are unhappy with your oak cabinets, whether they’re semi-new and builder grade, or from an era long gone. You don’t want to spend the money on new cabinets because 1) that’s expensive and 2) there’s nothing wrong with your cabinets, they’re just not your style.
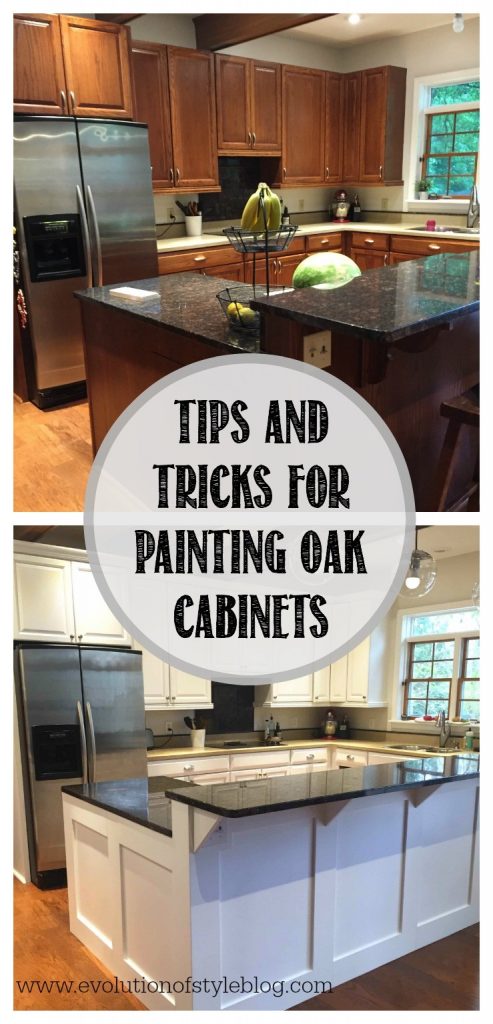
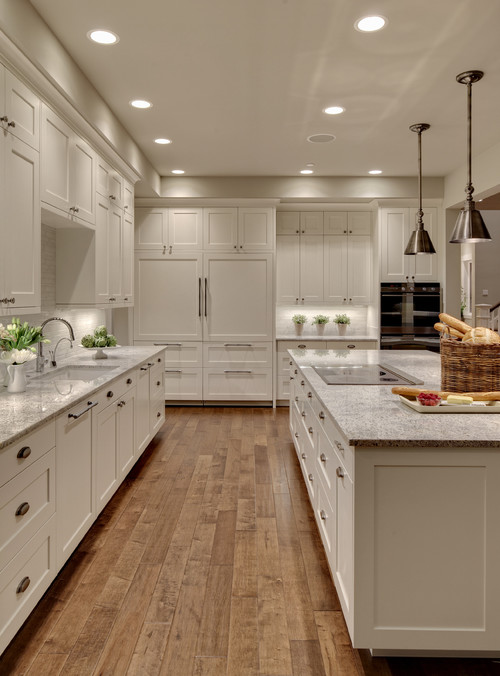
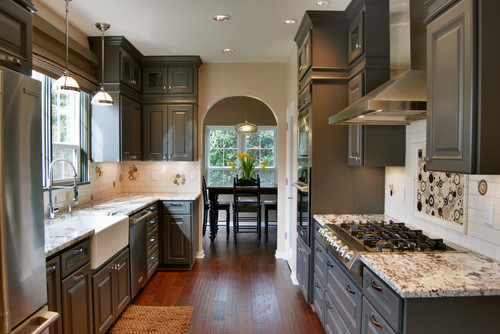
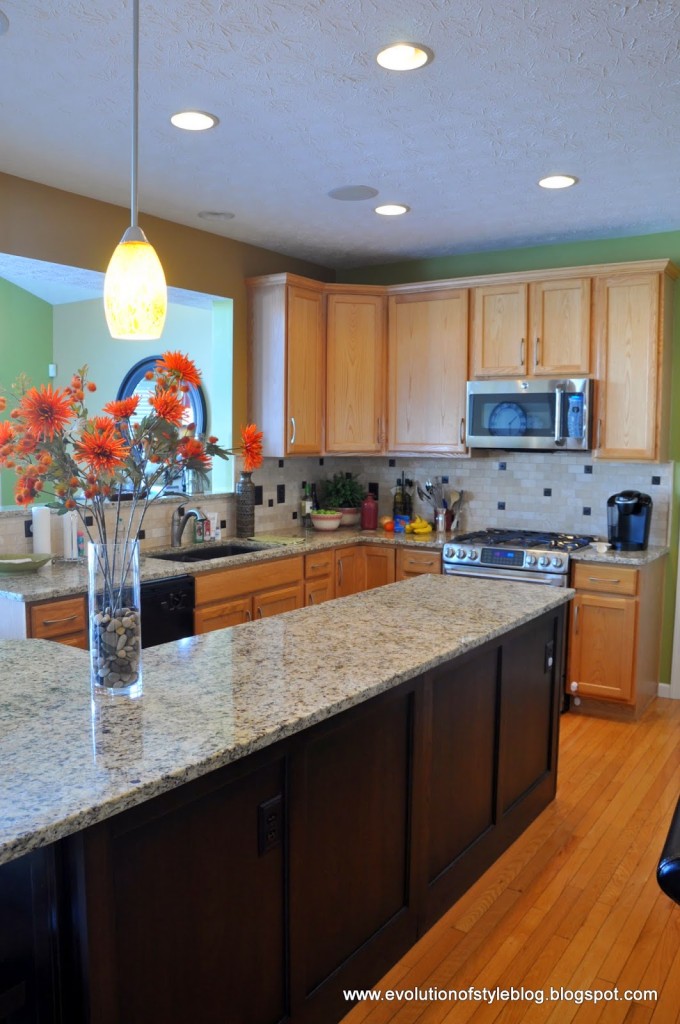
Am I close? Let’s get things started by getting pumped at how you don’t have to gut and remodel your entire kitchen in order to get a new look. Below are some of my favorite client kitchens that I’ve done. And these are all oak kitchens! Have hope! I’m looking to answer some of the common questions that come about when painting oak cabinets:
- How do I prep oak cabinets?
- Do I have to sand oak cabinets before painting them?
- What kind of paint do you use to paint oak cabinets? What sheen should I use?
- How do you minimize the grain when painting oak cabinets?
- What color should I paint my oak cabinets?
- Should I spray or brush and roll my cabinets?
Don’t worry! I have you covered!

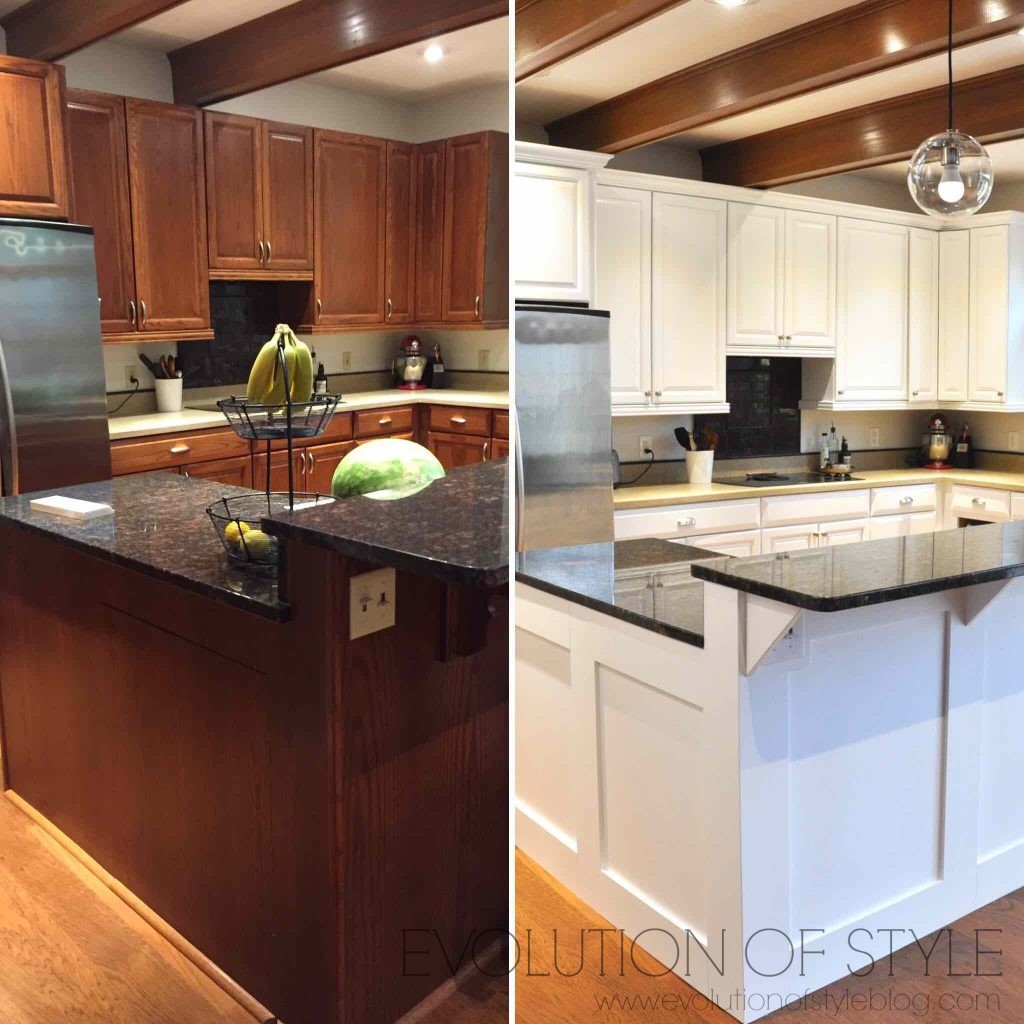
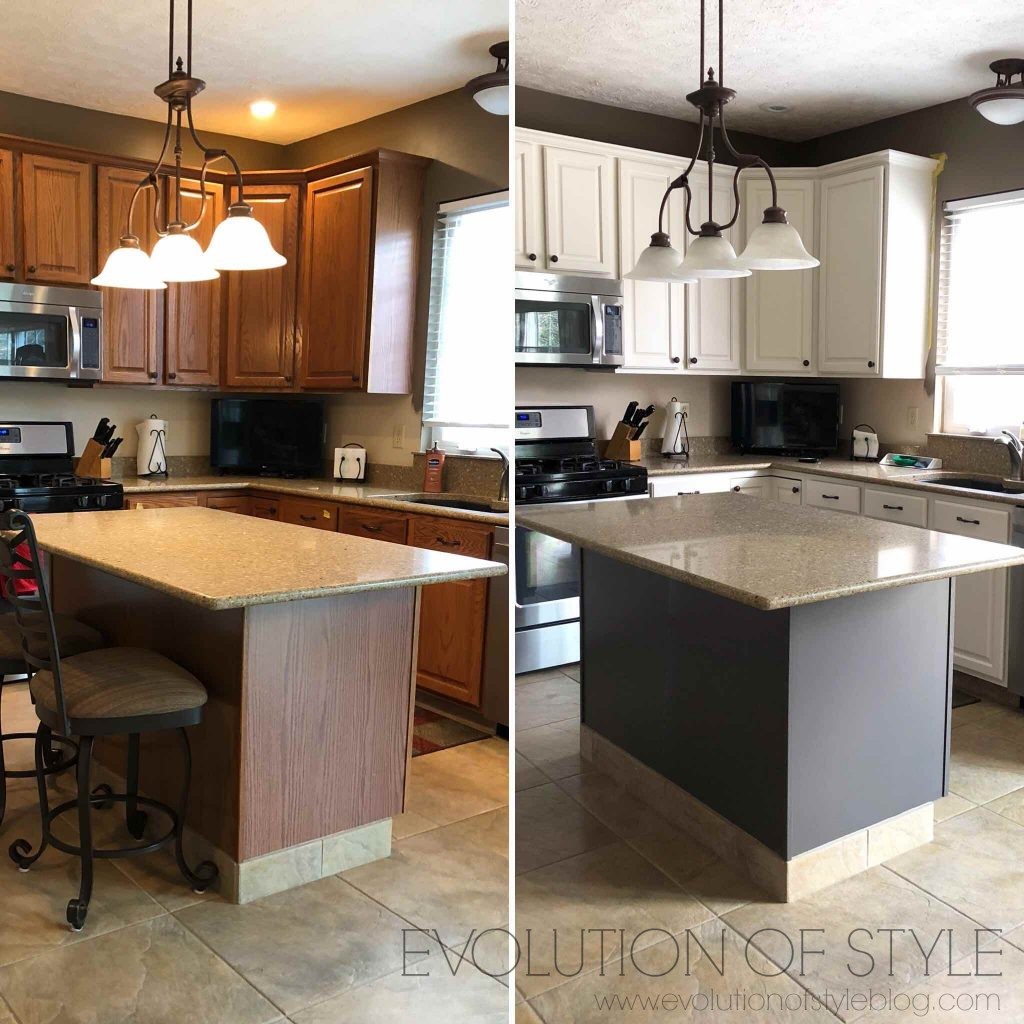
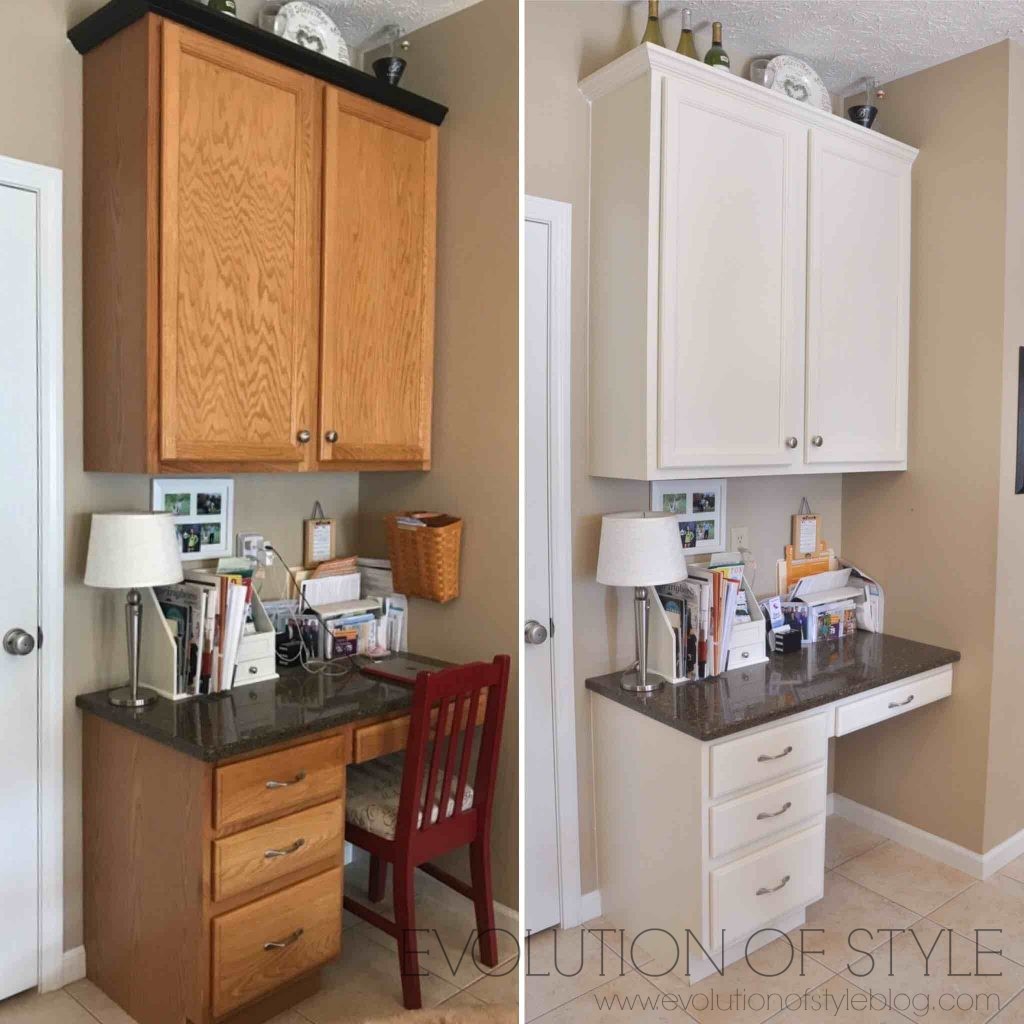
Minimize the Grain
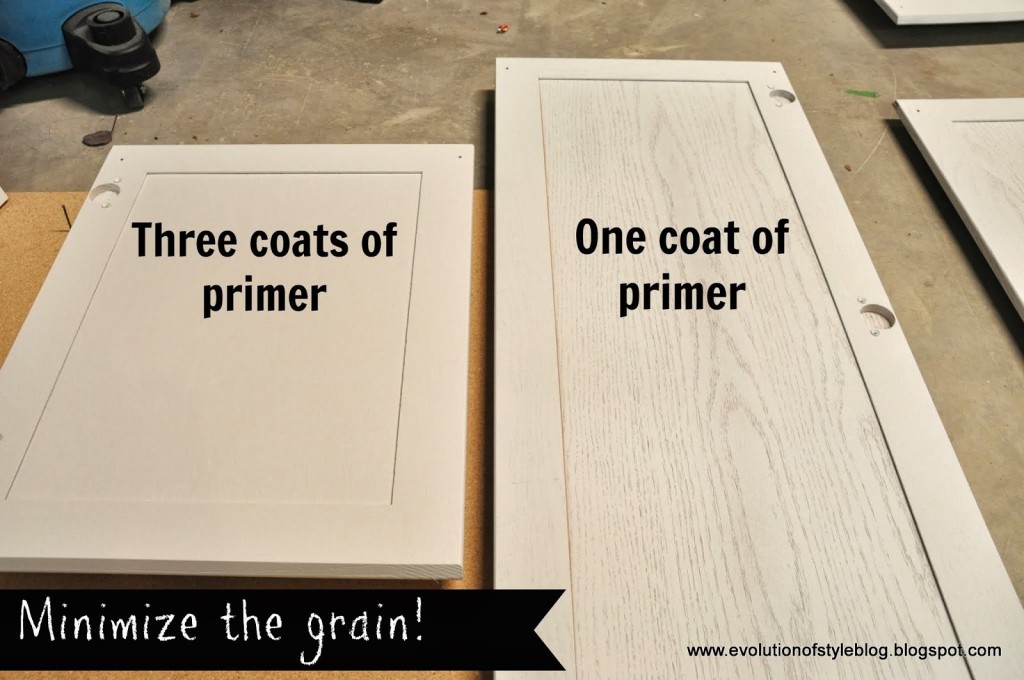
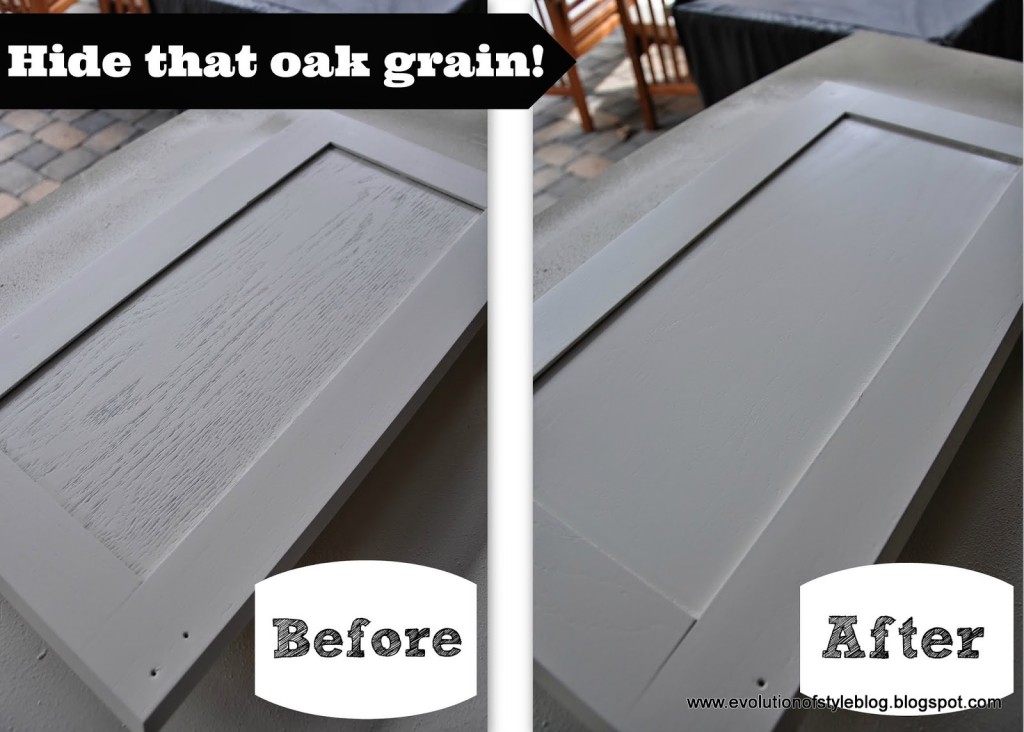
The biggest issue with painting oak cabinets is how to minimize the grain that comes with that type of wood. If you have maple or cherry cabinets, they paint up beautifully. Oak can have a similar result, it just takes a little more effort to get there. The wood grain can manifest itself in two ways: through the texture of the wood and also the grain bleeding through the paint. Check out this post on ways to minimize the grain when painting oak cabinets.
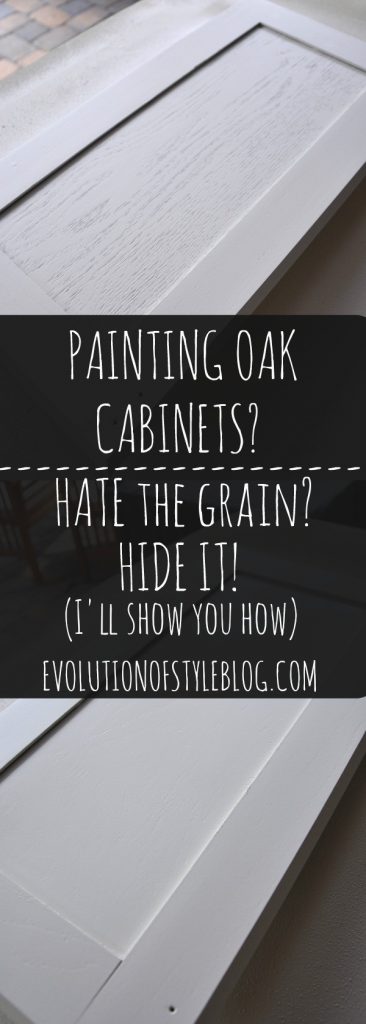
One product I have used that has helped with both of these issues is Zinsser’s Bull’s Eye Seal Coat sanding sealer. This aids in minimizing the wood grain of oak cabinets to a certain degree, but primarily helps to keep the grain from bleeding through your primer and paint. Very key in giving your oak cabinets an update.
With the next set of oak cabinets, I used the sanding sealer. It definitely helped with the grain – especially with the issue of the grain bleeding through, and eliminating the need for several coats of primer. I applied the sanding sealer after I had cleaned/sanded/deglossed the oak cabinets, and before I applied my primer and paint.
Grain Filling Products
If you are looking to try and eliminate the wood grain look altogether, I would suggest investing in the help of a professional. There are wood grain filler and putty products out there that can be used for this purpose. I don’t have any personal experience with them (yet), as it appears to be a tricky and time intensive process, that may not be for the DIY faint of heart.
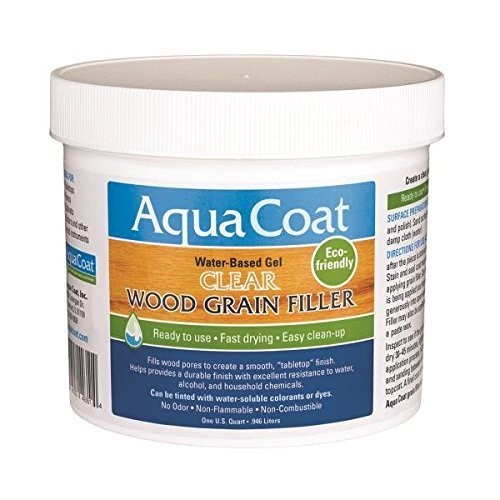
That said, if you are a daring DIYer, and want to try to fill the wood grain on your cabinets, there are options when it comes to grain fillers. Some grain fillers are easier to work with than others, Aqua Coat is a great option, in that it’s really easy to work with and you can work it into the wood grain fairly easily. You might need to do 2-3 coats of it to fill the grain to your satisfaction though, since it has kind of a gel consistency and isn’t as thick as some other grain fillers.
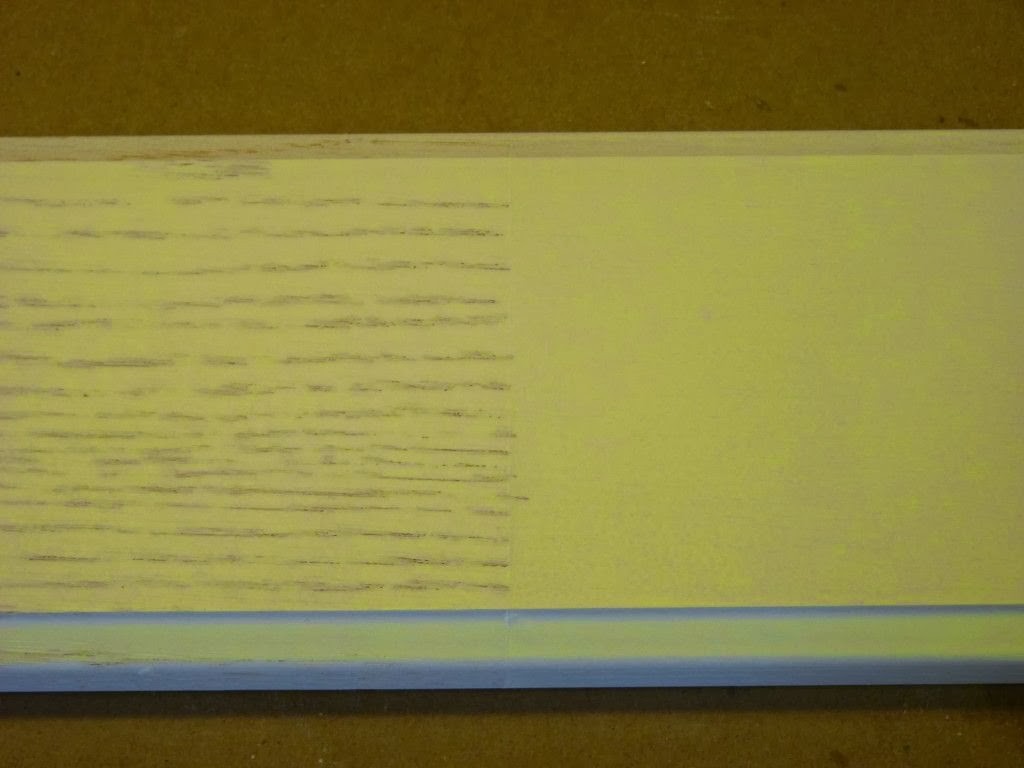
Here is a photo showing the process used to fill the grain on a piece of oak – quite impressive! Wow!
 |
| The Hardwood Workshop |
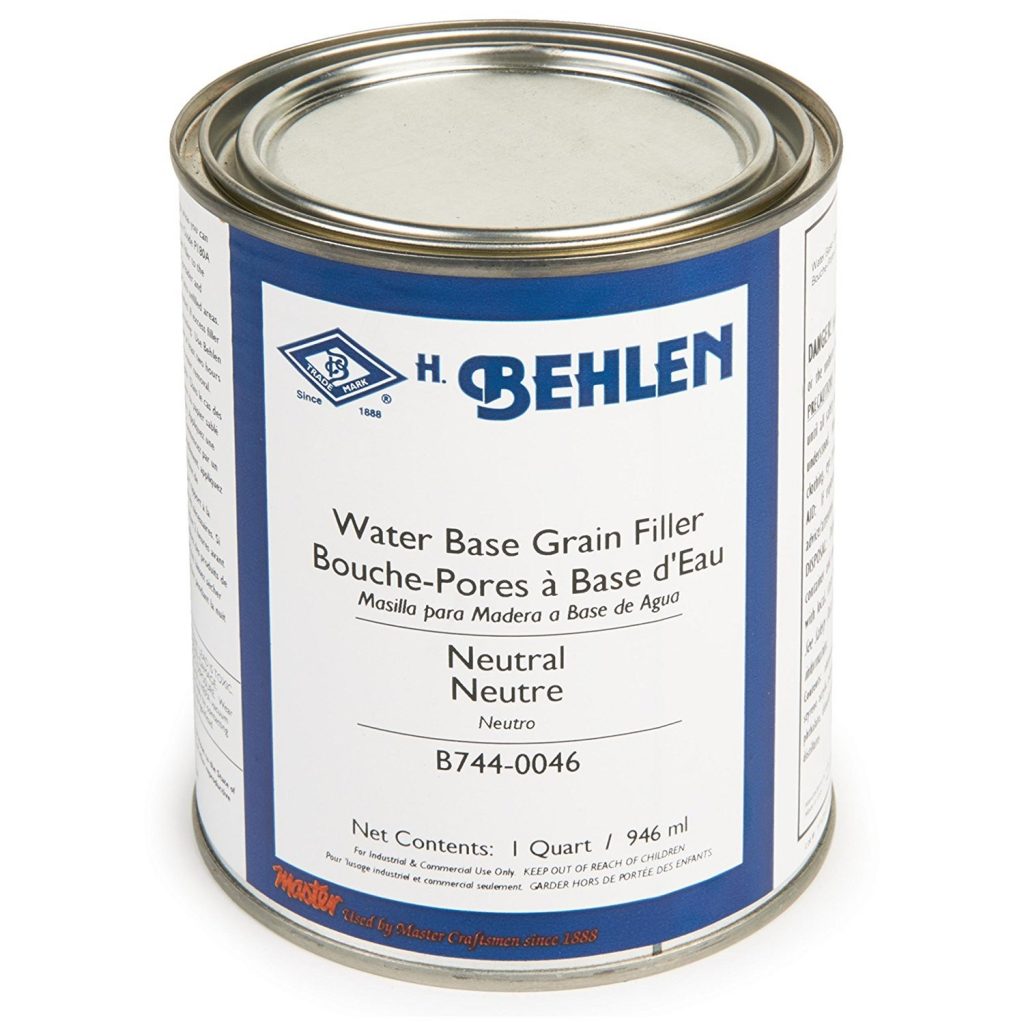
I gave Behlen’s Grain Filler a test drive myself, which you can read about here where I dove deeper into saying good-bye to the oak grain. Pretty compelling, yes?
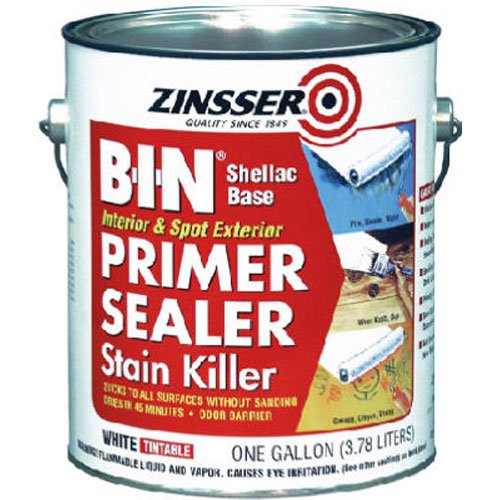
Another option to using the sanding sealer, is to go with a shellac primer like Zinsser BIN. Fair warning, it stinks to high heaven, but it dries quickly, seals in the oak grain, sands easily and gets the job done. Using the Zinsser BIN primer can save you the added step of using the sanding sealer, if you’d prefer to go that route. And if you apply 2-3 coats (depending upon the graininess of your cabinets), it does a great job in filling the grain to a large degree.
Painting Oak Cabinets – To Spray, or Not to Spray?
When I painted my own cabinets, I went all in with the Wagner HVLP (high volume, low pressure) conversion spray gun – doors, drawers and frames. There are two main reasons for this:
- You truly get a professional, factory finish with a spray gun, (with a lot of control using an HVLP gun), no brush marks!
- My cabinet frames have raised panels, and I wanted the same factory finished look that I had with my cabinet doors and drawers.
If you don’t know where to start when it comes to sprayers, take a look at my guide to paint sprayers as part of my “Painter in Your Pocket” series.
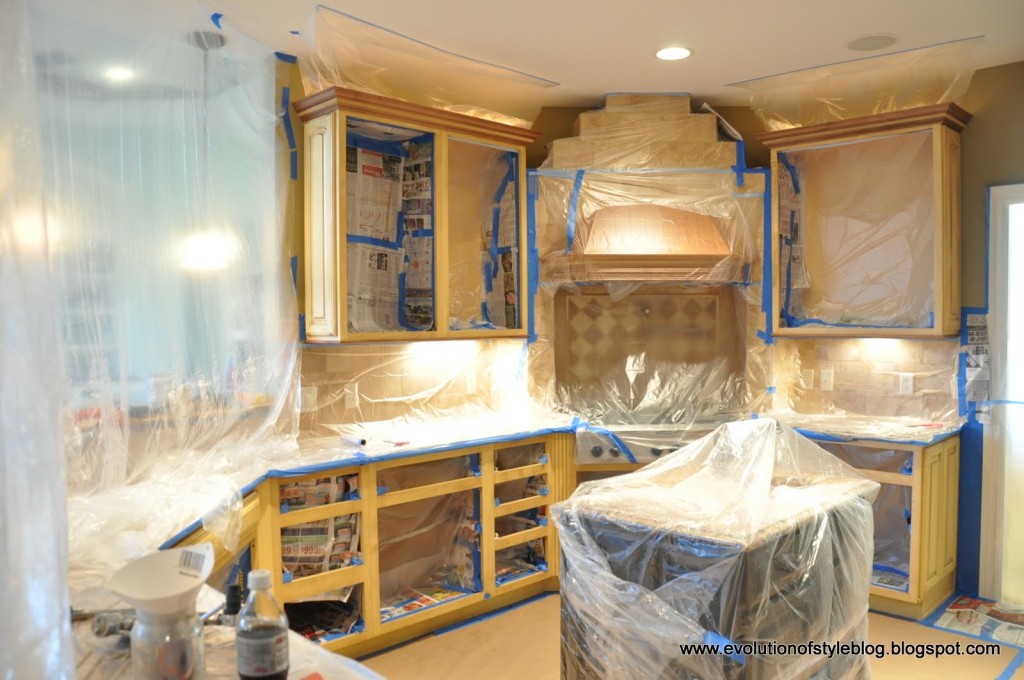
That said, if your cabinet frames are relatively flat and don’t have a lot of nooks and crannies to worry about, you can save yourself some time and trouble and paint the frames by hand vs. spraying them. I still recommend spraying the doors and drawers, because the finished look is second to none, but there is some flexibility on the frames. Plus, it saves you the hassle of having to tape off your kitchen to avoid overspray.
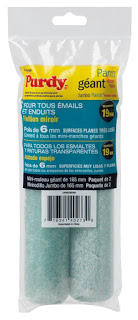
If you choose to do your frames by hand, here is another tip for getting the best finish. Use a mohair paint roller like this one by Purdy or this one by Wooster. That is what I used for some of my projects, and the finish turned out beautifully – it looks like a sprayed finish.
Customize It
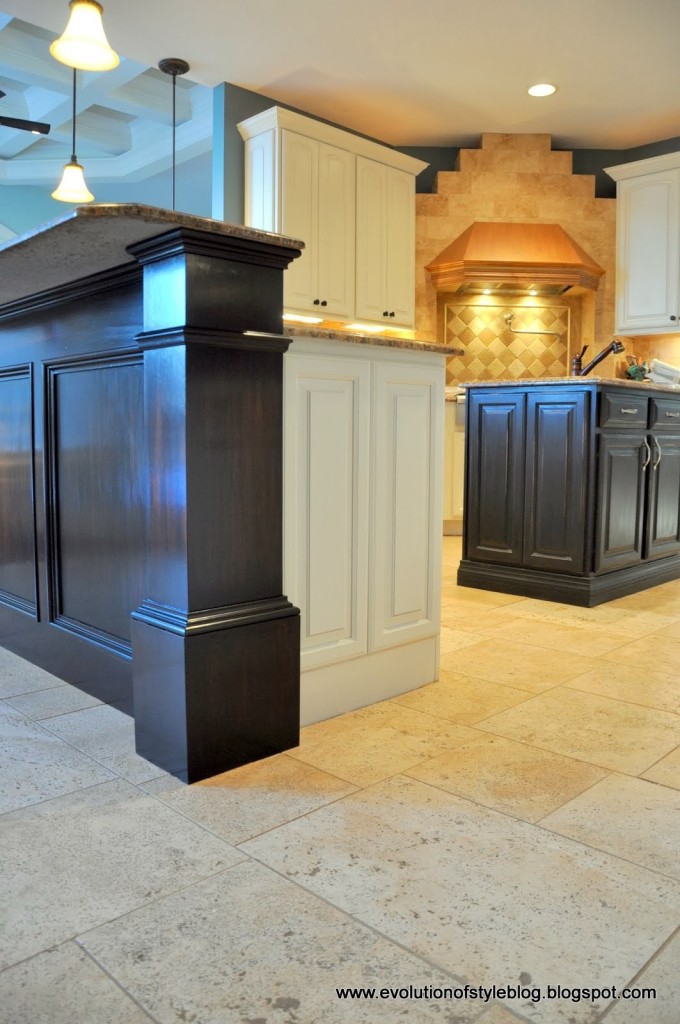
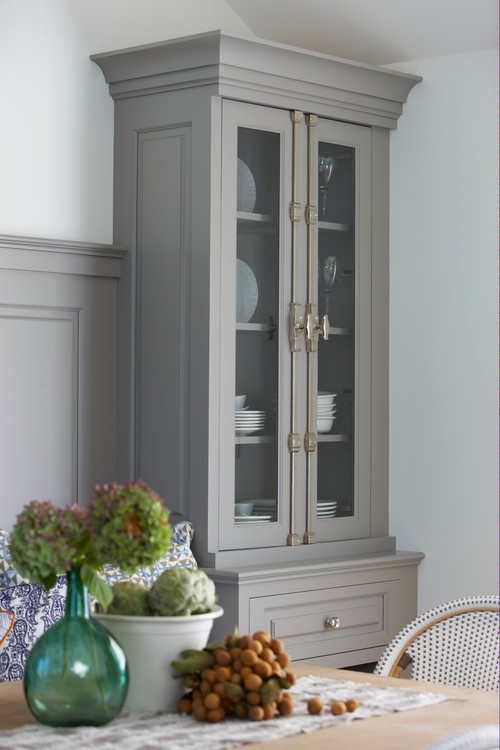
Another way to give your oak cabinets a new look is to add custom woodworking elements. Build them up and trim them out with crown molding. Add panels to the ends of your cabinets or to your island. Add furniture details to give them a high end look.
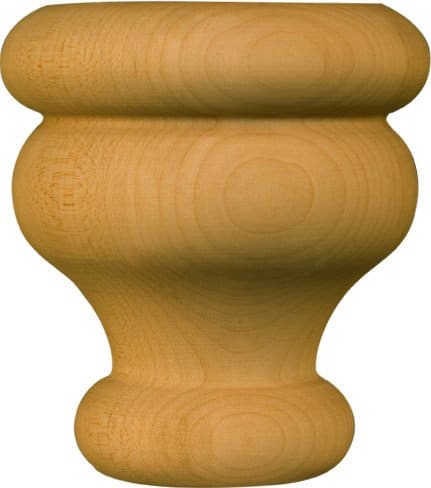
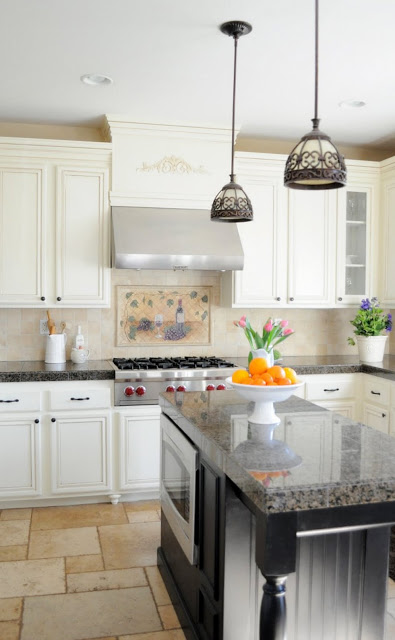
Kristin’s kitchen is living proof that builder grade oak kitchens can be transformed into something high-end and custom. Notice how the cabinets were built up and trimmed out with crown molding and the furniture look they have with the addition of cabinet feet to the lower cabinets.
 |
| My Uncommon Slice of Suburbia |
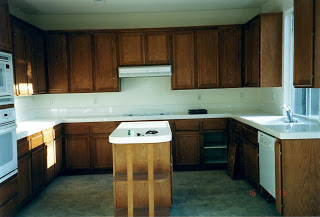
I’m still amazed that her kitchen started with this:
 |
| My Uncommon Slice of Suburbia |
Pam, at Simple Details, added custom panels to her stock kitchen cabinets used in her kitchen island, to give it a high end look.
 |
| Simple Details |
Custom woodworking details definitely help to kick it up a notch and pull the space together when you’re painting your cabinets.
Add New Hardware
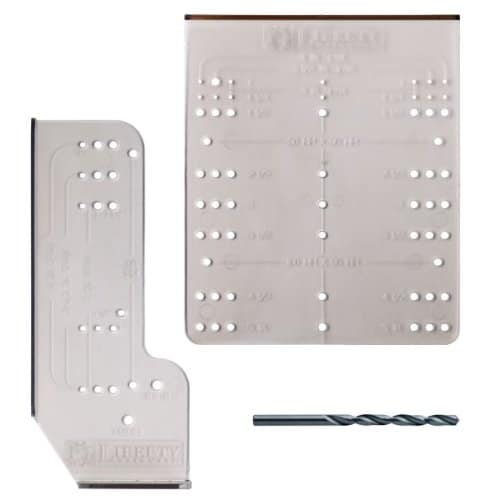
It seems kind of obvious when you’re in the midst of redoing a kitchen, but it bears repeating. New cabinet hardware can really step up the look and feel of your kitchen – even if you’re not painting them. Old knobs and pulls just make a dated kitchen look even more dated, so consider some of the options out there. And if you’re changing out your hardware, don’t forget this cabinet hardware mounting kit to make the job easier, if you’re starting with a clean slate.
Hardware Trend
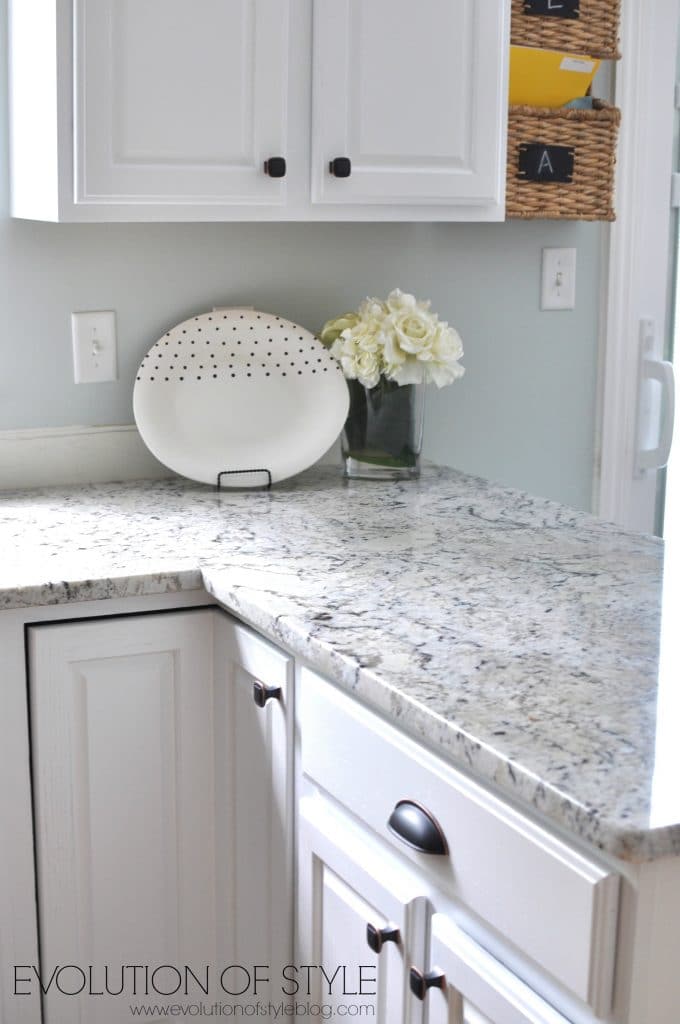
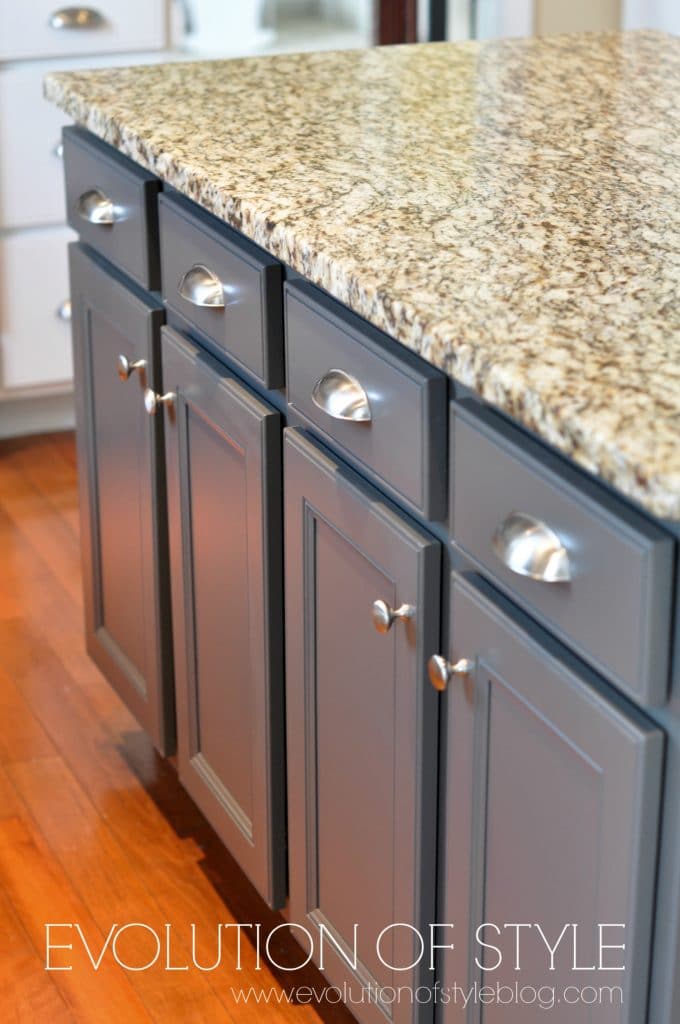
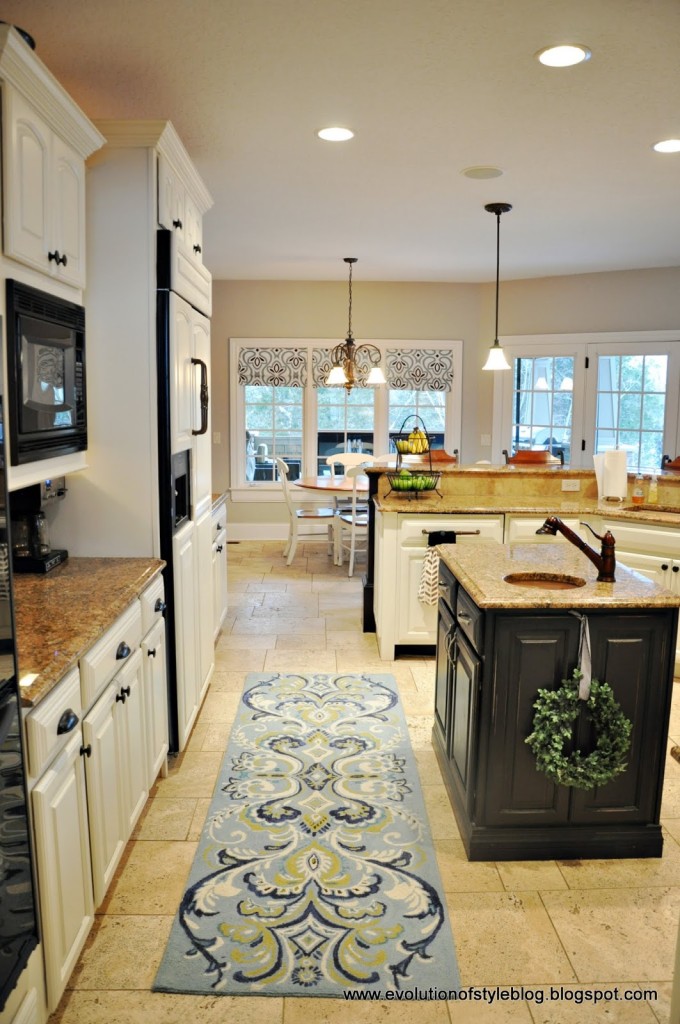
Bin pulls remain popular in kitchens – in just about any finish. I am also a big fan of changing things up with a mix of knobs with pulls. Step away from all knobs, or all pulls. I think it gives a really polished and finished look.
Choosing a Color
One of the biggest decisions that comes with painting kitchen cabinets is choosing a color. There are so many options out there, it’s hard to figure out which one is right for you and works with your home’s decor. I know that I agonized over paint colors for more time than I care to admit.
My advice? Samples, samples, samples! And I’m not talking about the little paint chips here. Spend the money on some sample pints/quarts and paint sample boards so you can get a feel for what the color will look like on a larger scale. I have done this for clients with foam core boards, so they can compare the colors and live with them awhile before making a decision. The color is something you want to get right.
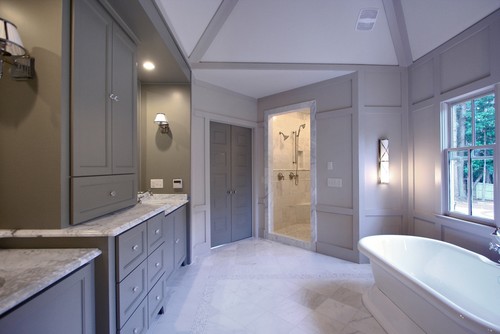
Color trends in cabinetry right now seems to gravitate towards white, gray and black. But, there are so many options within those colors, it can be overwhelming. We know there are Fifty Shades of Gray, but who knew there were so many different shades of white?
Here are some great go-to colors to consider when painting cabinets white.
White Dove – Benjamin Moore:
Decorators White – Benjamin Moore:
Cloud White – Benjamin Moore:
Swiss Coffee – Benjamin Moore:
Super White – Benjamin Moore:
Marscapone – Benjamin Moore:
Acadia White – Benjamin Moore:
Mountain Peak White – Benjamin Moore:
Dark Granite – Behr:
Dorian Gray – Sherwin Williams:
Fieldstone – Benjamin Moore:
Gettysburg Gray – Benjamin Moore:
Galveston Gray – Benjamin Moore
My friend Cyndy, over at The Creativity Exchange, is brilliant when it comes to paint colors, and has pulled together a couple of gorgeous gray color palettes to consider in the selection process: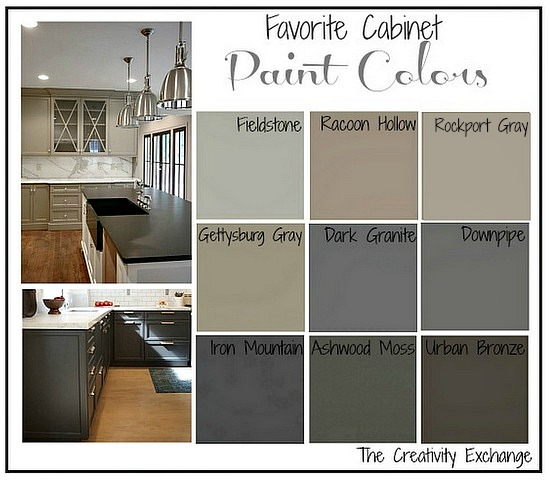
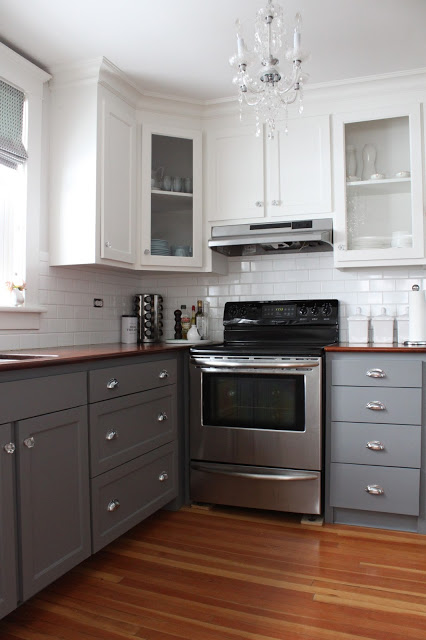
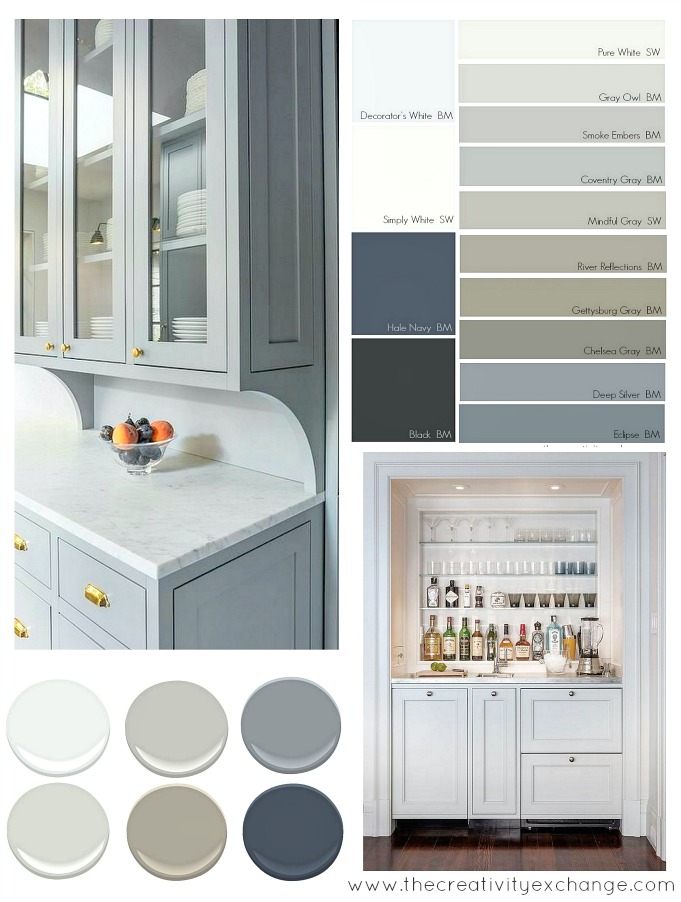 Of course, the look of two-toned cabinets is quite popular right now, so you could mix white and gray or white and black to add some interest to your kitchen.
Island – Kendall Charcoal – Benjamin Moore:
This beautiful kitchen from Elements of Style, is a perfect example of two-toned cabinetry done right! The upper cabinets are painted Classic White, and the lowers are Cape May Cobblestone (Benjamin Moore). Absolutely gorgeous!
 |
| Elements of Style |
I don’t have the exact colors in this amazing two-toned kitchen, but it’s too beautiful not to share.
I have done some two tone looks for clients too, and while I love a fresh white kitchen, the two toned ones are a lot of fun to pull together as well.
A big transformation with Gauntlet Gray (lower cabinets) and Repose Gray (upper cabinets).
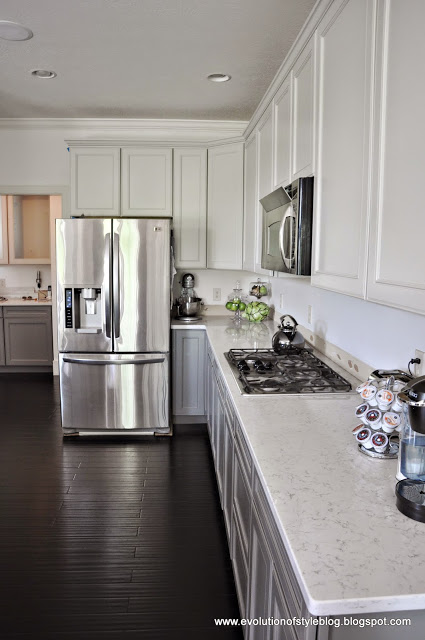
And another two toned look with Urbane Bronze and Alabaster in this kitchen. What’s not to like with Urbane Bronze? One of my favorites. The homeowners also trimmed out their island for this redo, giving it a more custom look.
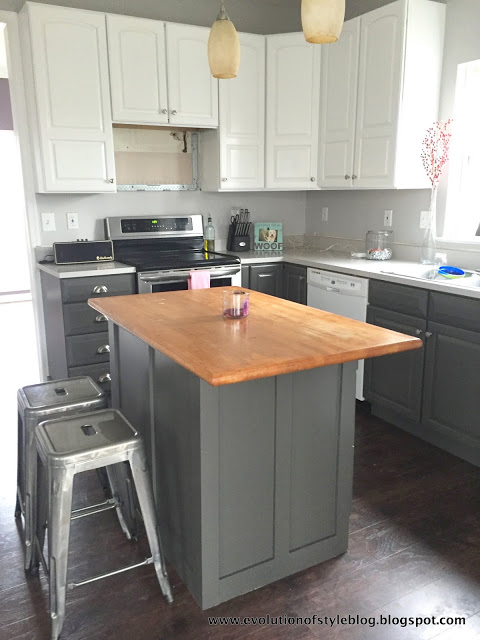
If you have a hard time deciding on a cabinet color, visit a kitchen showroom and take a peek at their cabinets. I was able to get a sample of a cabinet that I liked and had it color matched. That’s how I decided upon my kitchen cabinet color, and I’ve used it for several clients as well. This oak kitchen that I did for a client is that same custom color. I think I need to get it patented. 😉
Before:
After:
Jane’s kitchen makeover at Modern Jane, includes the addition of two-toned cabinets. The upper cabinets are Natural White (ICI) and the lower cabinets are Whale Gray by Benjamin Moore. I love how fresh and modern they look and the chrome pulls and glass knobs work beautifully with the cabinet colors.
If you happen to come across a cabinet color/sample that you love, don’t hesitate to take it to your local paint expert and have it color matched. That’s exactly what I did when I painted our kitchen cabinets and island, and I got the exact look that I was looking for as a result.
Hinges!
If you’re refreshing your cabinets with paint, it’s a great opportunity to change something that you don’t always think about when updating kitchen cabinets – the hinges! Many older homes with builder grade oak cabinets have exposed hinges. Swap them out with hidden hinges, and take the transformation to the next level! (Or hire someone to do it for you). Read more about what a difference hinges can make in this post.
Check out this amazing kitchen reveal at Everyday Enchanting. The doors are original – they painted them to give them a fresh look. But look at the hinges – they swapped them out for hidden ones, which completely modernizes the kitchen (along with all of the other amazing updates). Gorgeous!
If you’d like to read more about a comparison of a couple of paints that I have used for painting kitchen cabinets, you can read more about PPG’s Breakthrough vs. Benjamin Moore’s Advance here.
And don’t forget to check out my full tutorial on How to Paint Your Kitchen Cabinets Like a Professional.
Did I miss anything? Do you have any suggestions you’d like to add in tackling oak cabinets? I hope you find these tips + tricks for painting oak cabinets helpful, should you choose to tackle your own!















147 Comments
Sean Figg
April 7, 2015 at 8:31 pmWe have some oak cabinets that we plan on spraying with our HVLP. I'm not sure we really want to attempt the grain filler, so I picked up a gallon of the sealcoat. I plan on spraying it on with our HVLP as well. Do you know how many coats I should be applying, and if I'm supposed to sand it down before putting on primer? We attempted painting our laundry cabinets before I read this page, and the grain is showing through pretty heavily, so we had to keep applying more coats of primer and paint. Is your suggestion then to spray on sealcoat, then a couple layers of primer, then few layers of paint? We're using BM Advance primer and paint.
Thanks!
Jenny
April 8, 2015 at 12:37 amYou should be able to apply a single coat of the sanding sealer, as long as you get good coverage. The other option is using Zinsser BIN shellac primer, but the smell of that stuff is so terrible, and I hate the consistency of it as well, so I only use that when I have no choice. Coverstain is another primer option that will seal the grain, and if given the option between it and BIN, I prefer the Coverstain. However, it's pretty thick and may not spray well.
But, if you go with the sanding sealer, you would lightly sand it before applying the primer (one coat) and then paint (two coats). Good luck!
Sean Figg
April 8, 2015 at 2:32 pmThanks. Will just one coat of primer be enough then? I don't mind putting more on if it hides the grain better. Also, I know you said you didn't put a top coat on yours, but would it help with stains, or not really? And if we just left them as is, did you do one final light sanding, or just leave them untouched after the final coat of paint? Thanks so much! We're going to start the kitchen cabinets this weekend.
Ernst
April 11, 2015 at 12:07 pmMy most popular post, by far, has been "How to Paint Your Cabinets … bbathroomcabinets.blogspot.com
Arthur
April 11, 2015 at 12:50 pmKristin's kitchen is living proof that builder grade oak kitchens can be transformed into something high-end and custom. Notice how the cabinets … obathroomcabinets.blogspot.com
luckyfiddle
April 25, 2015 at 9:32 pmWhat are the best products for cleaning and de-glossing construction grade oak cabinets sprayed with lacquer? Thanks for the great before and after photos. Great article.
Di-Mension Living
May 4, 2015 at 9:15 amWow! What a great information this is. I would like to visit your blog again without any doubt.
Cheap Furniture Hong Kong | Sofa Bed Hong Kong
Fashion Beauty Stylish
May 5, 2015 at 4:14 amLatest Style Tips : 4 Popular and Best for Style and Fashion tips for Men
Courtney Buble
May 5, 2015 at 4:15 amHi,
According to me in my view Interior design is "the art or process of designing the interior decoration of a room or building".An interior designer is someone who coordinates and manages such projects.kitchen cupboards
Marlene Detierro
June 9, 2015 at 11:20 amThis is an awesome idea! thank you I gotta show my hubby and see if he can do it for me =)
Marlene
Great data Informative URL for Health Insurance Indiana
Gloryjoseph Joseph
July 20, 2015 at 6:57 amExcellent blogs. I really appreciates with your article. thanks for sharing useful tips
kitchen cupboards
email contacts
August 6, 2015 at 2:57 pmExcellent blog – just finished our kitchen cabinets. Followed blog directions step by step. Wow – what a transformation. Yes you can do it – took us 3 weeks to paint with 1 week setup.
Steph Smith
August 12, 2015 at 5:14 pmThis is great info, thank you! I would like to get the panels on my cabinets smoother, so I'll try a primer. The before and after is very impressive, thanks for sharing what works 🙂 http://www.retracom.com.au
Ian T. Anstett
September 11, 2015 at 12:22 pmThank you so much for these useful tips. I always afraid of repainting my cabinet but now I have these tips I will be able to paint my cabinet with confidence.
gopaintsprayer.com
Kristi Bennett
September 19, 2015 at 9:23 pmWhat did you use to apply your primer? Sprayer or a roller/brush combo?
Mark Lee
October 19, 2015 at 9:01 amIt's really an informative and well described post. I appreciate your topic for blogging.
Jointing Compound
Anthony
October 22, 2015 at 5:59 amThat's great information. Thanks for sharing this blog. I did a search and found your blog and glowing review. It's been a big help! Thanx!
Everything I fully expected of these tools. Great review! toolsadvisors
CabinetWholesalers
October 29, 2015 at 5:05 pmI wouldn't have thought it possible to make oak cabinets lose their grain and look so good. I love it. We make kitchen cabinets in Southern California.
Unknown
November 3, 2015 at 3:43 amThis is a really great post! I have a quick question for you. I have an oak bed frame (really great quality) but it is painted/stained black. I would like to refinish it and paint it one of the grey colours you mentioned in your post. Would you recommend this or do you think that it would be nearly impossible to cover the dark color?
Mary Heileson
January 11, 2016 at 4:30 pmThis is very, very helpful! Thank you. It’s a big project, for sure, but so much less trouble and expense than gutting the kitchen. Question: do you think that darker colors are more problematic than whites and lighter colors? That would be my guess. I see that you used a darker paint on your lower cabinets. Is that working out well?
Jenny
January 11, 2016 at 7:58 pmI’m glad you found it helpful, Mary! I don’t find darker colors more problematic than the lighter colors – it’s all a matter of preference. My kitchen is all white but with a black island. But, I’ve painted some two-toned kitchens as well and love them. 🙂
Jill B from Missouri
February 10, 2016 at 5:42 pmI noticed that the Wagner Power Products 276124 B HVLP Conversion Gun has been discontinued. Do you have another suggestion that can be used with an air compressor?
Jenny
February 10, 2016 at 6:38 pmI’m not sure what link I have on that post Jill – I’ll double check. But the HVLP conversion gun is available here at Gleem Paint – http://www.gleempaint.com/hvcongunnew.html
darlene
April 8, 2016 at 10:31 amhello,
Your blog is amazing! Can’t wait to start doing my DIY project to paint my 20 yr old oak cabinets white. I recently had a guy darken my honey oak original stain to a cinnamon color, that turned out to be a disaster. He put a thick coat of polyurethane semi gloss on the top coat. How much sanding would I need to do to get the gloss off? Or do you think only lightly sand and then prime? What number on the sandpaper? Thanks so much
Kristine A
April 21, 2016 at 5:10 amThanks for sharing this oak woodworking tip in your blog. This is one thing I didn’t know when I was starting – different types of wood, different painting approach (and expectation).
Kathryn Vaughn
April 25, 2016 at 10:40 pmHow can you prevent cracking on raised panel oak kitchen doors. I don’t want to go through all the work of
painting the cabinets if the doors end up cracking. I live in New England and temperatures very from extreme
hot to extreme cold. I found the wood expands and contracts with the different weather conditions.
Jenny
April 27, 2016 at 7:22 amKathryn, I would suggest caulking around the raised panel – caulk solves a multitude of problems. 🙂
Rachel Daniels
May 6, 2016 at 3:14 amVery nice… how DO you paint in a white tshirt and not get paint on you? I love to paint stuff and I am a BIG fan of sprayers but no matter what tool I use I get paint on myself….. Looks Great!!!
Paula
June 4, 2016 at 3:44 pmThanks so much for your posts on painting cabinets, Jenny. We have started on our kitchen project (well, my husband has done the stripping and sanding of the doors already) and I was typing up a short guide to the process for him to use as a reference since he hates reading. Below is what I came up with from info mostly from your blog. I think the only thing I got somewhere else was the caulking the dents (#4). Does it look like I’ve got the process down correctly? We are using the existing holes for the new hardware so I didn’t include the step of filling in the holes.
1. Strip/degloss
2. Sand (100 grit sandpaper)
• Remove excess dust with vacuum cleaner
• Wipe clean with tack cloth
3. Prime with Seal Coat Sanding Sealer (using sprayer)
• Allow to dry 24 hours
4. Caulk seams and fill dents
5. Lightly Sand (220 grit sand paper)
• Remove excess dust with vacuum cleaner
• Wipe clean with tack cloth
6. Prime with Fresh Start (using sprayer)
• Allow to dry 24 hours
7. Lightly Sand (220 grit sand paper)
• Remove excess dust with vacuum cleaner
• Wipe clean with tack cloth
8. Paint 1st coat (using sprayer)
• Allow to dry 24 hours
9. Paint 2nd coat (using sprayer)
• Allow to cure for 5 DAYS
Jenny
June 5, 2016 at 10:49 amThis looks pretty darn good to me Paula! I’m assuming you’re painting both sides of the doors? Start with the back side and finish with the front. Good luck!
Paula
June 7, 2016 at 10:56 pmThanks, Jenny! We will definitely follow your advice and get those pyramids and do the back side first and then do the front. We also have a couple of extra cabinets to test our techniques on before we start on the ones in the kitchen. Thanks again for making this blog to help all of out here in making our cabinets fabulous!
Kristi
July 26, 2016 at 4:52 pmI am wondering if you have ever painted the inside of the cabinet frames? If so, what are some tips and suggestions? Or if not, how to get them clean after years of use.
Jenny
July 29, 2016 at 4:06 pmI have painted the insides of cabinet frames for glass front doors, but that’s it. No need to do the insides in most cases.
Stacey Davis
August 26, 2016 at 12:06 amSuch great advise!! So glad you mentioned framing, much easier then wainscoting which I was about to put on our island. I’ll go with the framing option instead. One question: what type of paint do you find to be the best when painting cabinets?
It seems like there are lots of options which gets overwhelming.
Thank you
Jenny
August 28, 2016 at 9:19 amI love the Benjamin Moore Advance paint for cabinets, but Sherwin Williams’ Pro Classic is another great option. I don’t think you can go wrong with either one of those. 🙂
Jessica
August 30, 2016 at 11:27 amHello! I’m mid-process painting my oak cabinets, after doing an extensive (obsessive) amount of research, and reading all of your posts on painting cabinets. I took the long route, where I began by cleaning with Krud Kutter, sanded, applyed 2 coats of Behlen wood grain filler, sanded some more, primed with 3 (yes, 3) coats of PPG SealGrip acrylic water-base primer (tannins, ah!), completed a lot more sanding, and am now spraying 2 coats of BM Advance satin paint in white–Chantilly Lace to be specific. Now, I LOVE the finish. It’s amazing and smooth. But back to those tannins. I am apparently a heavy handed sander, and have sanded through all three of my primer coats in places. I tried to go back through and spot prime the places I sanded through before applying the first spray coat of paint, but I either should have applied a second touch up coat, or should have used an oil-based or shellac based primer, because now the tannins are bleeding through my first coat of paint in a few places. Noooooo! They’re tiny spots, say smaller than my pinky nail, but none-the-less, very stressful. I’m now wondering what the best remedy is for them. I fear if I don’t try to alleviate the issue now before the last coat of paint, they’ll just continue to darken and get larger as the final coat dries. Any experience with this? Advice? HELP PLEASE!
Jenny
August 30, 2016 at 7:43 pmIt sounds like you’re on the road to a gorgeous kitchen Jessica! I usually keep a can of spray primer on hand (BIN Shellac usually) so it’s easy to spot prime the stubborn tannin spots at any point in the process. It always does the trick. Try not to panic – everything is fixable! I’d love to see the finished look! 🙂
Jessica
August 31, 2016 at 3:18 pmThank you for the reply! I’ll try the bin shellac spray on my spots before doing the last coat and just anticipate I’ll need to use it again. I also considered using something called XIM bleed control 100 as an additive for the final coat but talked myself out of it since I don’t want to risk compromising the paint. Pictures forthcoming–Thanks Jenny!
Lawrence Lucas
September 15, 2016 at 9:36 pmMy wife asked me to look through this posting. Thank you, for taking the time and giving the thought. What a blessing you are to others.
shandy
September 28, 2016 at 10:01 amHello Jenny,
I’m getting ready to have my cabinets painted BM White Dove and Gauntlet Gray. Is there a certain type of paint that i should use for cabinets? Sheen?
Really enjoy your makeovers!
Jenny
October 14, 2016 at 8:07 amI’m sorry for my late reply here! I use Benjamin Moore’s Advance paint in a satin sheen – it’s the perfect balance of “glow”. 🙂
Lisa Hershberger
October 14, 2016 at 8:02 amYou’ve peaked my interest in painting my cabinets. However, I read it twice and could not find what sheen you chose semi gloss etc. please advise????
Jenny
October 14, 2016 at 8:05 amI use the Benjamin Moore Advance in satin – it’s just the right sheen. Good luck!
JD
October 19, 2016 at 8:34 pmSuch great info. Question: Do you recommend applying polyurethane top coat after painting?
Thanks.
Norris Anthony
October 25, 2016 at 4:06 amGreat information! I will be moving into a house with oak cabinets that I just hate. But they are good quality and In excellent shape. I never knew you could actually cover the grain of the wood and was so impressed with all the examples . I don’t think this will be a DIY project, but at
T least I will know if the painter I hire will do it properly! Thank you????
Jessica
November 10, 2016 at 1:00 amYou mentioned white and black are popular colors to paint your cabinets. What about a light tan with dark brown in the groves. Will that look out dated ? I’m so worried about taking on this task myself. But my cabinets are in a bad way. My other question is how do you feel about chalk paint ? I worry about its durability ? Have you used it on other cabinet jobs?
Karen
December 28, 2016 at 2:40 pmI love your painting ideas as when I bought this house I ordered new floors not knowing I had so much oak in it and the floors do not match so I will be painting soon thanks
Valerie
January 19, 2017 at 2:05 pmWhat do you think of painting the bottom oak cabinets and leaving the top natural? I rarely see that in all the pictures I look at, but I feel like it would look good.
My kitchen is a galley kitchen, pretty small.
Thank you
Jenny
January 25, 2017 at 5:22 pmI love the idea of two tones – but I would go natural on the bottom with painted on the top. I think the stained lower cabinets ground the look a little bit better.
Becky
January 22, 2017 at 11:18 amHi! Thank you for such great information. Question do your painted cabinets need to sealed with a varnish, or is it in the cabinet paint? Thank you
Jennifer
January 22, 2017 at 11:53 amVery very helpful! Question, while the cabinets and doors themselves are solid oak, the exposed panel sides of oak builder grade cabinets is not wood. It’s like a stick on slick that’s flat and matches the cabinets but is not wood. What do you do with that???your help is very appreciated.
Jenny
January 25, 2017 at 5:18 pmMy advice on the side panels is to make sure you clean, lightly sand and use a good primer. I usually use SealGrip from Porter Paints, but if you don’t have that, try a BIN Shellac or even Coverstain to make sure you have good adhesion.
Courtney Stoner
February 1, 2017 at 3:51 amHello, my husband and I purchased unfinished cabinets from lowes and are attempting to paint them ourselves. He’s already applied a layer of primer and paint and you can still see the grain. Do you think we could apply any of the products mentioned over the paint to hide the grain? Or would we have to sand them down and start over?
Jenny
February 1, 2017 at 10:41 amThe grain will still be visible on oak cabinets even after they’re primed and painted, unless you either 1) apply several coats of primer or 2) use a grain filler of some sort. That said, even with multiple coats of primer, the grain will be diminished, but not completely gone. A wood filler would be a better option to hide it, but it’s going to take some extra work to get it done. Hope this helps!
Lauren
May 30, 2017 at 5:09 amHello, I am curious of the steps you take when you use the wood grain filler like Behlens? Do you clean cabinets then you apply Behlens, then sand, prime, then add sand sealer, then paint? I’m a little lost. Also do you prefer Benjamins wood filler better or Behlens?
Jenny
May 31, 2017 at 8:47 pmWhen using a grain filler, I would clean and sand, apply the filler, and then sand, prime and paint. You shouldn’t have to use the sanding sealer with the grain filler. Double-check the directions on the filler that you use, but this is how I would do it.
Ashley
May 31, 2017 at 7:03 pmThe links to the wood grain fillers no longer work, and I couldn’t find the products listed for sale when I googled them. Have you found any other wood grain fillers that you recommend?
Jenny
May 31, 2017 at 8:46 pmThanks for letting me know this Ashley – I’ll go back and take a look. Some grain filler options are Behlen’s Pore-o-Pac, and Aqua Coat. Aqua Coat is a lot easier to work with, but it will probably take 2-3 coats to fill. Here is a link to these products via Amazon (affiliate) – http://amzn.to/2qCqtWn. Hope this helps!